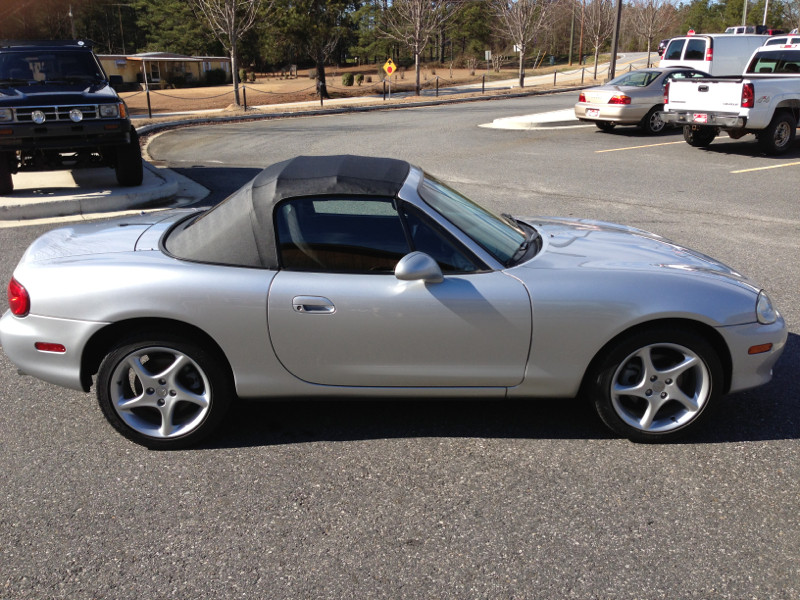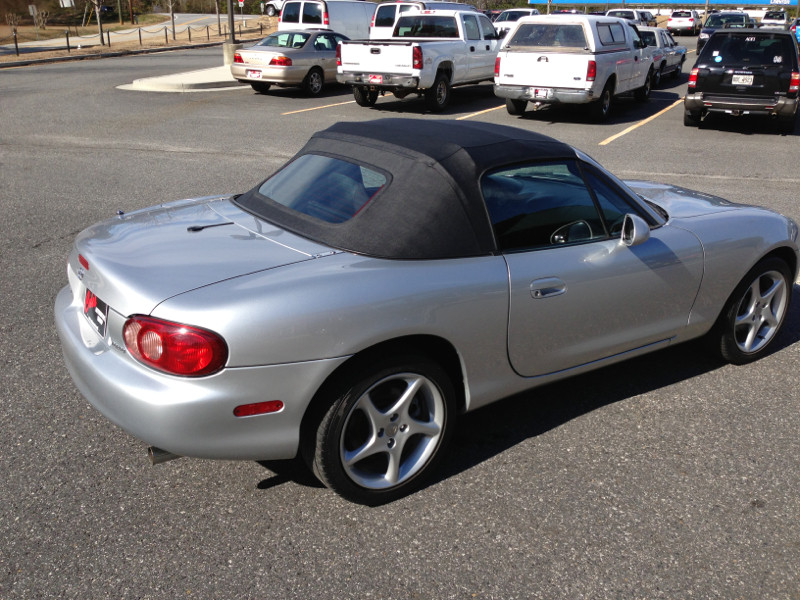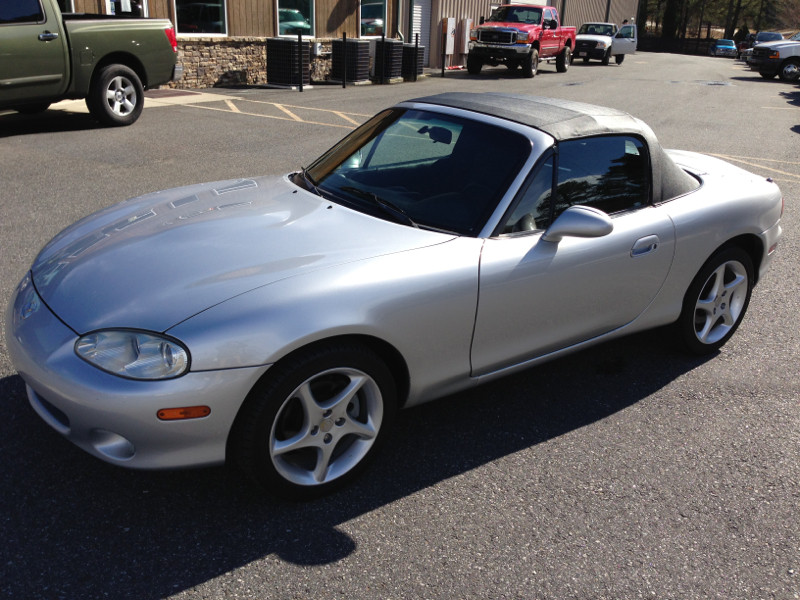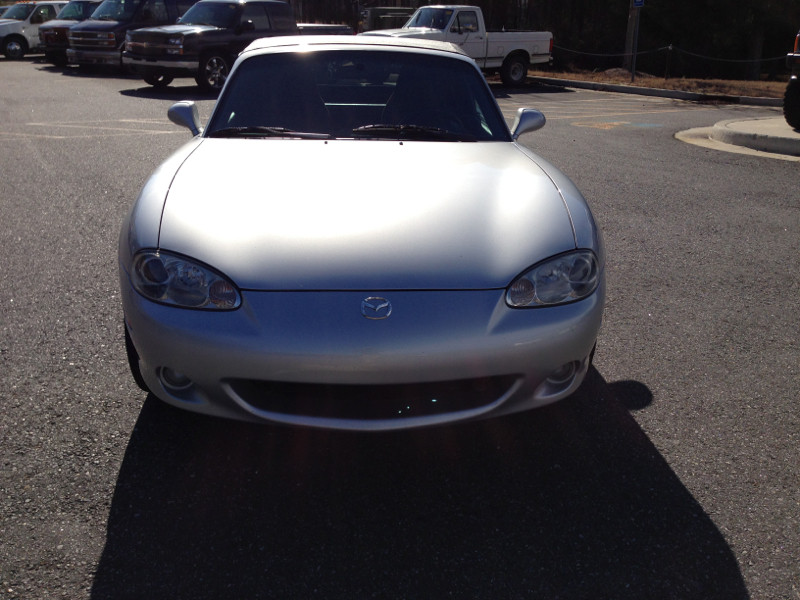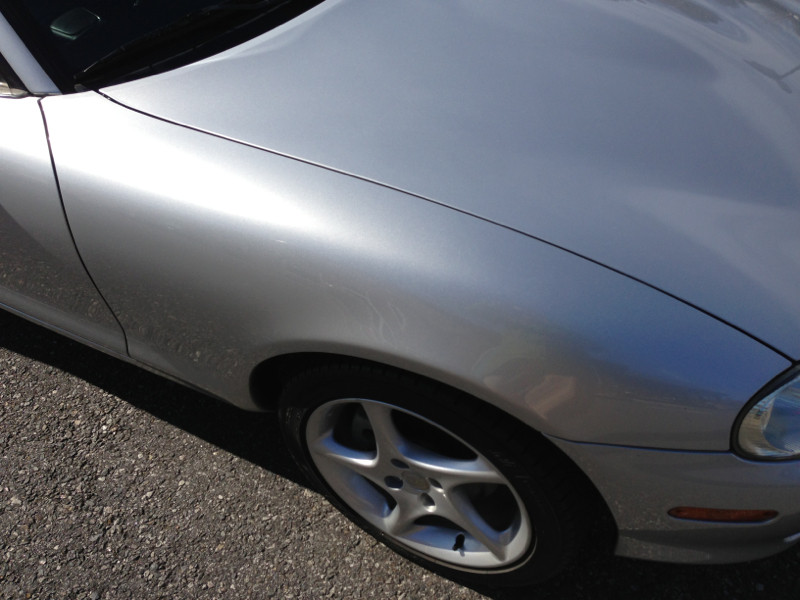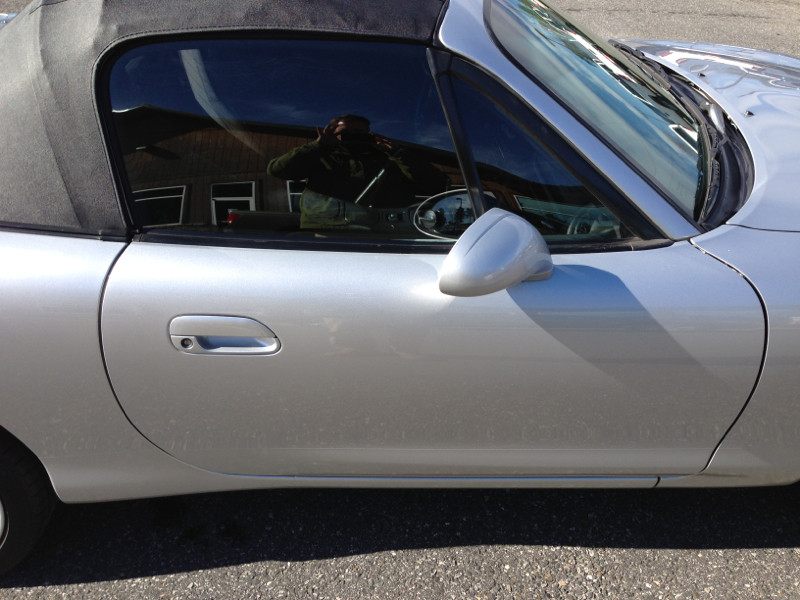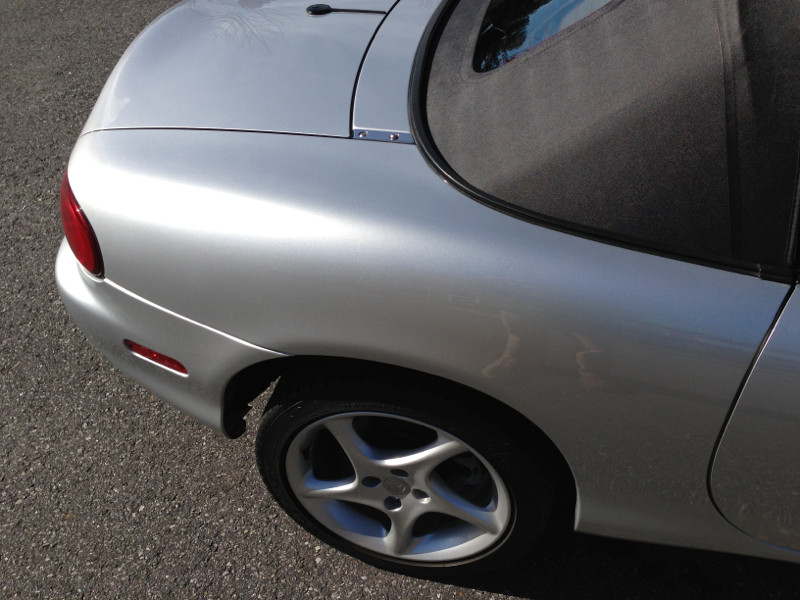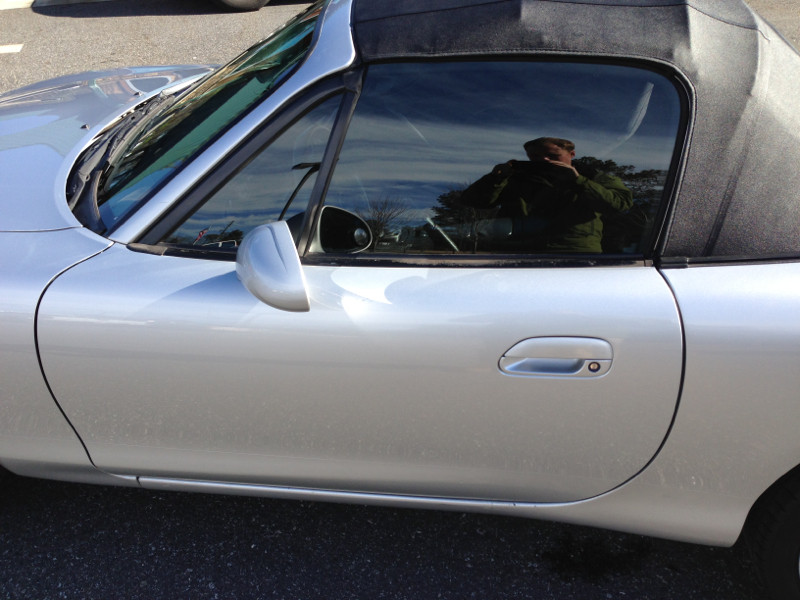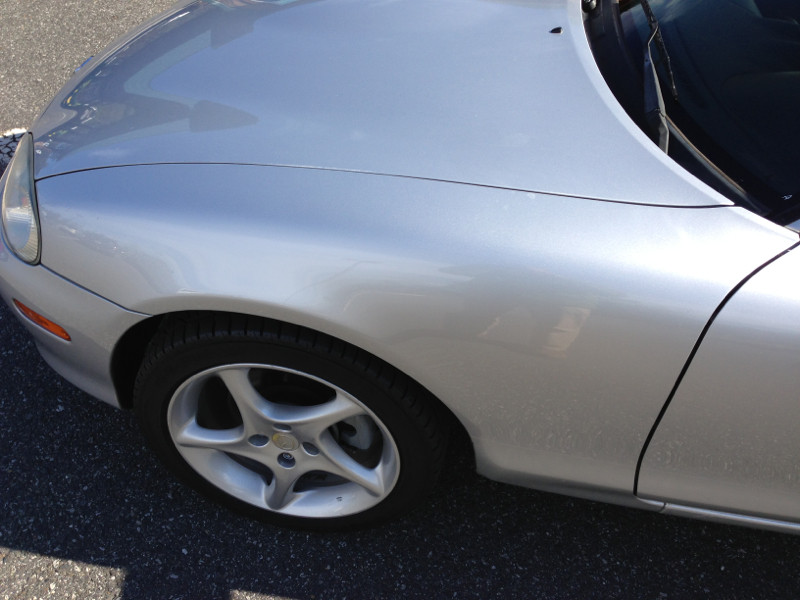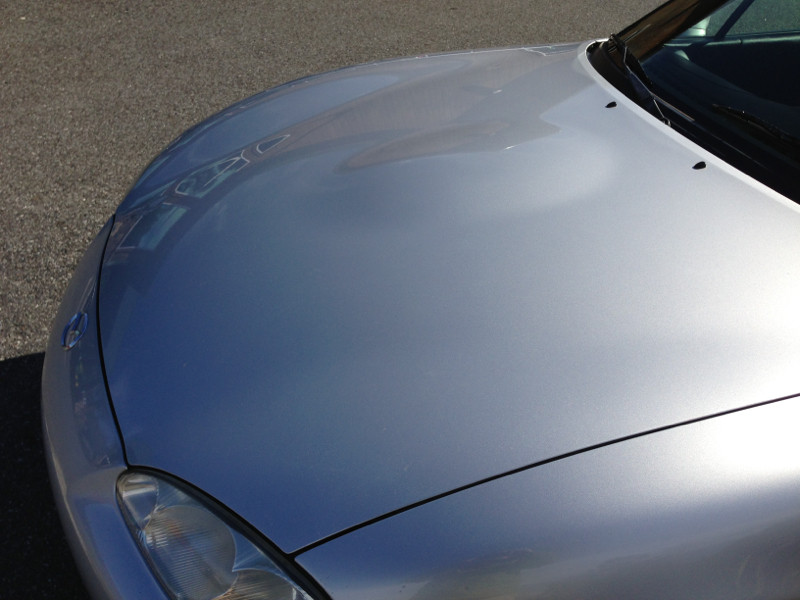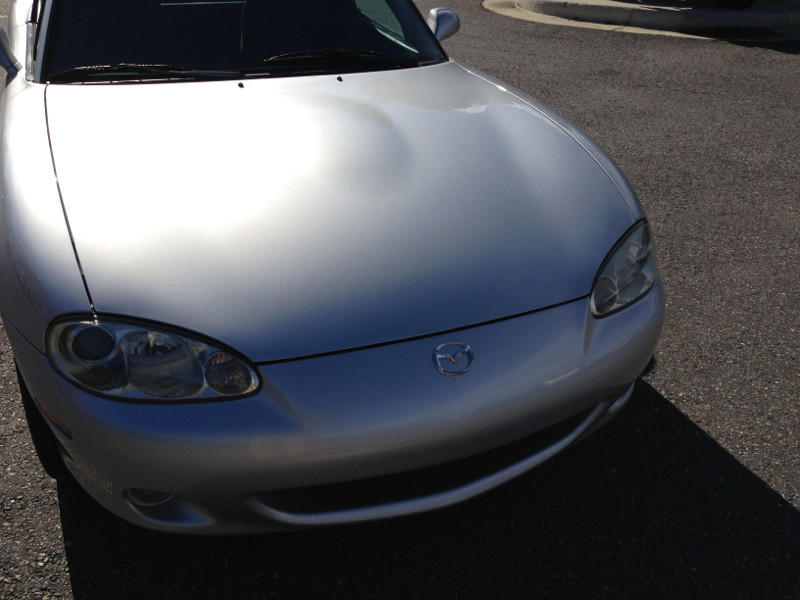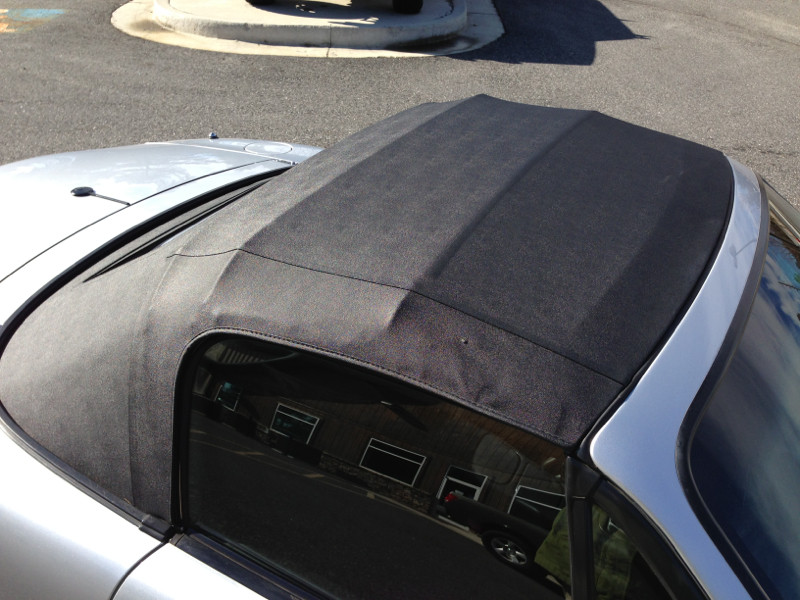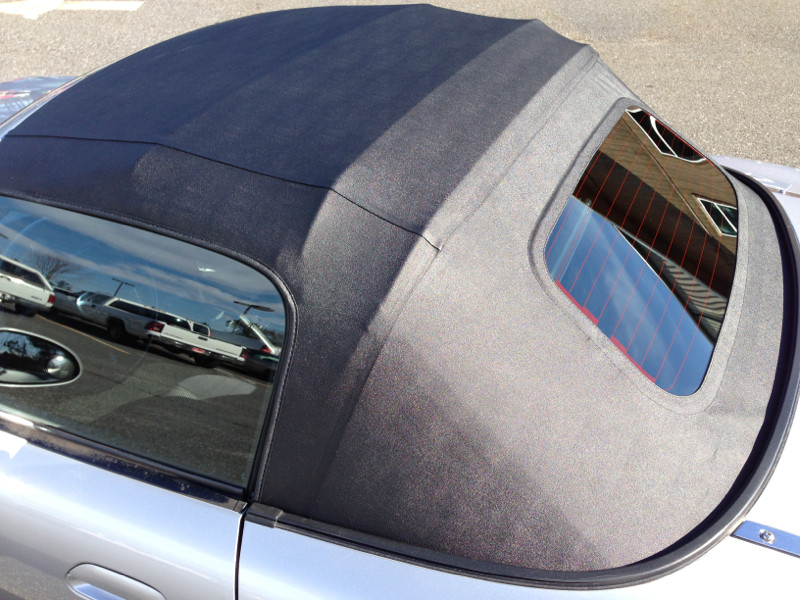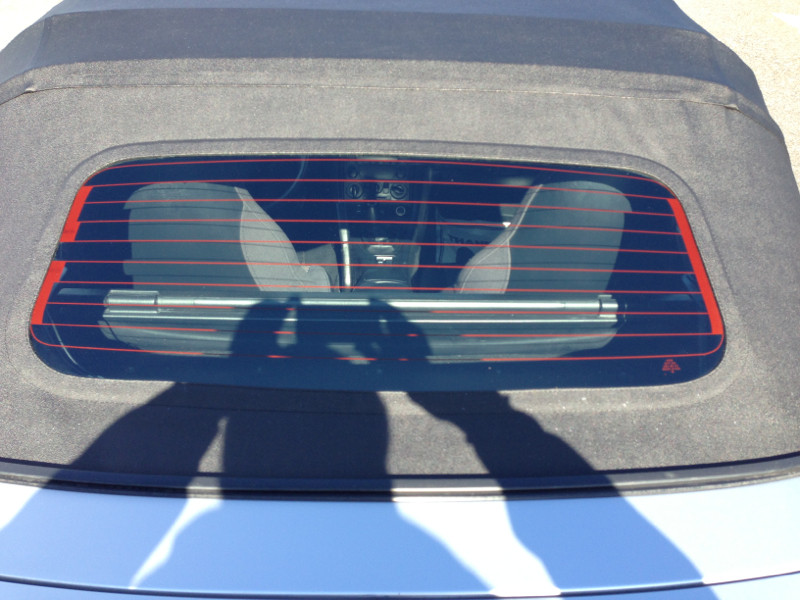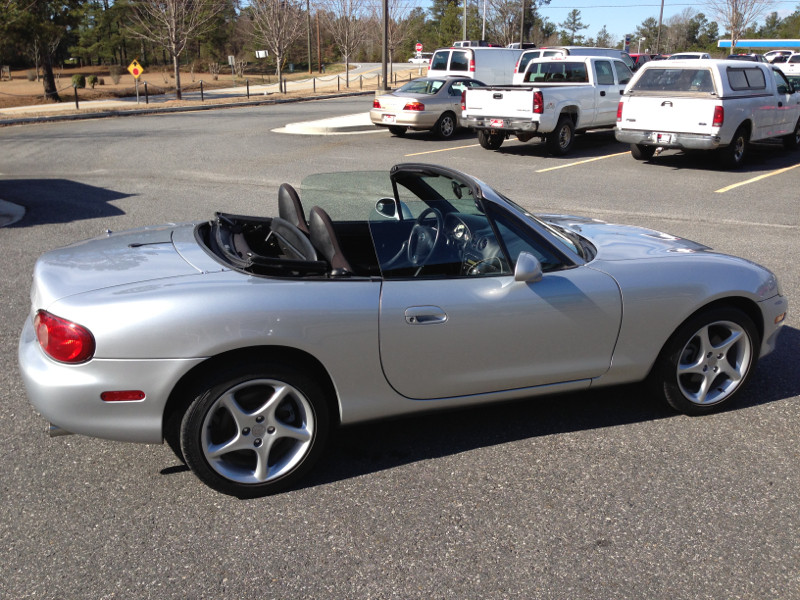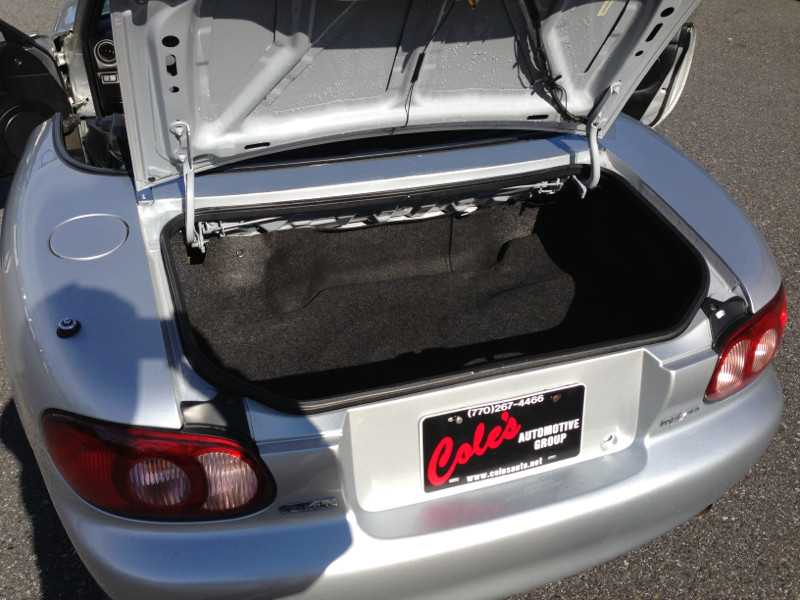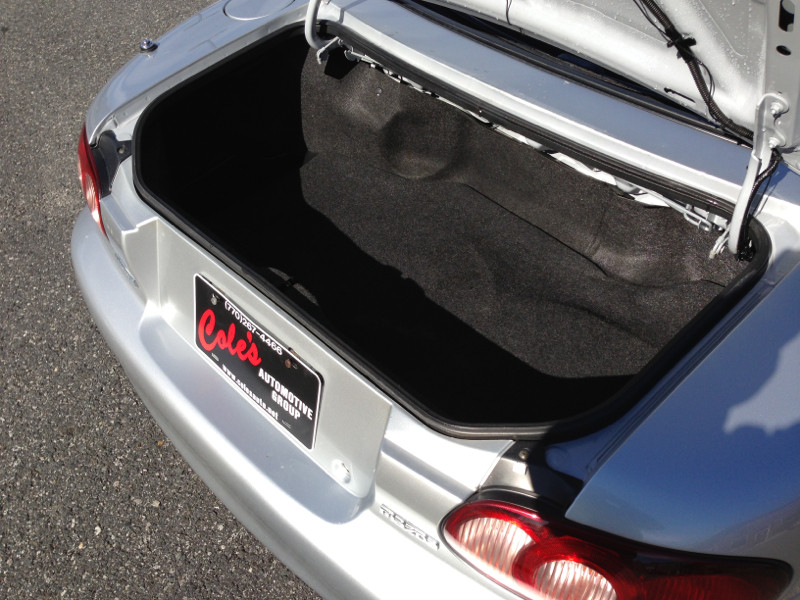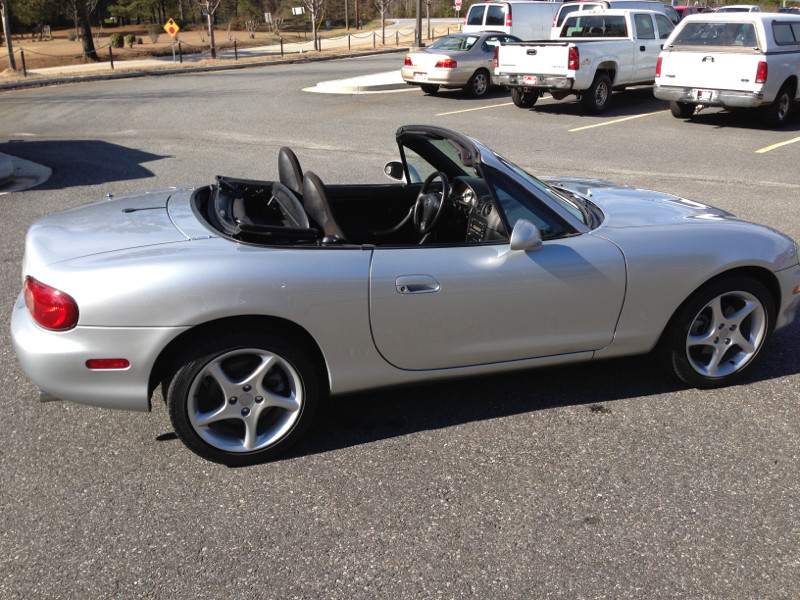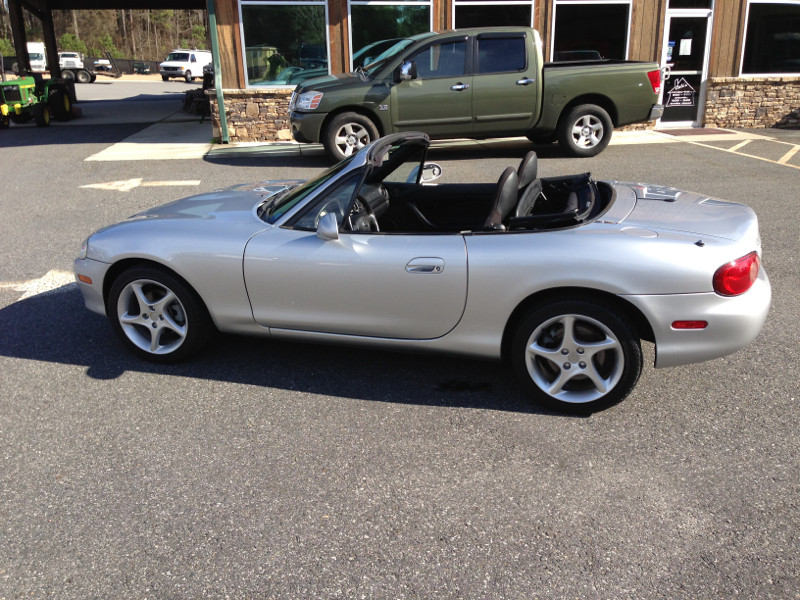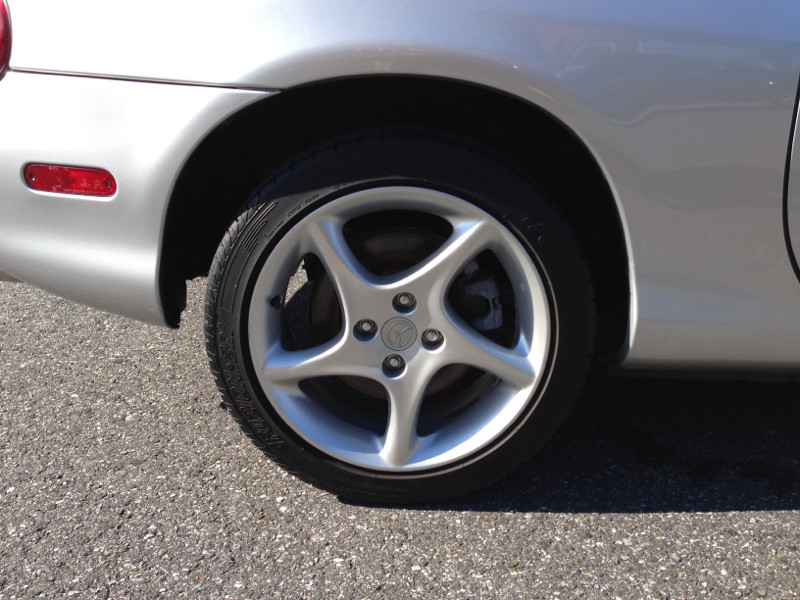

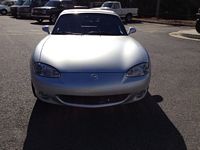
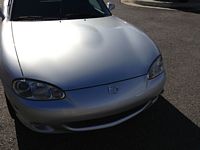
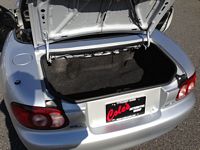
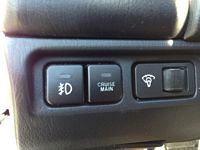
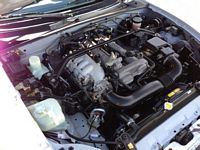
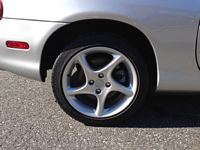
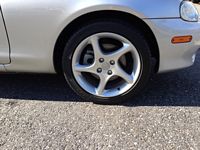
2003 Mazda Miata
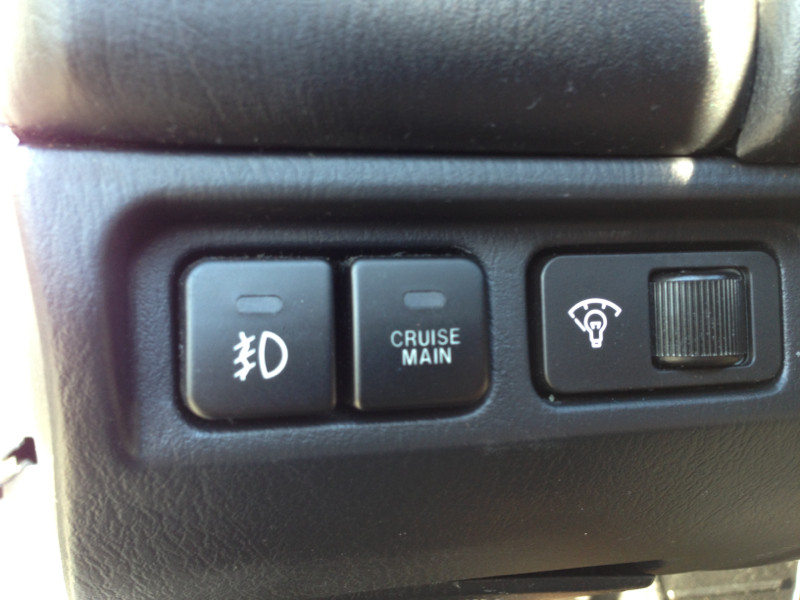
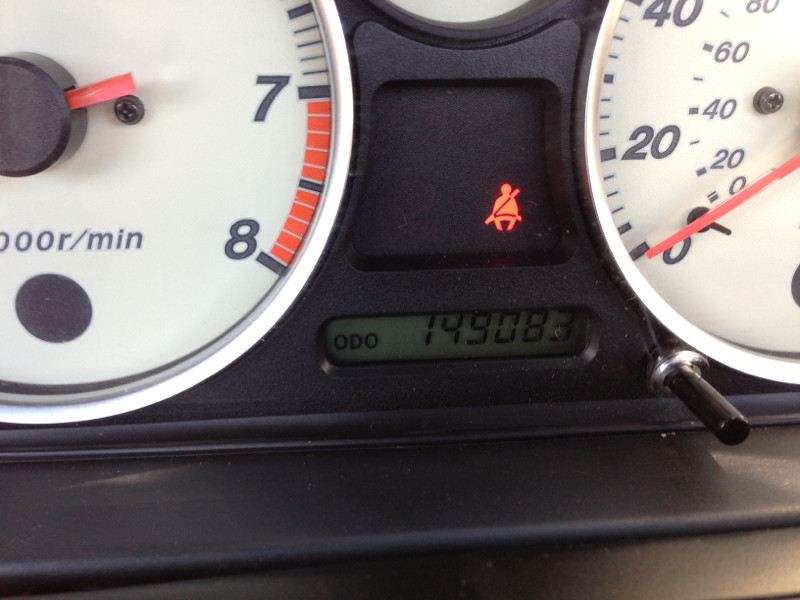
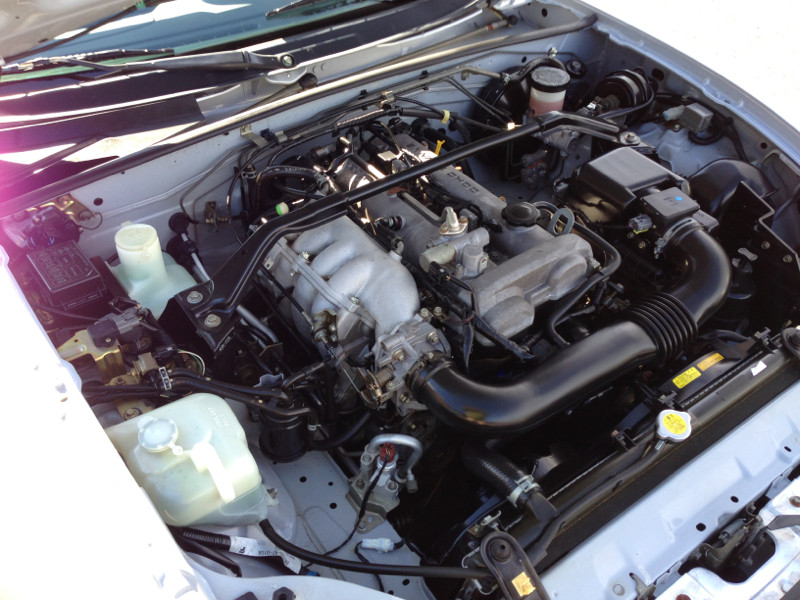
Click on thumbnails below for larger pics....
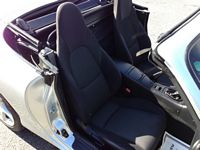
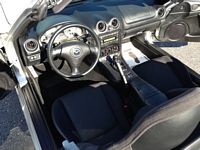
This pre-owned 2003 Mazda Miata was purchased from Tim Cole at Coles Automotive Group, a local pre-owned car dealer that has been in business as long as I can remember. Tim was great and was able to get us in and out quickly, and also agreed to replace the timing belt, water pump, and accessory belts since we did not have any maintenance history documented
Click HERE for the listing and pics as it was posted when she bought it. This model is an NB, NB is second generation (starting with 1998 model year and produced through 2004).
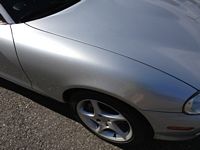
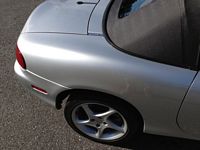
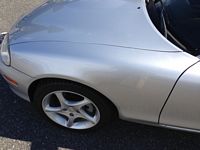
Even with no records it was apparent this car had been taken care of, it drove great, and my daughter was able to get approved for the loan with me as a co-signer- time to establish some credit history for her.
I plan to document any things I help her do with the car and that is the reason for this page- stay tuned.


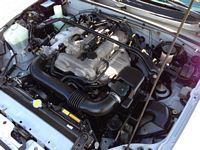


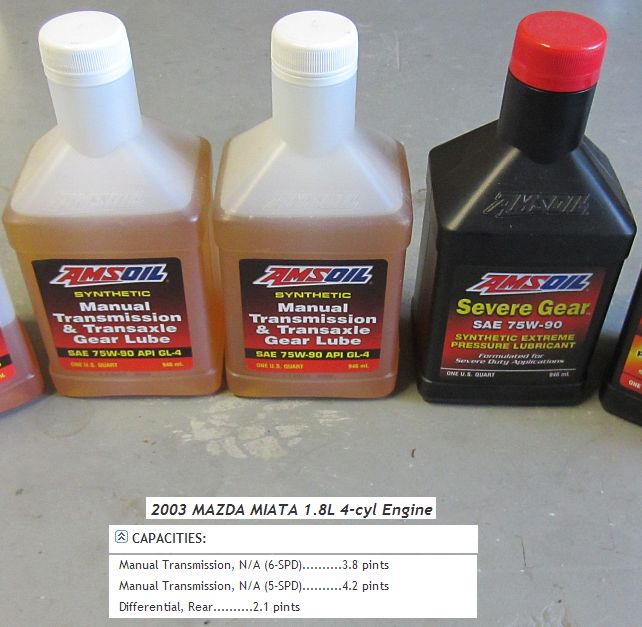
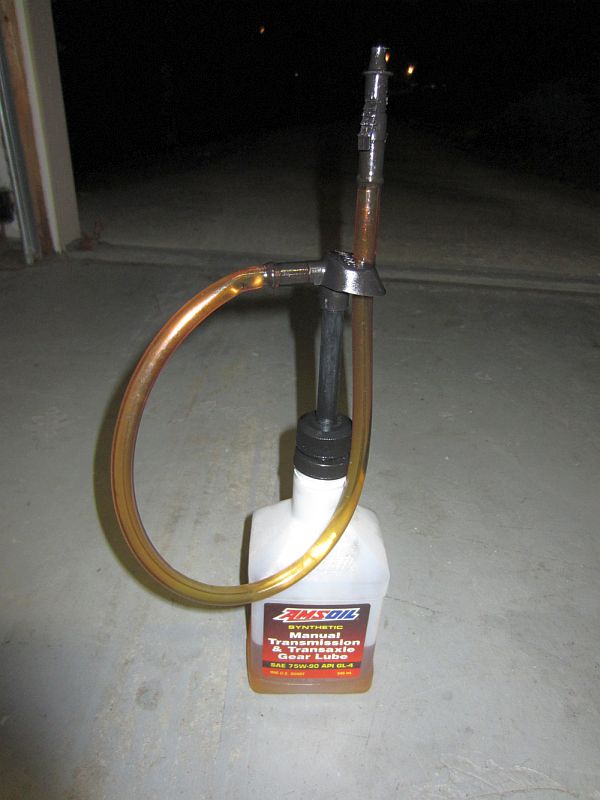
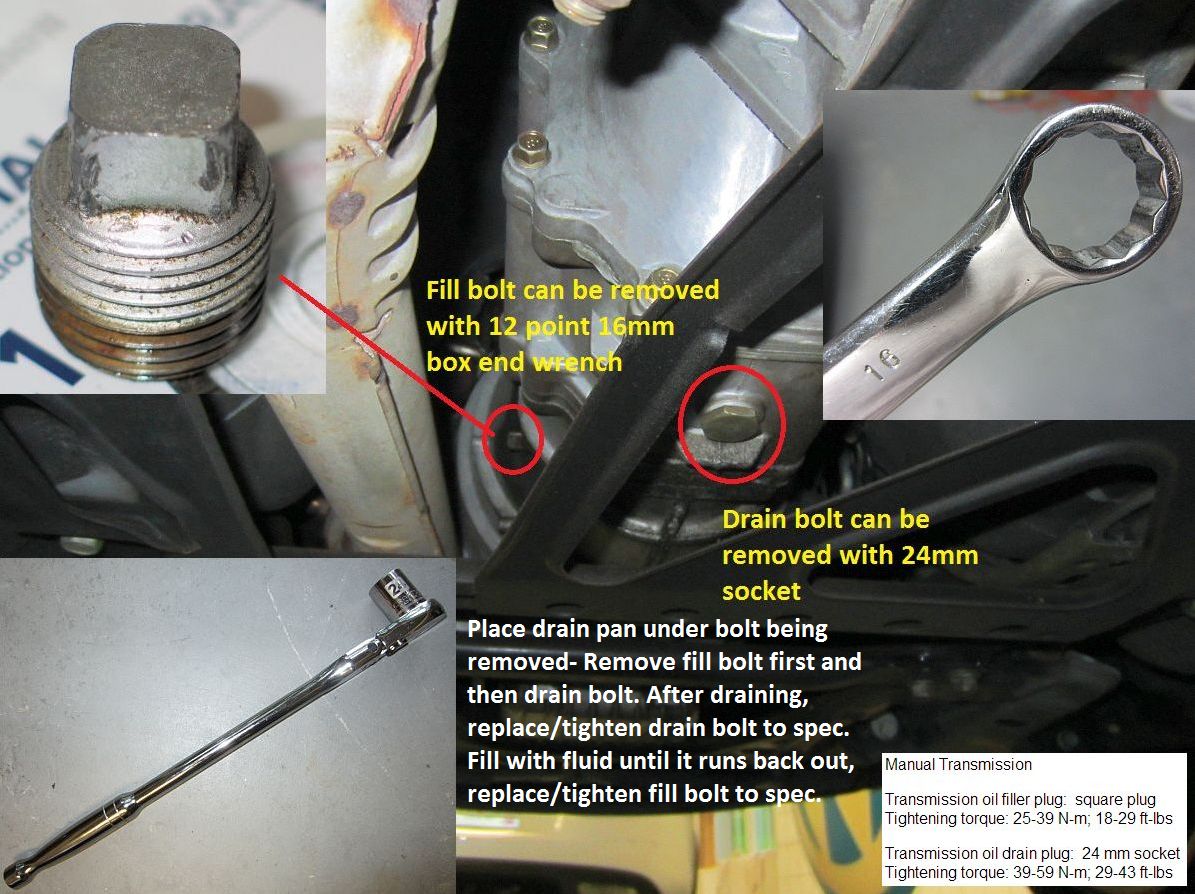
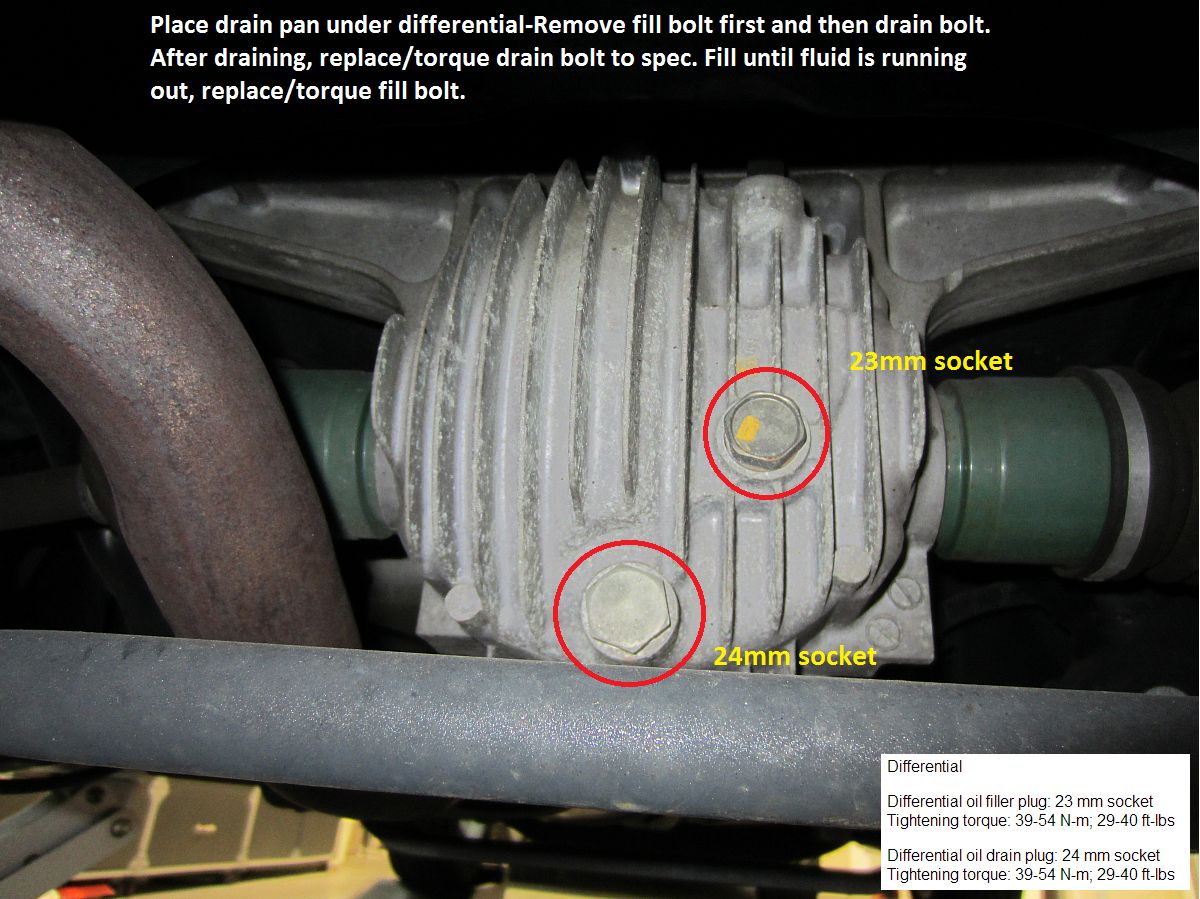
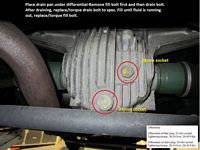
At ~151k miles and shortly after purchase- time for transmission oil and differential oil changes. I used ramps up front and then used two small jacks at the rear jack points to raise the car far enough to place jack stands. I used a level under the pinch rail to make sure the car was level front to back. The car has to be level front to back and side to side for the fill process/quantity to be accurate for the transmission and differential.
Starting with the rear differential, I used a 23mm socket to remove the fill bolt and then a 24mm socket to remove the drain bolt. After cleaning up the drain plugs and allowing the fluid time to drain, the drain plug was reinstalled and per the Mazda manual specification torqued to 39.2-53.9 Nm, 29-39.7 ft-lb. Using a hand pump, the differential was filled until fluid started to come out the fill hole- capacity for the differential is 2.1 pints. The fill bolt was then reinstalled and torqued to spec. I used Amsoil Severe Gear 75w90 (GL5) for the differential.
Moving on to the transmission, I used a 16mm wrench to remove the square head fill bolt and then a 24mm socket to remove the drain bolt. After cleaning up the drain plugs and allowing the fluid time to drain, the drain plug was reinstalled and per the Mazda manual specification torqued to 39-59 Nm, 29-42 ft-lb. Using a hand pump, the transmission was filled until fluid started to come out the fill hole- capacity for the 5 speed transmission is 4.2 pints. The fill bolt was then reinstalled and torqued to spec. I used Amsoil Manual Transmission Fluid 75w90 (GL4) for the transmission.
Torque specs listed here were found on Miata.net but feel free to verify.


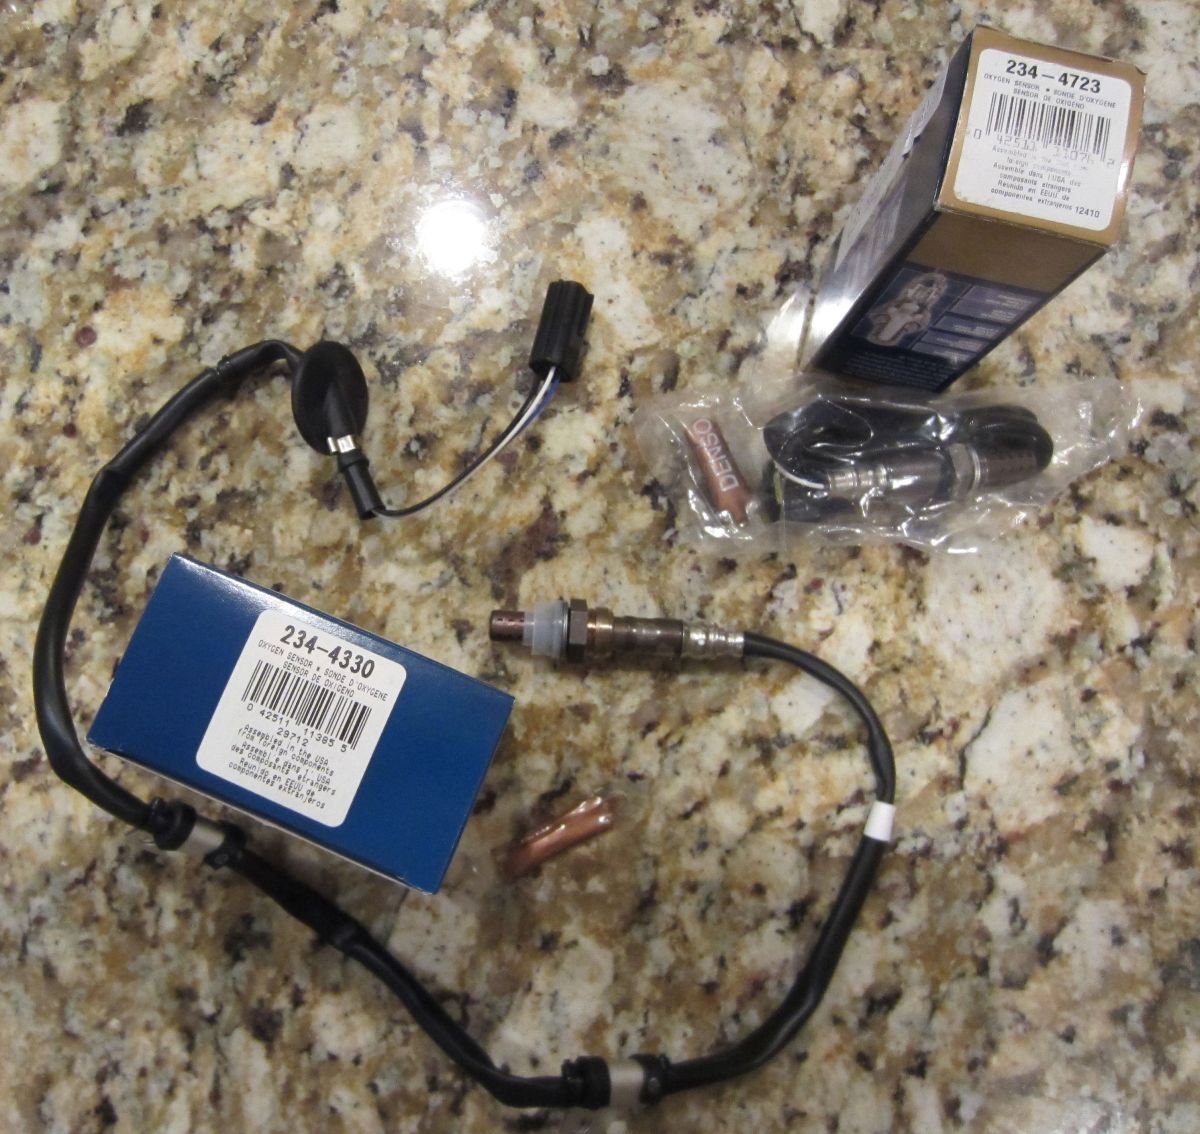
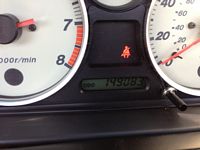
At ~157k miles the CEL lit up- P0037; HO2S Heater Control Circuit Low (Bank 1 Sensor 2). Read more at: www.obd-codes.com/p0037
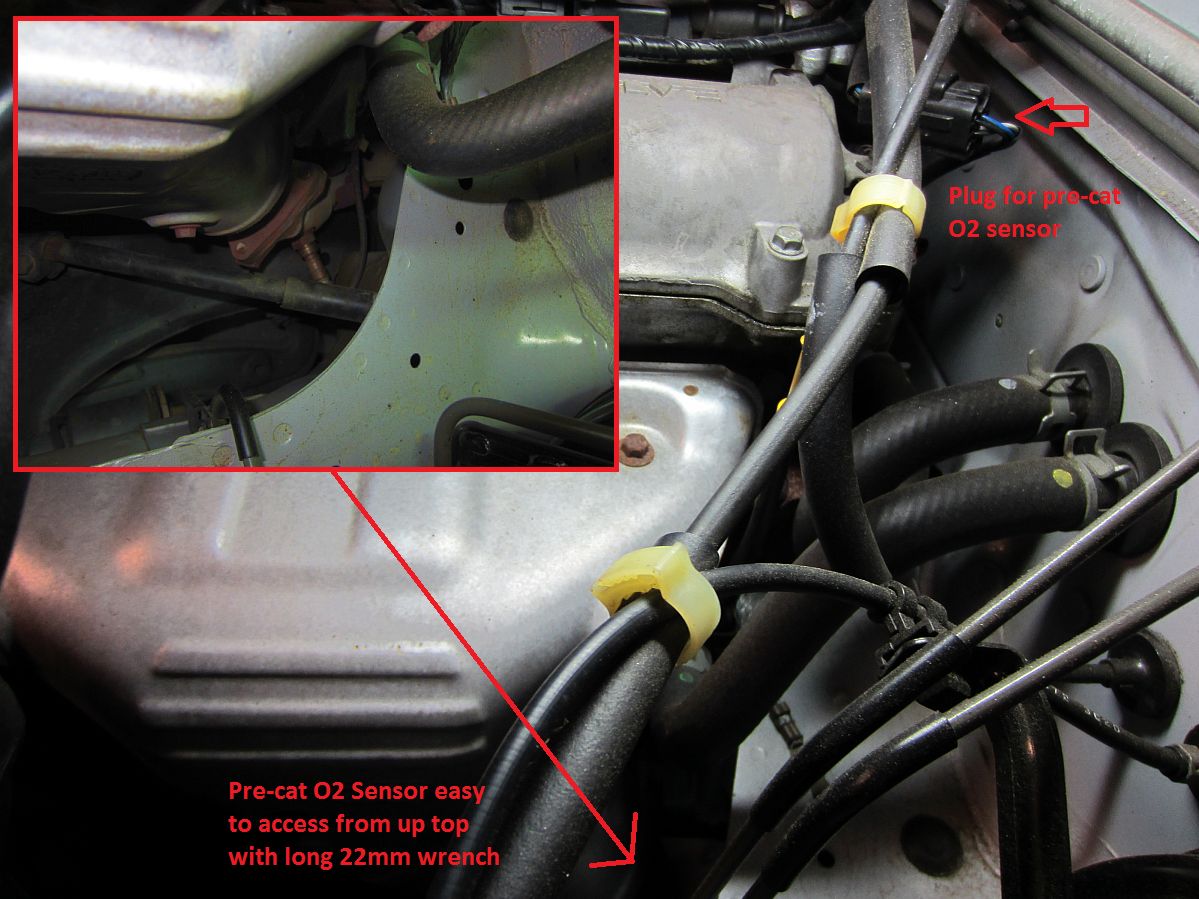
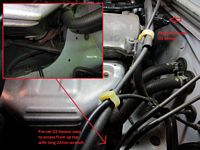
Since we had no idea when the O2 sensors had been replaced we figured it would be a good idea to go ahead and replace both, although this code only relates to the post-cat O2. I'm not a big fan of splicing generic O2 sensors and prefer OEM so Denso was purchased from Advance Auto online using one of their great coupons- P/N 234-4330 for the post-cat O2 sensor and 234-4723 for the pre-cat O2 sensor.
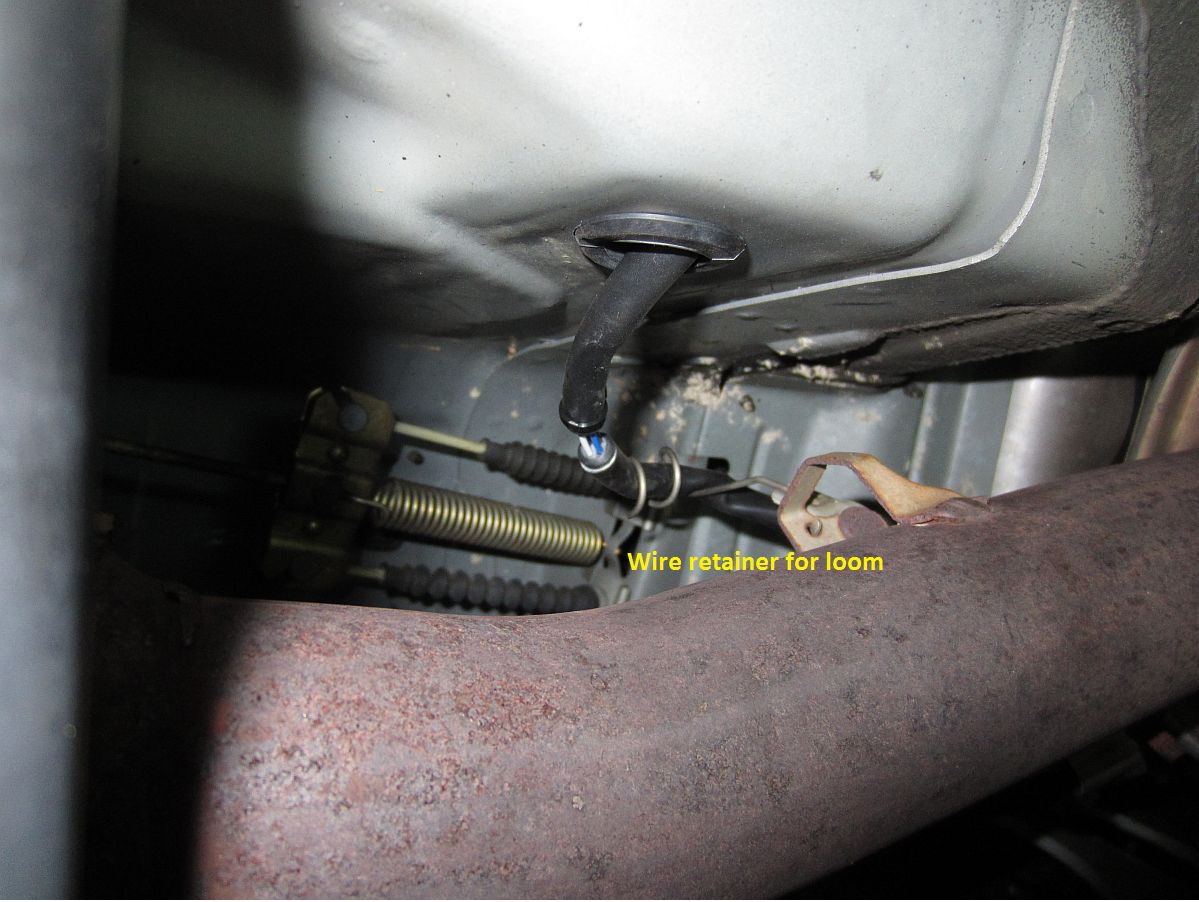
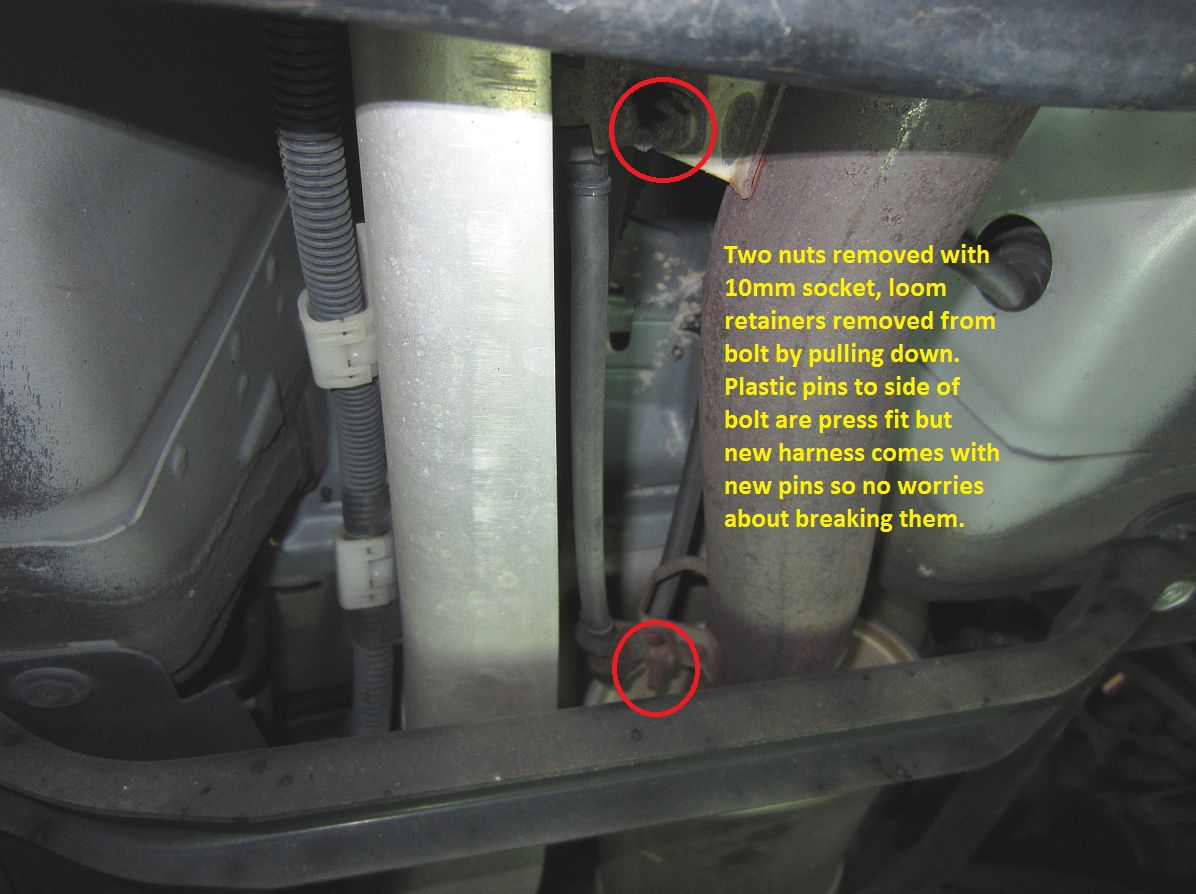
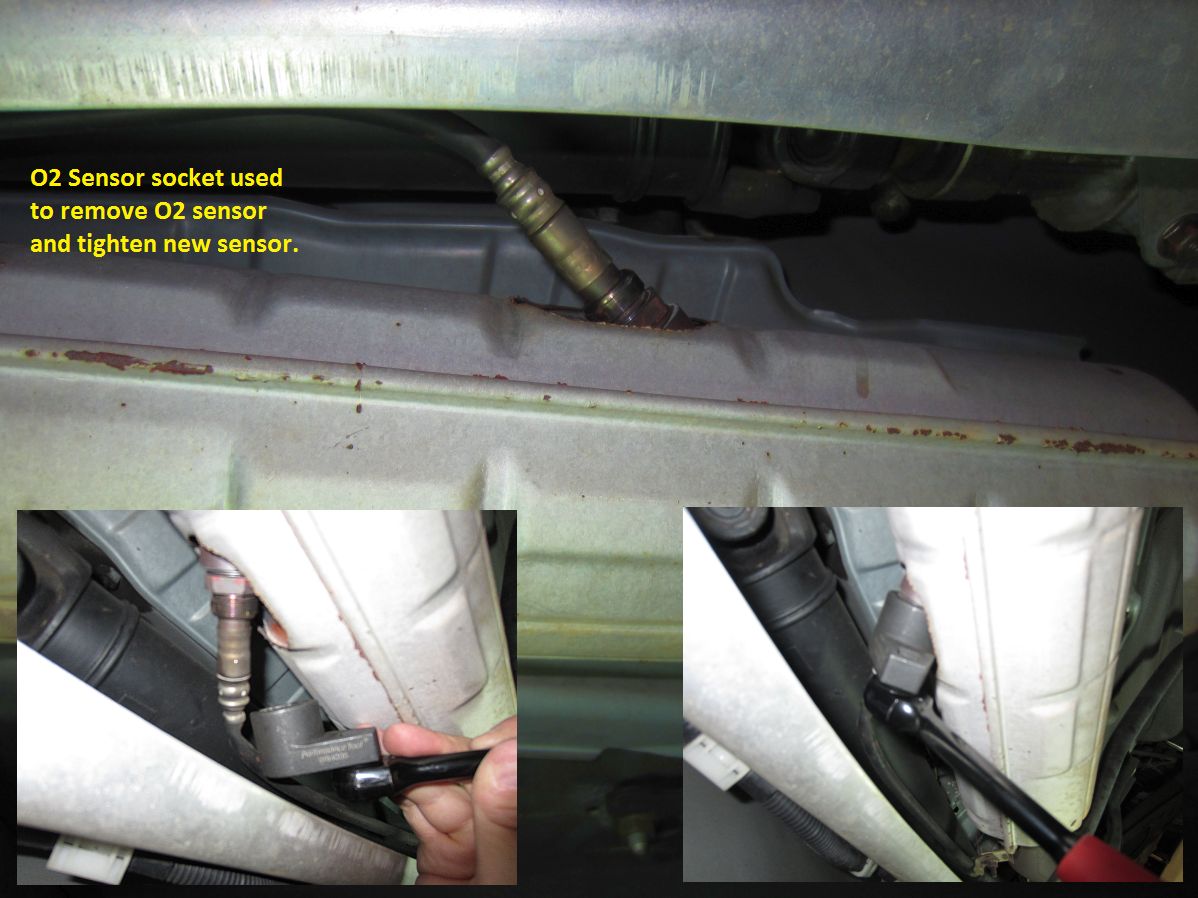
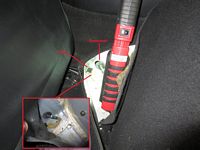
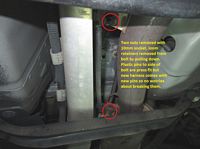
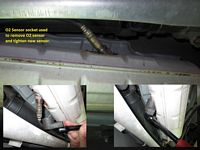
The pre-cat sensor is EASY, 22mm wrench from up top, simple R&R. The Denso sensors come with copper antiseize that should be applied to the sensor threads but careful not to get any on the sensor itself. The post-cat sensor is a little more involved. The plug for this sensor resides under the driver seat, some have removed the seat to access this but I found that unneccessary. If you are nimble, the plug can be released without seat removal and is accessed by lifting the carpet up. You will also see the rubber grommet here. Unplug and push the plug and grommet out and down to under the car. Working from the passenger underside of the car, the wire is removed from the wire loom/retainer. Next, two nuts are removed from the wiring harness retainers using a 10mm socket. Once the wiring for the sensor has been pulled down an O2 sensor socket is used to remove the sensor- no need to drop the mid-pipe. When installing the new O2 sensor (don't forget the antiseize) be careful to not twist the wires up when installing/tightening the sensor. After the sensor is installed the wiring can be installed as it was removed, grommet put into place, and sensor connected to plug.


Miata Reviews:
Mazda Miata Video: *High Speed Connection Recommended*


Mazda Miata Documents/Files:
2003 Mazda Miata Owners Manual
DIY Guides/Mazda Miata Installation Instructions:
Miata.net Garage- DIY Articles Archive
Forums and Clubs: