![]()
![]()
2018
Grand Cherokee (WK2) Mopar Rock Rail Installation (P/N 82213525AD)
So,
after multiple dealerships told me that this part would not work for our new
2018 Trailhawk I ordered a set. Sources on the forums
said they would fit and since they come as a factory installed part why
wouldn’t they? Lots of good write ups and videos, but the AD revision was a
little different- they no longer provide a tool for the door sill bolt
installation, the door sill bolts are flange head without washers (factory
instructions not yet updated), the flag bolts have been standardized, no pinch
weld stiffener bar, and I’m sure other things I have not noticed.
My
pics and comments below are meant to supplement (NOT replace) the Mopar
provided instructions:
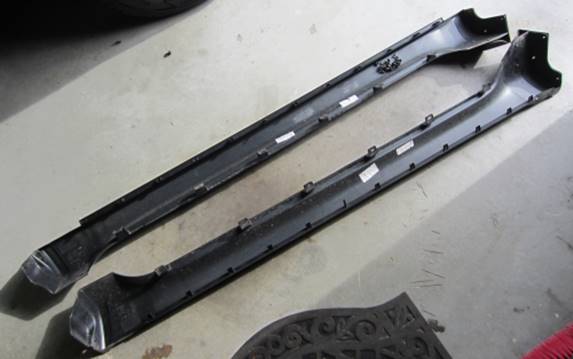
Latest 82213525AD Mopar Rock Rails
Installation WK2
Additional
links to forum info and video can be found here: http://www.billswebspace.com/GCTH.html#JeepWK2RockRails
NOTE: The
following
is provided for
information only and any use of this information by you is at your own risk.
To
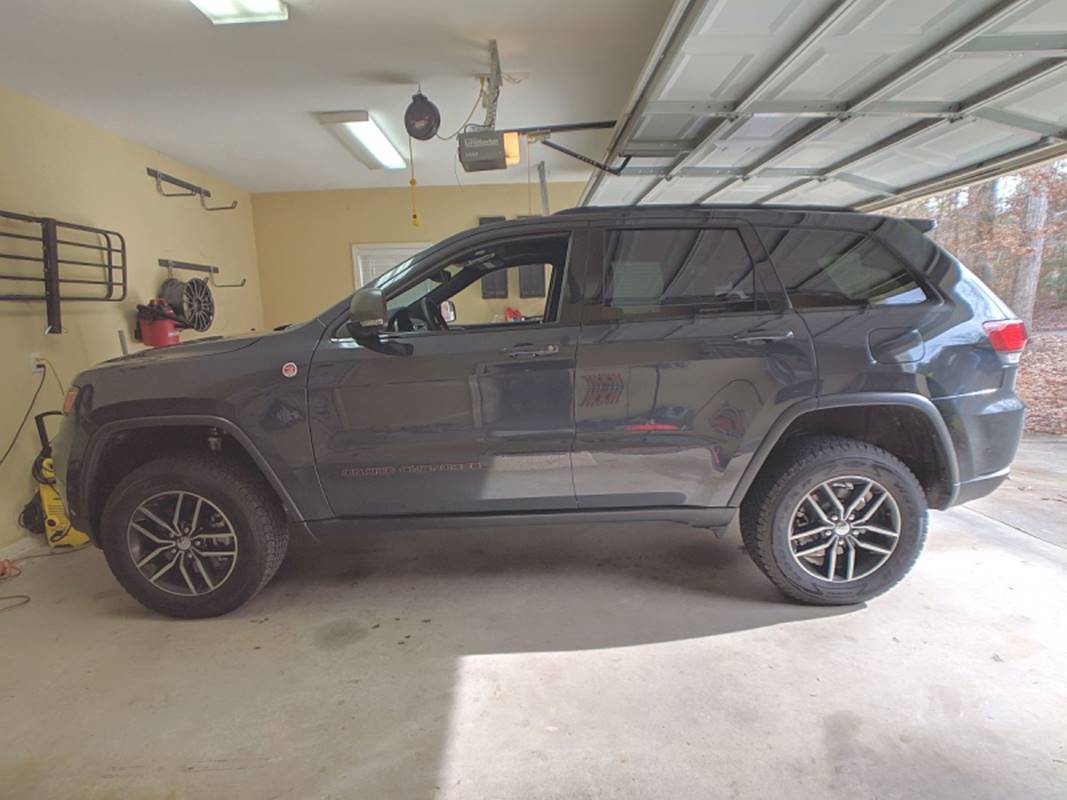
start, I put our Jeep in Offroad 2 and Jack modes,
plenty of room to work:
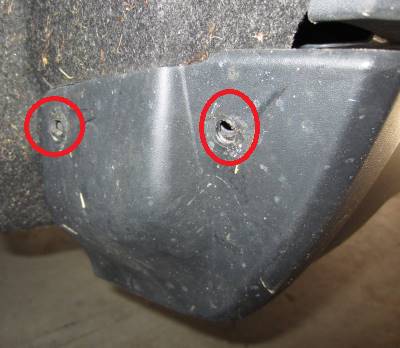
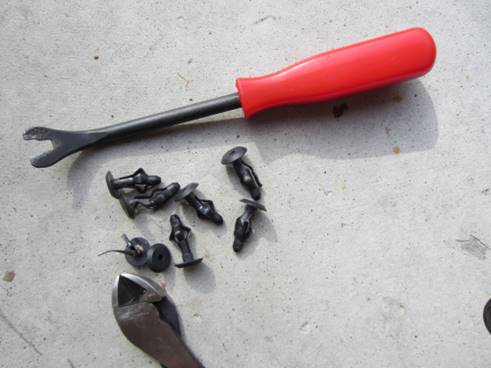
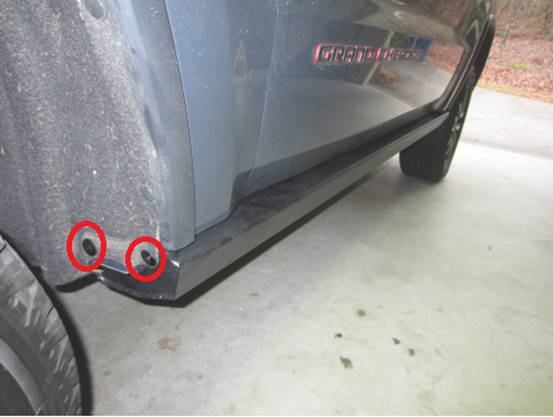
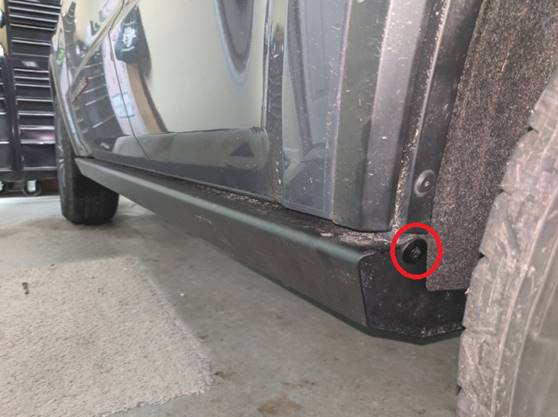
I
then removed ALL plastic rivets from the plastic sills we would be replacing as
well as the single bolt out back (10mm socket)- a trim tool makes quick work of
the plastic rivets and all came out easily except for a few, wire cutters to
the rescue:

With
doors open, the next step was to unclip the OE plastic skirts. I started using
a plastic trim tool and then just pulled them off carefully. No worries about
breaking anything, these are throwaway parts that you can elect to cut up for a
more finished looking installation……I did not.
Pulling
the plastic sills off can pull the sheet metal out around the door sill
mounting holes, I used a plastic mallet (rubber would work too) to lightly tap
them flat again…. logic being it would make it easier to start the nuts on the
bolts installed here later with a flat surface when the rock rails are put into
place.
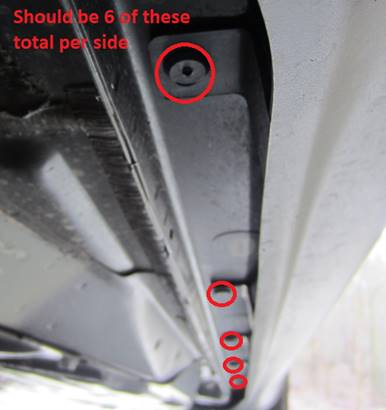
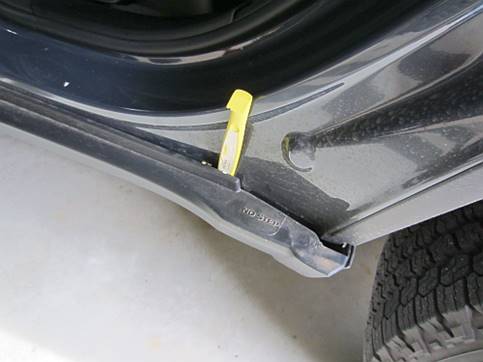
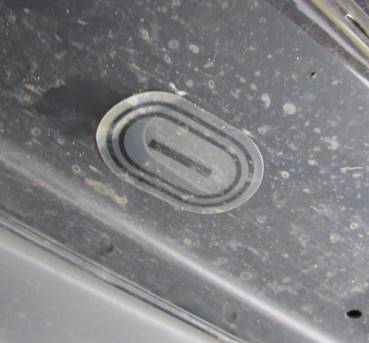
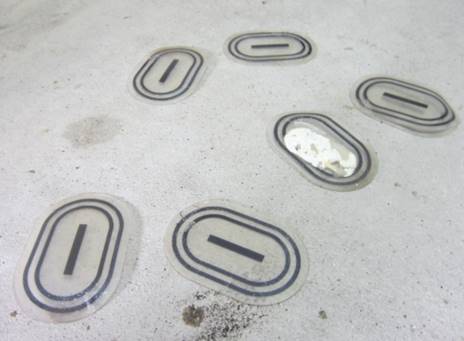
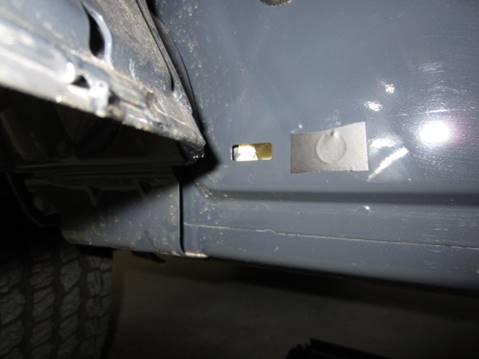
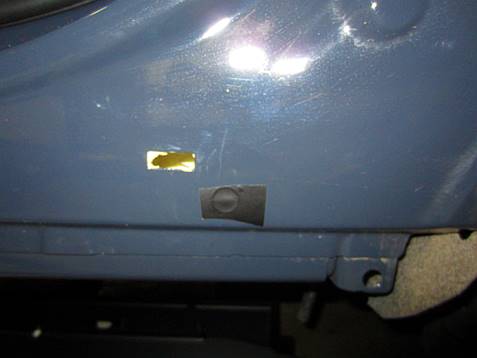
I
did not have grommets to remove under the sill/beside the pinch rail, Jeep
decided to ditch those and now uses plastic stickers to cover the holes. These
were removed by carefully inserting a razor blade and then using pliers to pull
off, all removed on both sides- (6) per side.
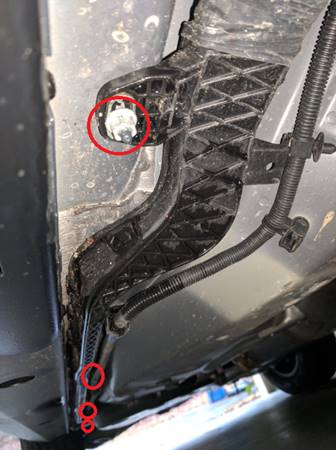
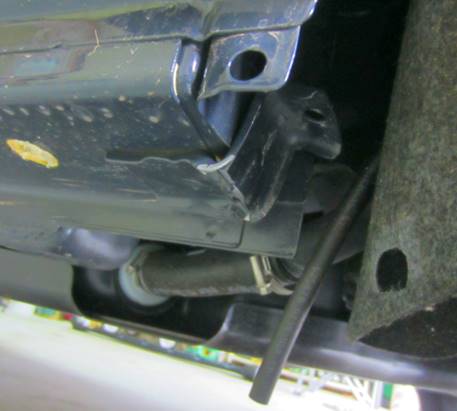
Remove
(4) bolts with 10mm socket for wiring harness on passenger side, let it hang.
My
wife helped out with prep by making sure ALL the nuts and bolts worked as
desired. Welding slag and powder/coat/paint have a way of gumming up what
should be a super smooth engagement. I fortunately have a thread restoration
kit which works better than a die/tap since it should not remove any additional
metal, just the paint/powdercoat/slag. This was used
on ALL problem bolts/nuts to achieve the goal of being able to hand start and
tighten ALL, flag bolts and nuts the most critical.

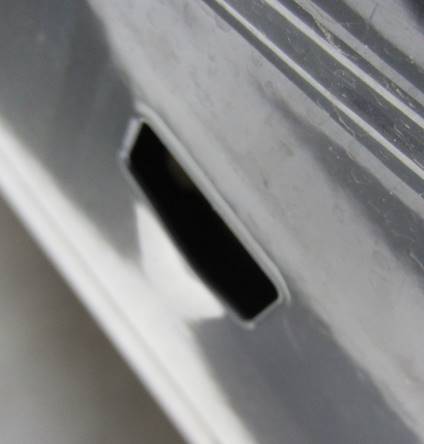
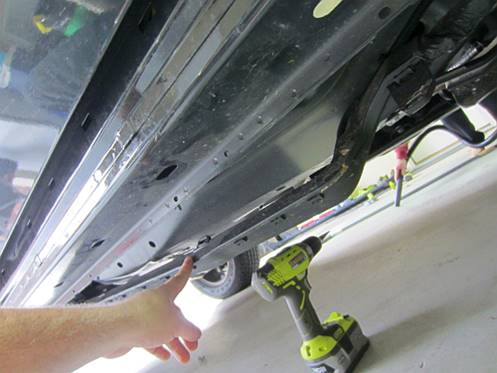
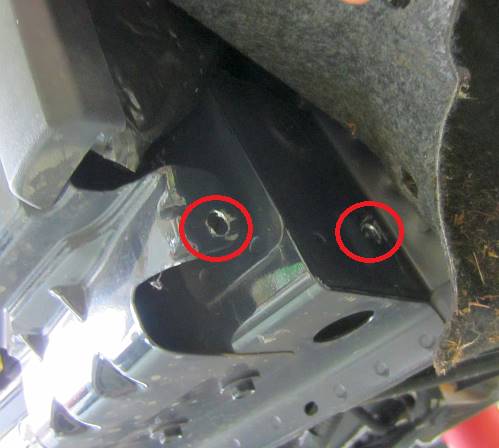
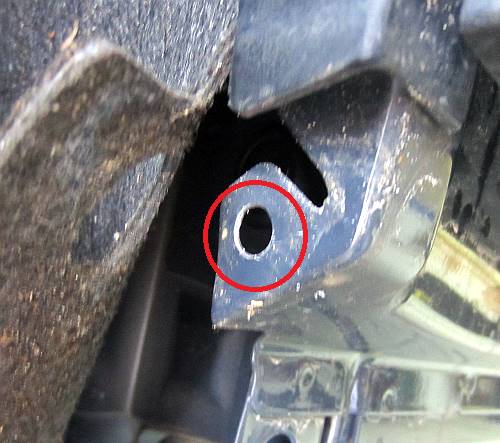
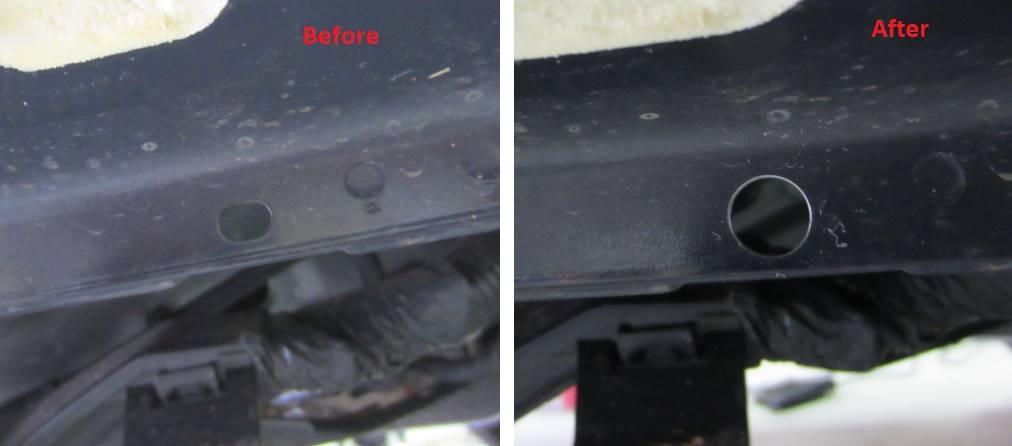
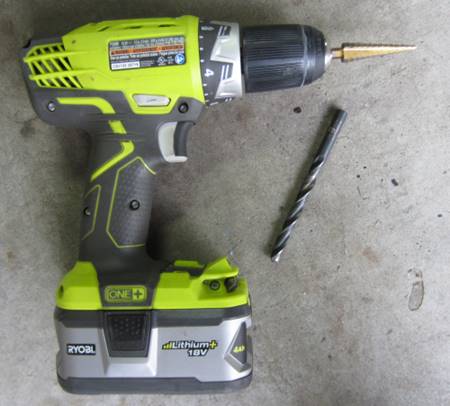
While
my wife worked on the above prep, I drilled out holes as provided in the
factory instructions. The front and rear rivet holes were drilled out using an
11/32 drill bit. The pinch rail holes were drilled out with a step bit to 10mm,
be careful on the passenger side to avoid the wiring harness.
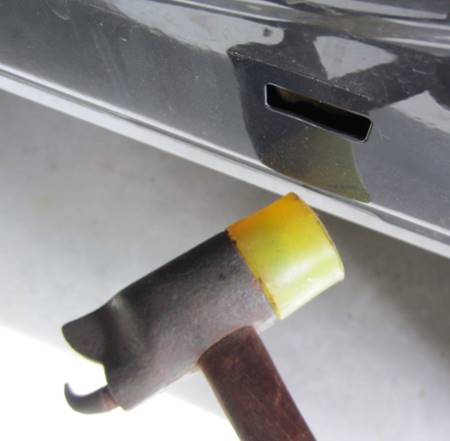
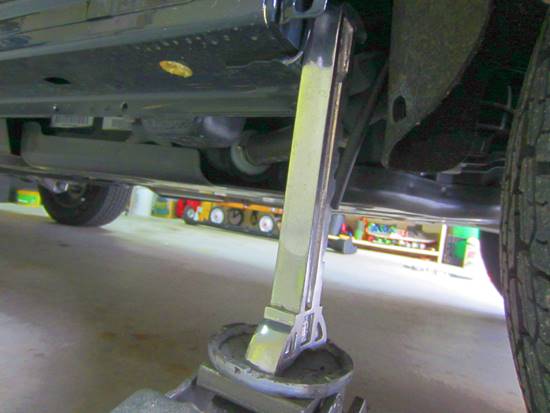
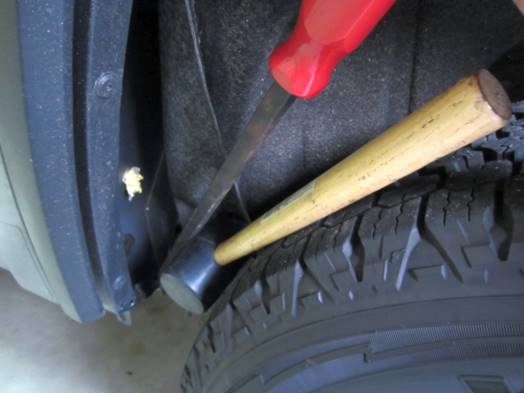
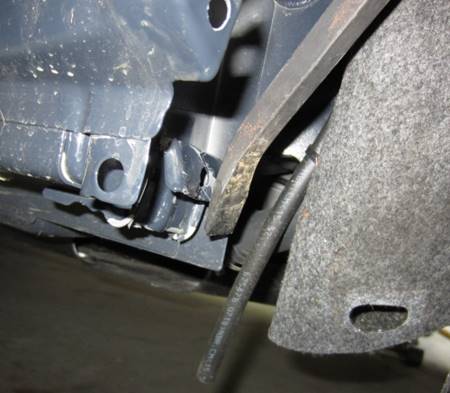
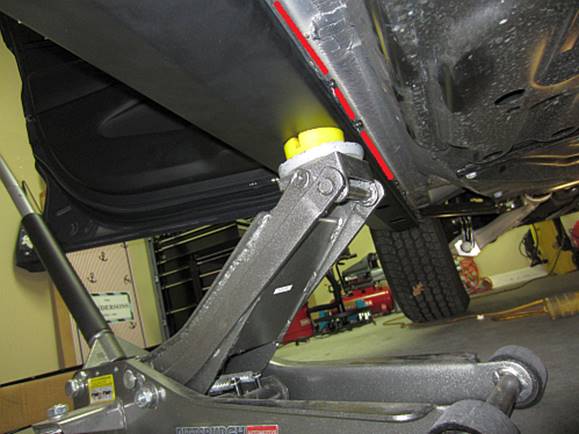
The tab at
the rear has to be bent up, this was a two-step process. I didn’t have a bottle
jack like some others have used but I did have a regular jack and jack stand. I
removed the upper jack stand support from the base and turned it upside down on
a floor jack, it fit perfectly into the tab to jack up and bend it. At that
point the tab still has to be bent as flat as you can get it, I used pliers to
bend the remaining part down and then finished with a crowbar and a rubber
mallet as a fulcrum point on the tire- that eliminated the need to remove the
tire and use a hammer.
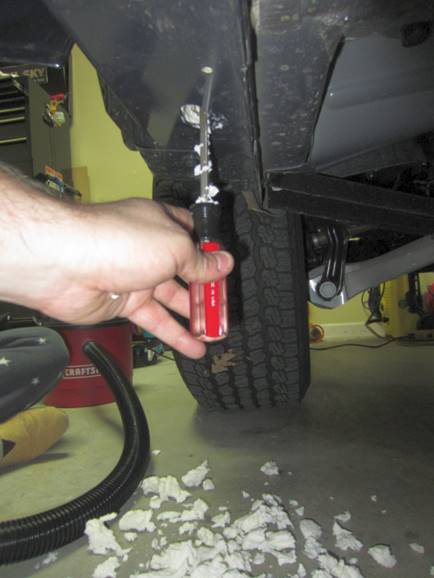
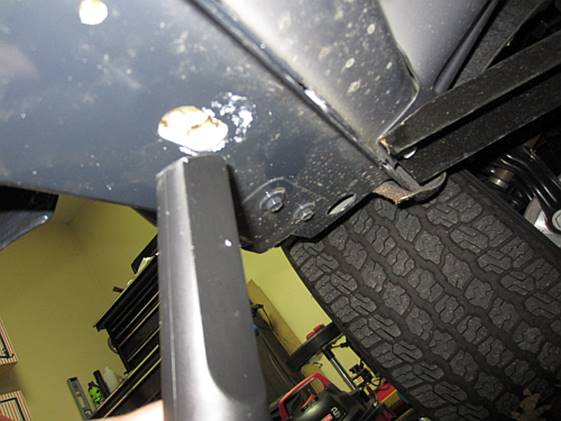
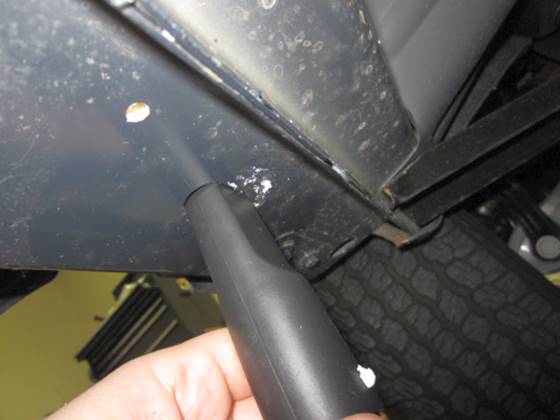
Now the real
fun begins…. cleaning the foam out of the sill cavity. Different ways to do
this, I used a flat head screwdriver in top and bottom holes to loosen and
break apart foam and a shop vac to remove. I didn’t try and remove all foam,
just what I thought might get in the way of fishing bolts through the bottom
holes to the door sill holes.
There were
two holes per side that would not be used, I covered them with exterior vinyl-
cannot be seen once rock rails are on.
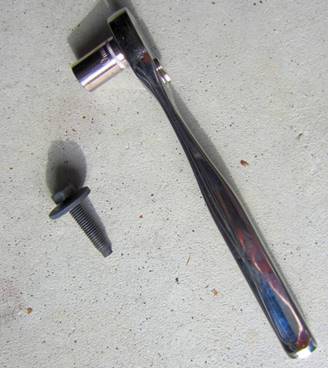
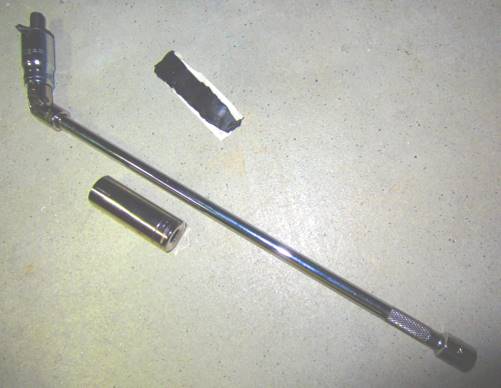
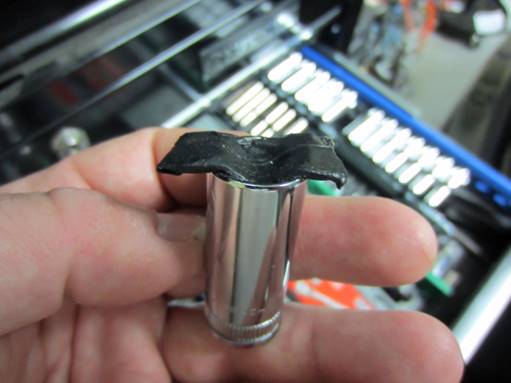
These were my tools for
installing the door sill bolts/retainers: ¼ extension, ¼ flex joint, mid length
13mm socket and a small piece of Butyl Seal Tape. The seal tape is sticky so I used a small
piece (a little smaller than the piece pictured below, adjust size to desired
level of sticky) over the face of the socket to adhere to the bolt so none
would fall out- worked perfect, no dropped bolts and only sticky enough to hold
the bolt until I needed to retrieve the socket assembly, easily removed.
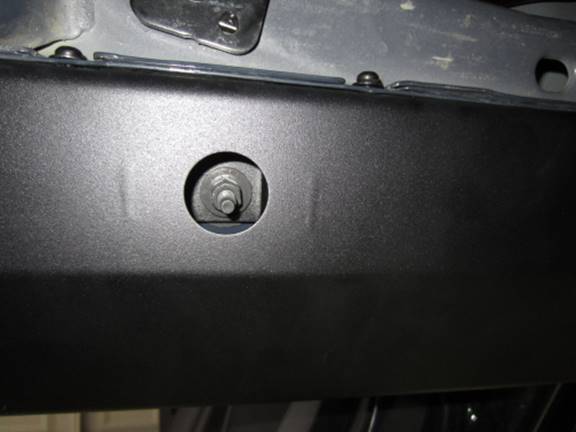
A 13mm deep socket was used to press the
retainer over the installed bolt after a screwdriver was put in place to hold
bolt. The entire process went a lot faster than expected.
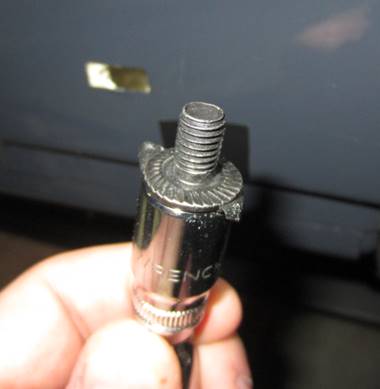
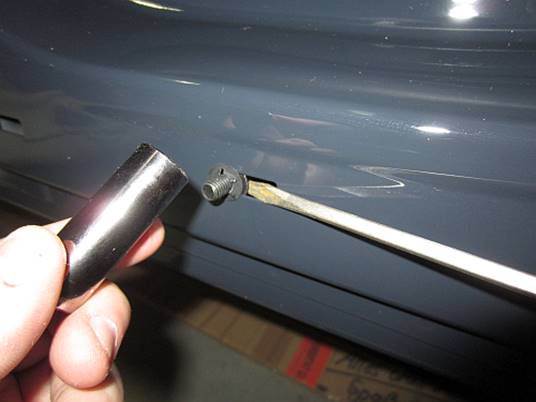
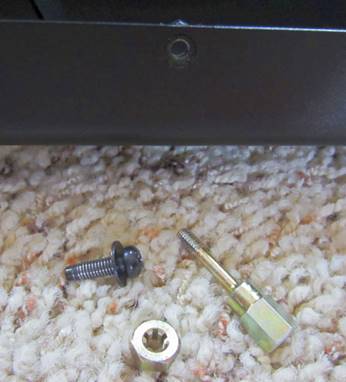
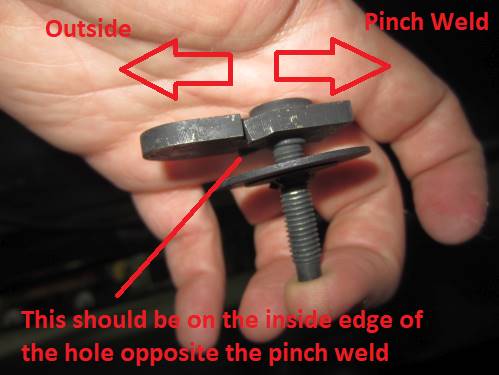
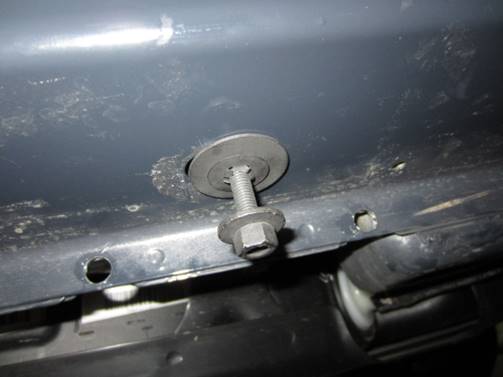
Flag bolts installed next, the washer and
retainer can be pre-assembled, halfway on the flag bolt is a good starting
point for the retainer until you see what you are working with to get it in the
hole. I like to lightly thread the nut on one more time to make sure it takes
very little effort and will not cause the flag bolt to turn before biting
(shouldn’t happen with new style flag bolts)- remove nut before proceeding.
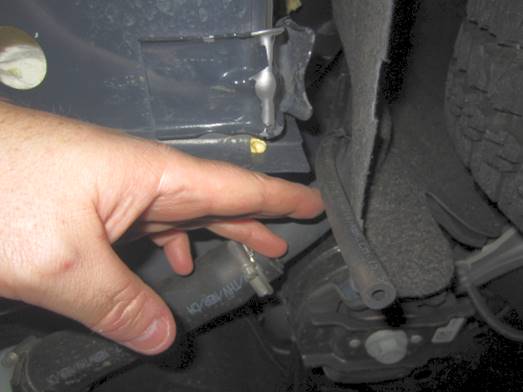
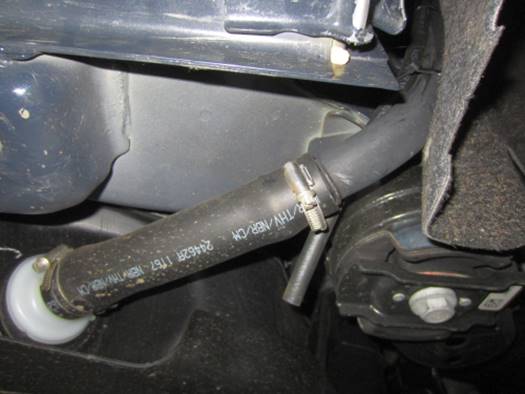
Tuck the
breather hose back in on the driver side…….
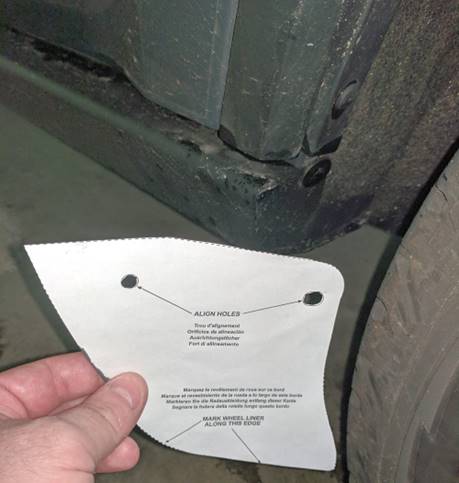
You will need
to use the provided template to trim the rear wheel well liners, but it does
not line up exactly- I had to make further adjustments after the rock rails
were installed.
**DON'T
FORGET BLUE (MEDIUM) THREADLOCK** (I added some to the door sill bolts and
pinch rail screws, as well as the flag bolt nuts before installing the rock
rails)
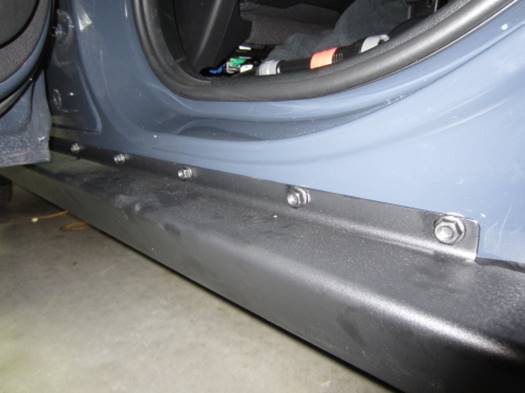
Fortunately, I had three people for the next step…. could be done alone but
much easier with more 😊 I lifted the rock
rail into place and lined up the three flag bolts and loosely started the nuts.
Up top and on either end my wife and son made sure the rear wheel liner was on
the inside of the rock rail, then lined up the door sill bolts and loosely started
all of those nuts- no issues so far, prep is everything. Next a jack was placed
under the rock rail and lifted until the pinch rail screws could all be
installed loosely but almost hand tight……then the flag bolts were tightened,
the pinch rail screws were tightened, and the door sill bolts were tightened.
Nuts and screws in below pictures were NOT tightened so don’t get thrown off by
the pictures.
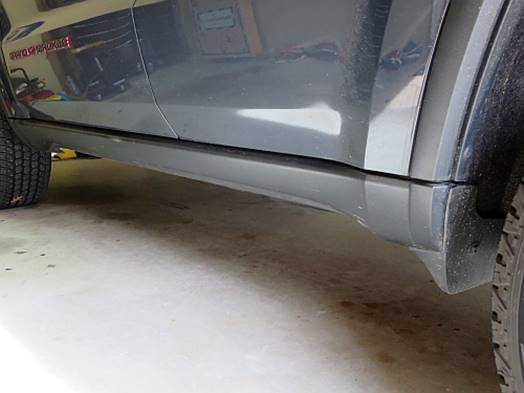
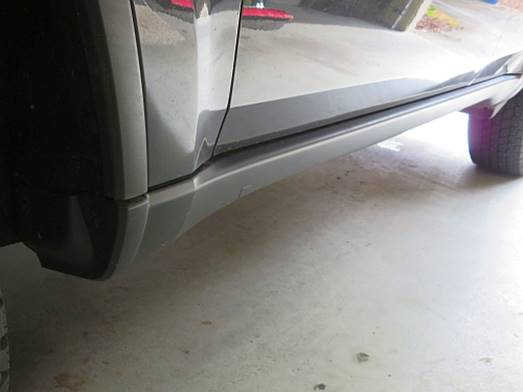
Last but not
least, line up the felt wheel liners and chassis/rock rail holes and insert
plastic rivets with push pins provided, (2) in front and (1) in back. I used a
short Phillips screwdriver to line everything up before inserting the plastic
rivets.
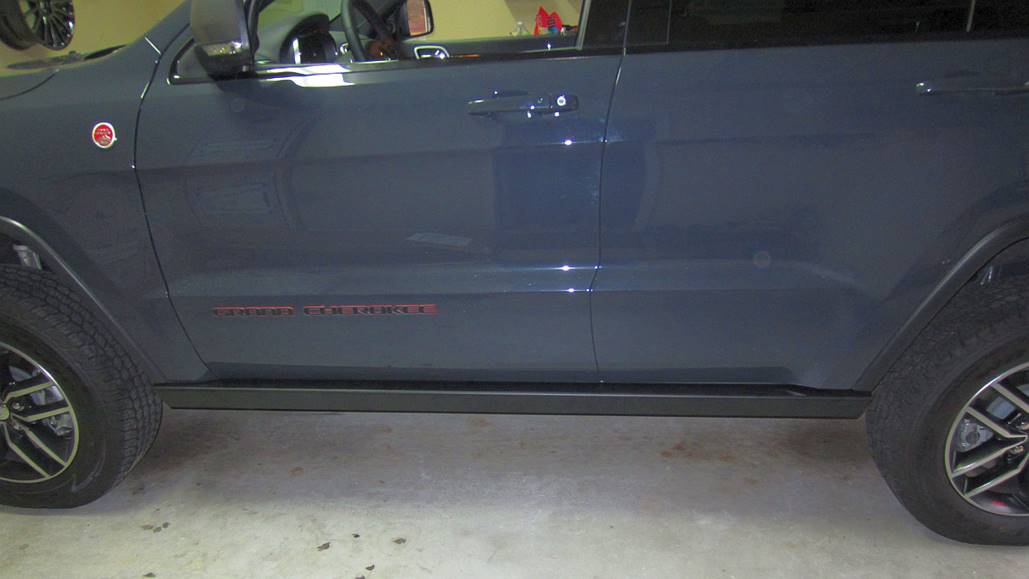
All DONE 😊