NC Mods -
Cosmetic/Convenience/SafetyDiscussions
of all non-performance mods to your NC, from body
kits and roll bars, to seat covers and steering wheels.
I was already considering a SmartTOP
when I got caught in a downpour the other day. Twelve seconds is a lot when
you're sitting still and getting drenched.
Here are some pictures of the installation which I did this afternoon. It's
an easy task, on a scale of 1 to 10 where 1=putting gas in the tank and
10=master mechanic skills, I rate the difficulty of installation a 2. An oil
change is more difficult. The only tool necessary was a 10mm wrench, and even
that may not be required once you know where the electrical connector is and
how to unplug it.
---
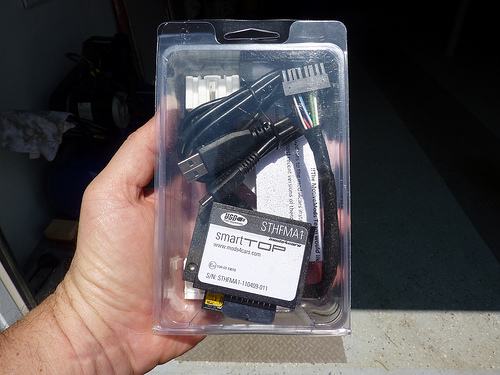
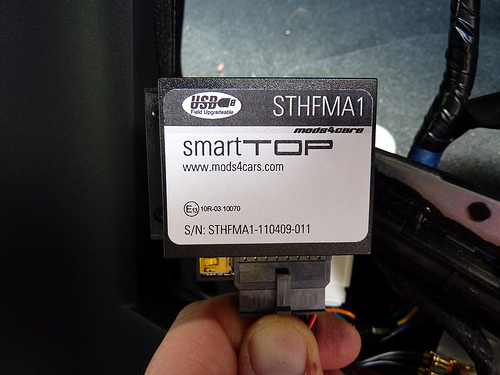
Here's what you get in the mail:
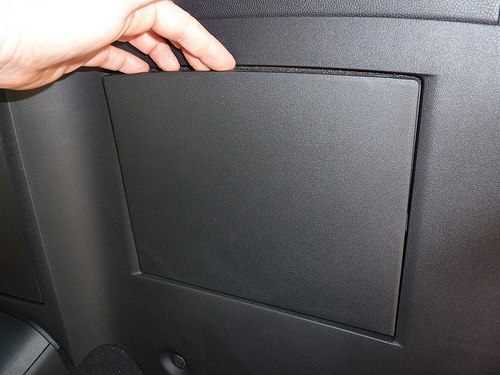
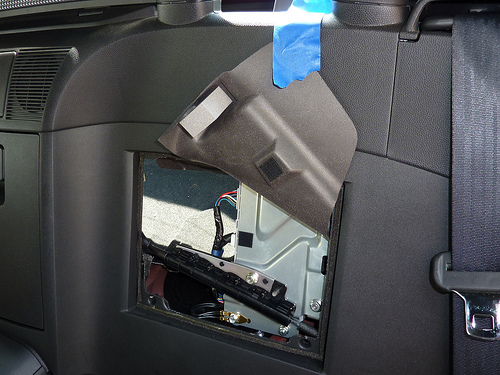
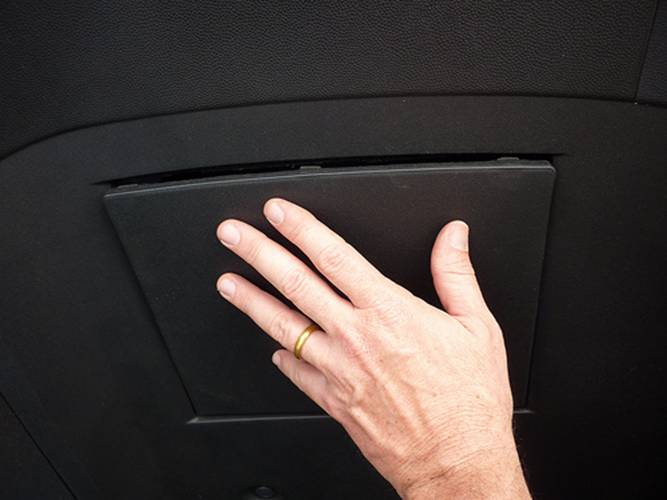
It goes behind the panel aft of the left seat. Pry the top loose with a coin
or plastic tool, then remove it with your fingers:
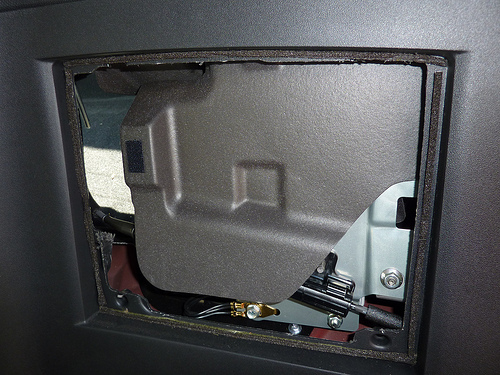
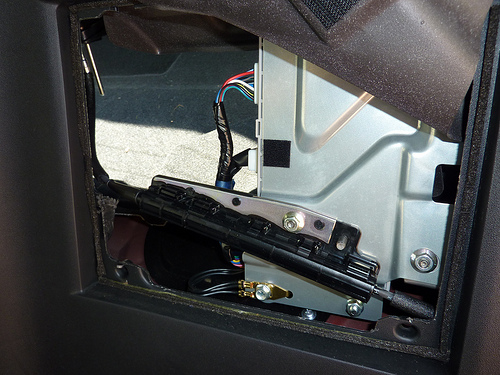
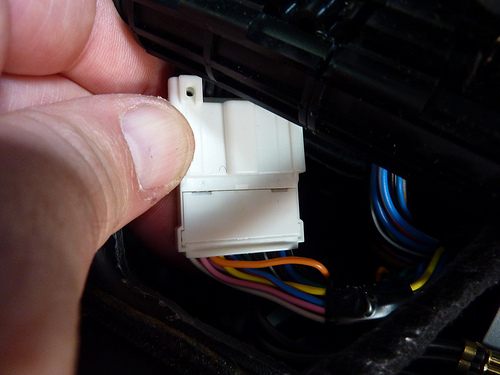
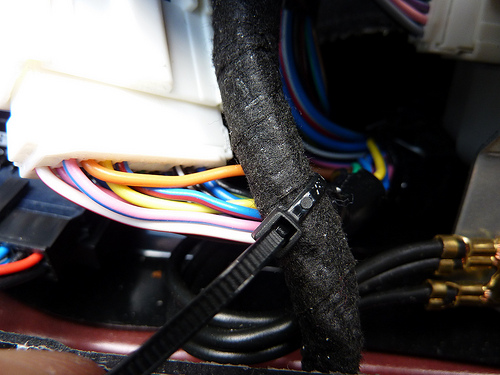
Here's what's hiding behind it:
Lifting the foam cover reveals the enclosure which presumably contains at
least some of the controls for the PRHT. The connector that must be removed
is behind the bracket holding a cable (fuel door release cable, I think):
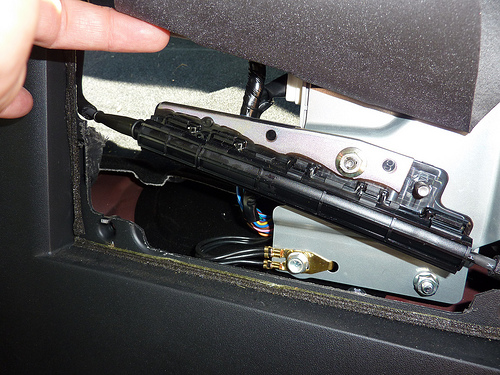
You can't see the connector, and if you can't see it, it's going to be hard
to disconnect. Clearly, that bracket must be removed.
Since I'm going to work in there for a while I held the foam cover open with
some painter's tape:
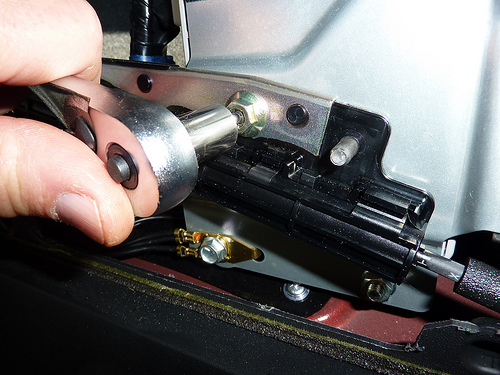
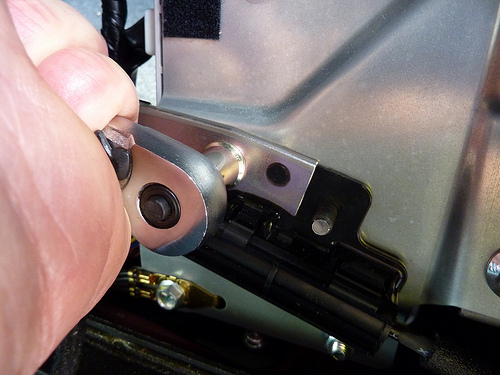
Removing the 10mm nut that secures the bracket to the control
enclosure:
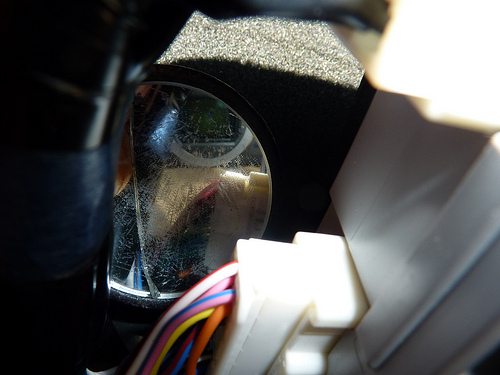
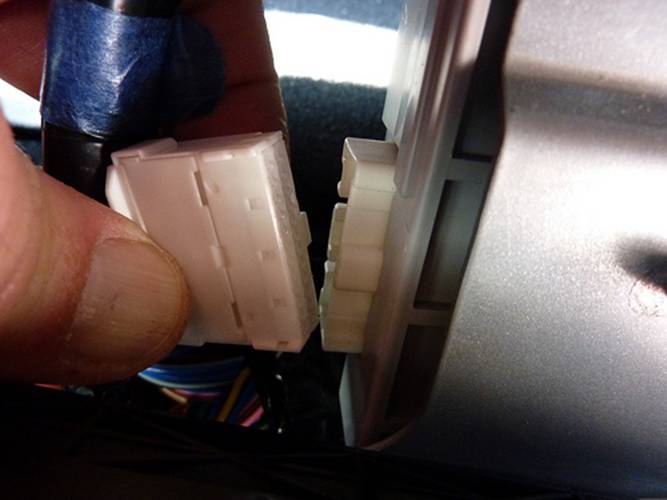
With the bracket out of the way, now I can at least see the connector plug. I
can't see the back where the lock is, though. I broke my inspection mirror so
I had to borrow Mrs. Galt's. Note to self: Mrs. Galt needs a new makeup
mirror:
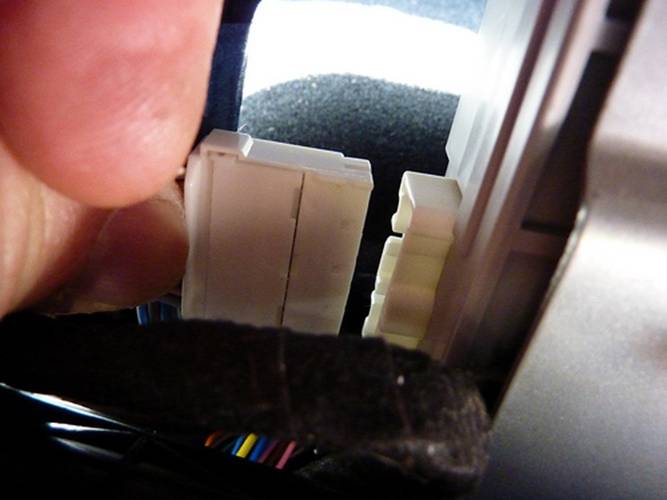
Removing the plug wasn't difficult once I saw how to unlock it. I pressed the
lock release with my left middle finger while holding the connector from the
sides with my right thumb and forefinger. Wiggling it back and forth was
enough to remove it. No tools required:
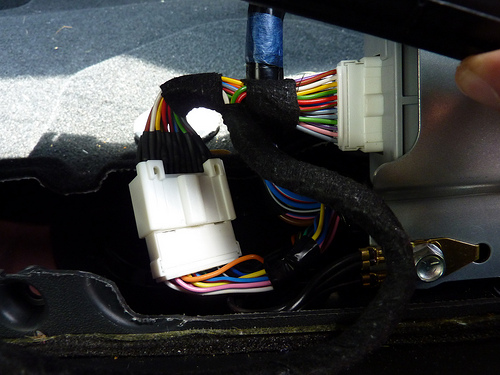
The connector I just removed gets plugged into the SmartTOP's
T harness socket. It's the only place that fits so no worries plugging it
into the wrong end of the harness. Push hard!
The other end of the T harness plugs into the PRHT electrical enclosure. Push
hard!
Both connectors attached. I think the bottom one isn't fully home yet. Push
hard!
The last connector attaches to the SmartTOP
module. As soon as I plugged it in its green LED flashed once, yes I had my
ignition off and key removed so I suppose that's normal:
With all the connectors connected I re-secured the fuel door cable bracket:
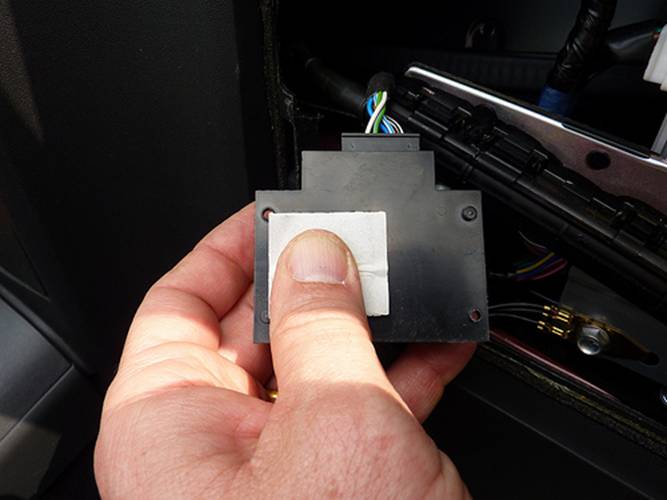
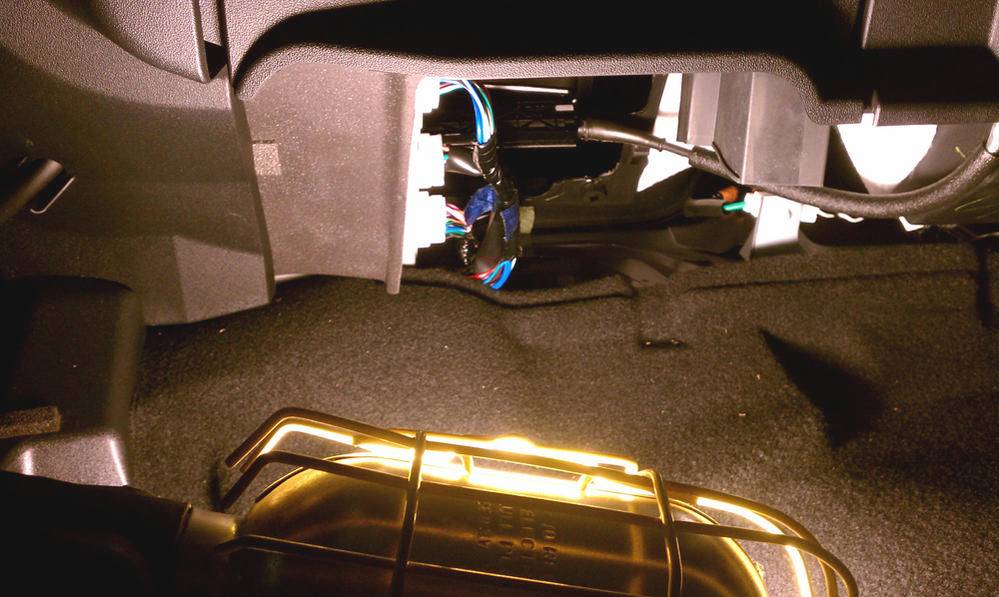
Now all there is to do is find a place for the module. I hate rattles, so it
must not contact anything that could result in noise. After considering tie
wrapping it to the cables, I decided to use the Velcro pads included with the
module. They have self-stick adhesive.
I stuck the Velcro on toward one side since that's where it will adhere to
the black panel underneath the PRHT control enclosure. The USB connector will
remain easily accessible in this location should a firmware update ever be
desired.
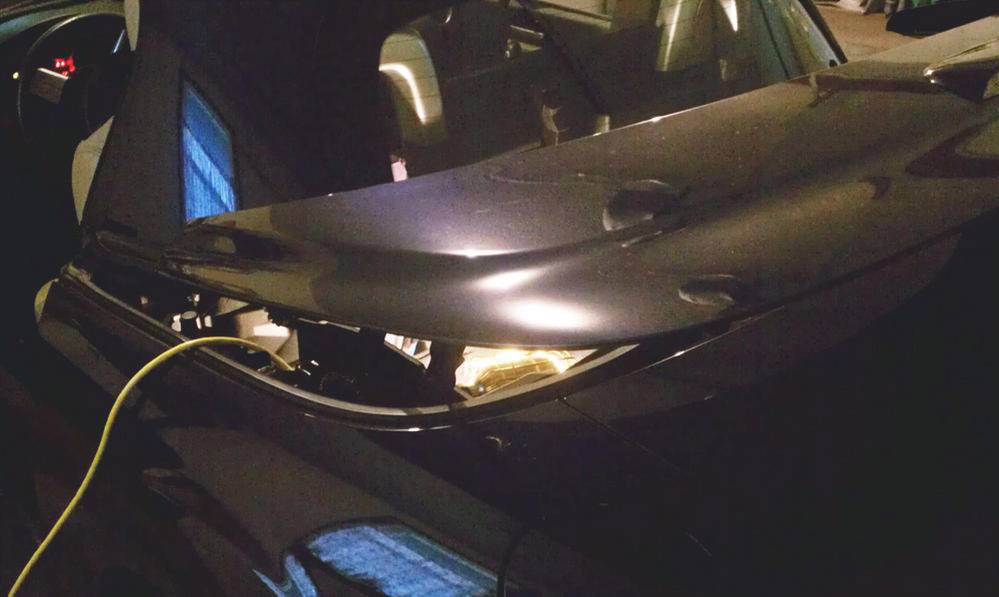
The top is shown open in this picture - I had already tested it and made sure
nothing I did with the SmartTOP or its harness
interfered with the PRHT's motion:
Since there was a possiblity one of the harness
connectors could rattle against the SmartTOP
module, I secured a tie-wrap so as to hold the connector away from module. I
hate rattles!
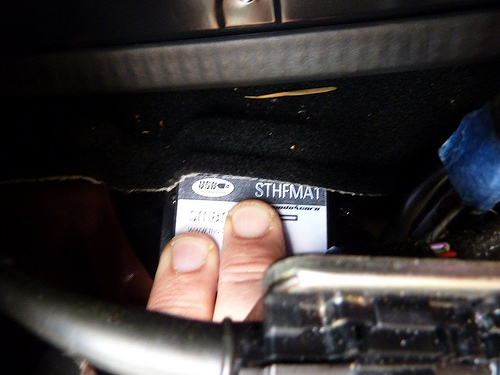
Replacing the plastic panel - place its two tabs in the bottom holes then
press the top closed.
That's it! Nothing left to do but enjoy the one-touch open and close.
Total installation time was perhaps thirty minutes, not including a break to
go get some ice cream with Mrs. Galt in the Hammond.
Operation was as expected, everything works as advertised. No surprises. Best
of all, no more stopping by the side of the road just to close the top.
MotiveMods was excellent - I ordered the SmartTOP on Sunday and got it today (Wednesday).