![]()
 Shift and Parking Brake Boot Installation for a BMW 3 Series
(E90/92/93)
Shift and Parking Brake Boot Installation for a BMW 3 Series
(E90/92/93)
CAUTION: This guide is
provided for informational purposes, use of this information is at user’s
own risk.
Tools needed for install:
Razor knife (hobby or
X-Acto knife works great)
Flat Blade Screwdriver
Pliers of your choice
Wire Cutters
Glue of Choice for bonding
leather to plastic (I used SuperGlue)
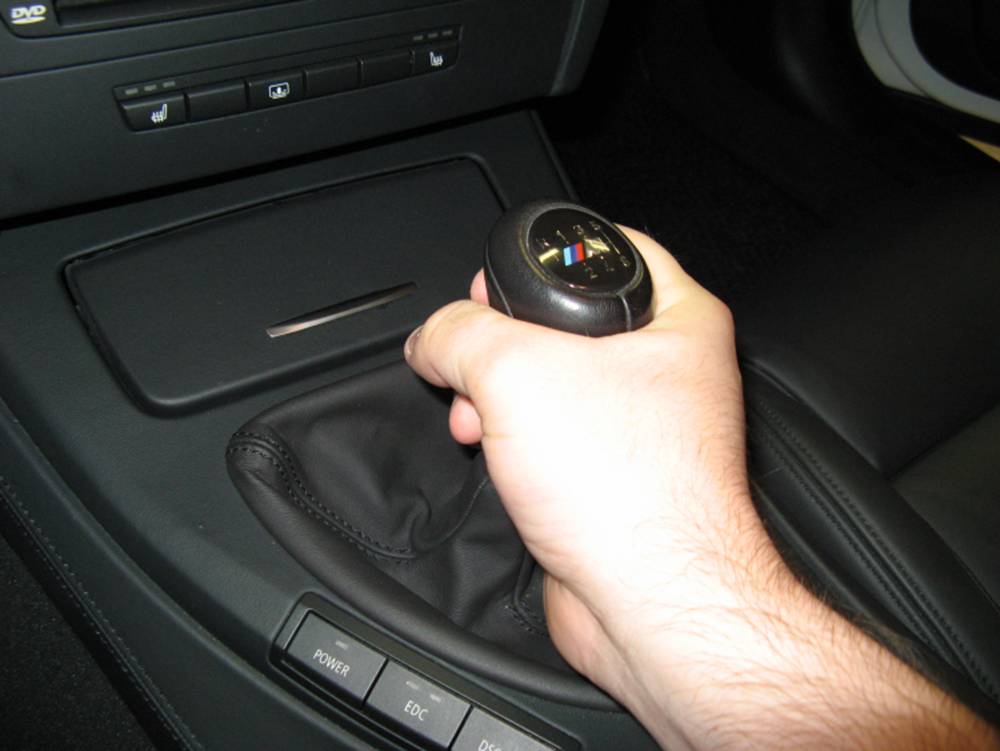
*SHIFT BOOT
STEP 1: Remove the shift knob if it is
separate from the shift boot. This is accomplished by pulling the knob upward,
some have better luck putting the shifter into 3rd gear and pulling
back/up.
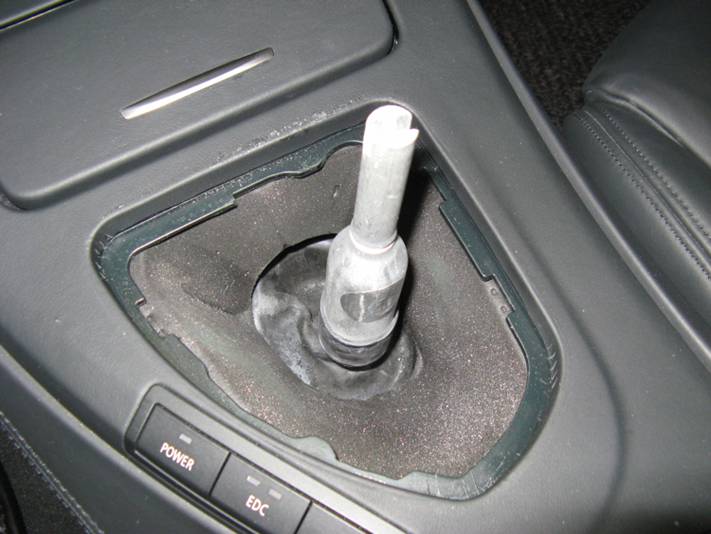
STEP 2: After the knob is removed, the boot can be removed by pulling upward
at the frame snap points starting with the front, there are four snap
locations. If the knob is lighted, the electrical connector can be unplugged.
If the knob is attached to the boot (M3), the knob can be removed with the boot
now.

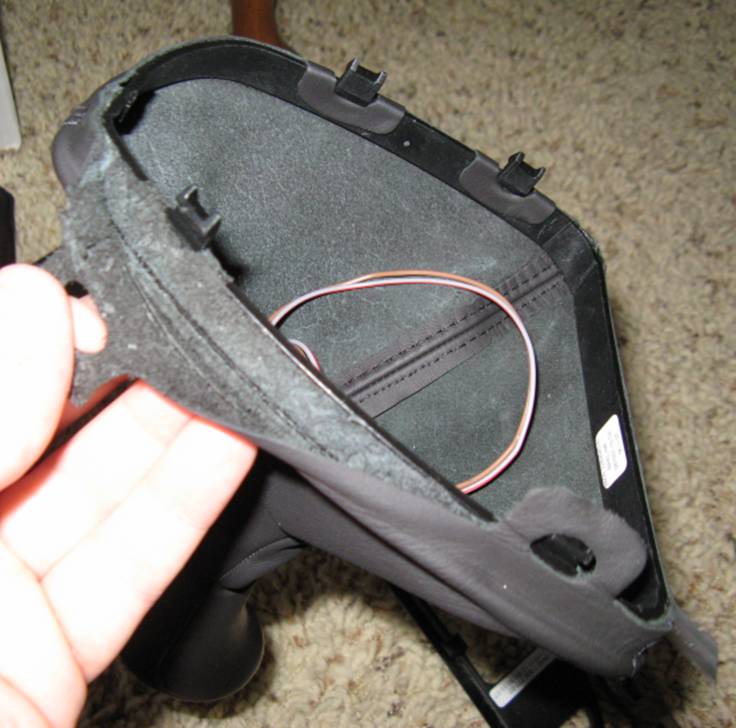
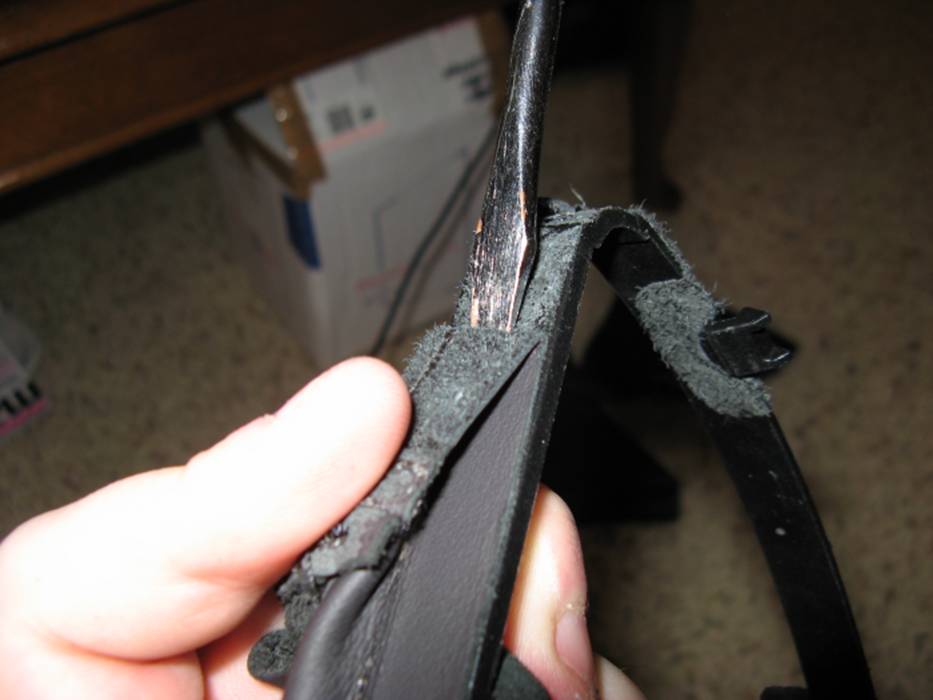
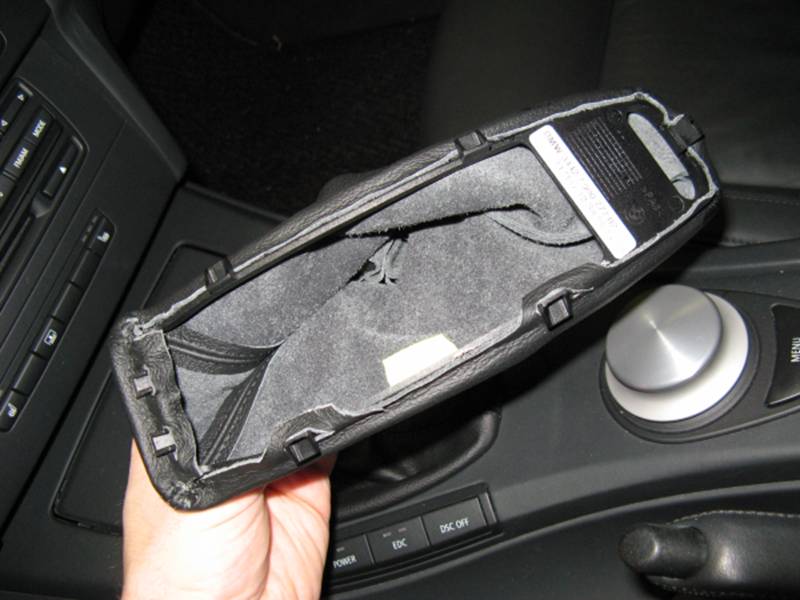
STEP 3: The boot can now be carefully removed
from the plastic frame, I found it easiest to use a razor blade (not safe BTW)
to get the separation started and then used a flat-blade screwdriver to
separate the rest- be sure to stay close to the plastic to avoid damaging the
leather if that is a concern. At some point you should be able to carefully
peel the leather off the frame. I did this S L O W L Y to avoid cutting,
puncturing, or tearing the OE leather boot since I might want to reinstall it
at some future time. You may want to try and get as much of the remaining
leather off the frame to promote adhesion of the new glue and to reduce the
thickness of the assembly so that it is like OE.
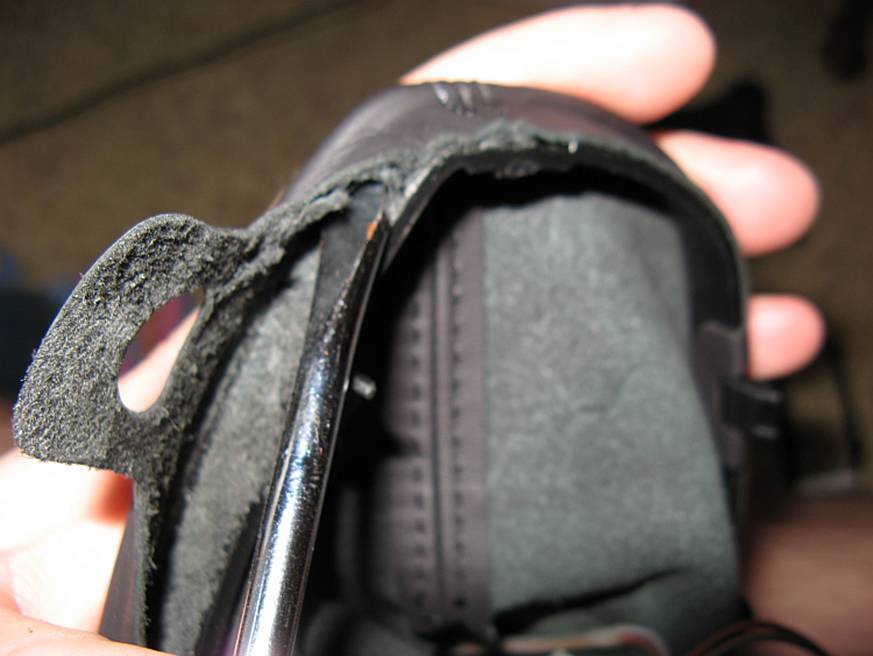
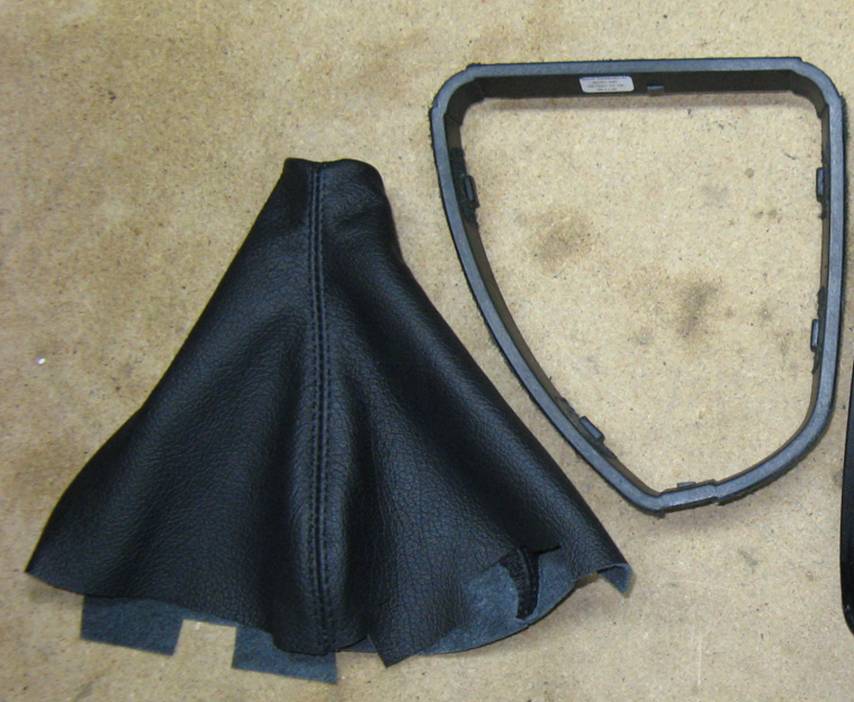
STEP 4: Now all that remains is the
plastic frame and the new leather boot. Start out by inserting the frame into
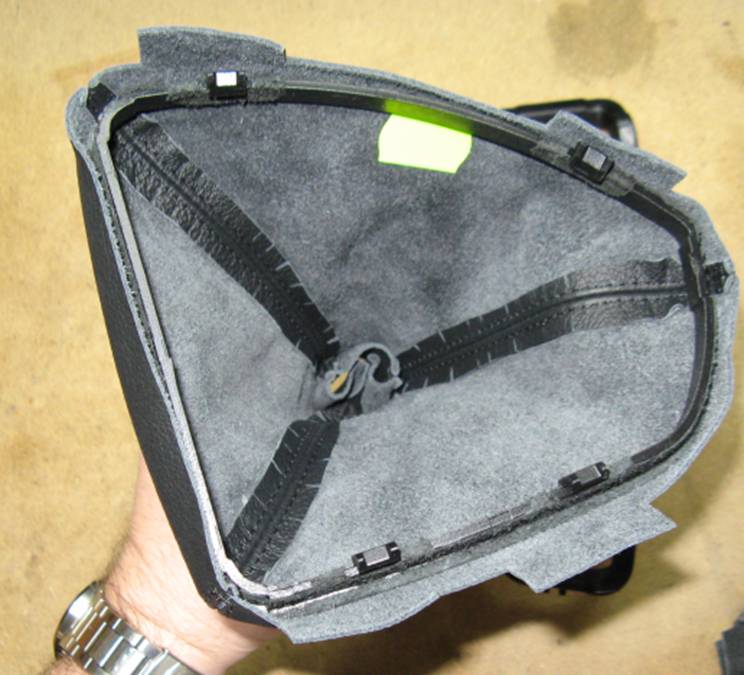
the new boot. Next, cut slits in the 4 tabs that line up with the snap points-
the cuts should be in line with the edge of the boot. My glue of choice was
super glue, I tacked down all three of the stitched seams into the recesses on
the plastic frame to start, and then worked my way around the frame, applying
super glue and pressing leather and plastic together a small section at a time-
no rush. I only applied glue where the factory had glue.

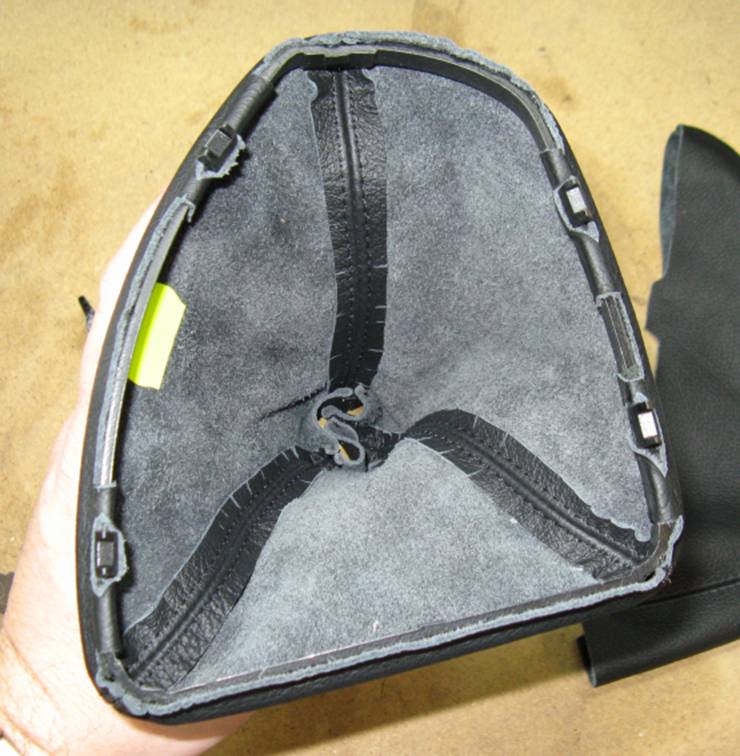
STEP 5: The boot is now attached to the
base and ready to go in the car. You may need to trim additional leather from
around the snap areas carefully using a razor blade (wire cutters worked for
me) if the boot does not snap firmly into place. Also, the top of the boot can
be left loose on the shifter or you can use a zip-tie to anchor it to the
shifter…..easily done by turning the shift boot inside out, and then
installing:
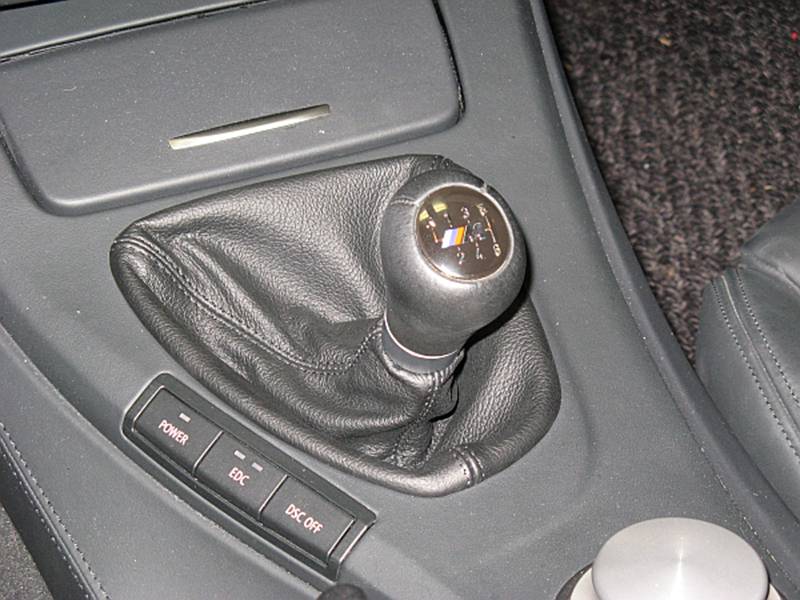
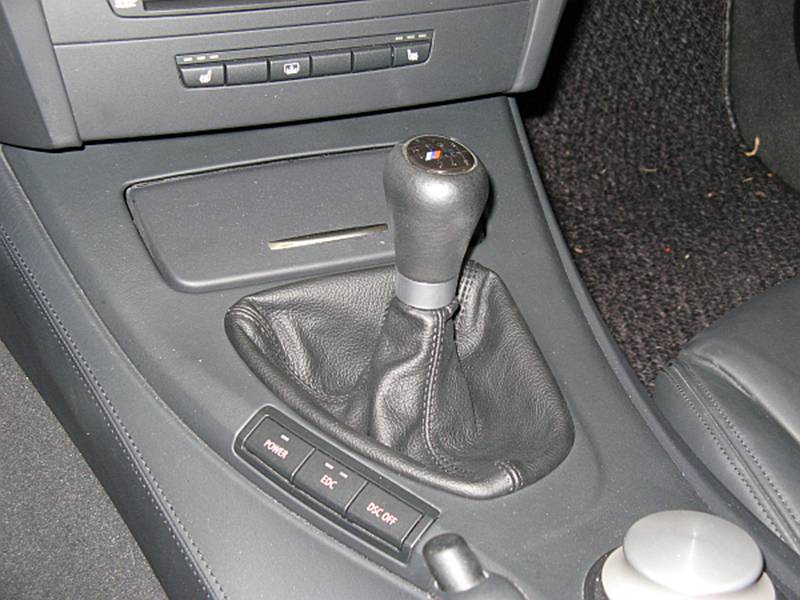
INSTALLED SHIFT BOOT:

By request, here are some pics with
the ZHP shift knob that I no longer use:
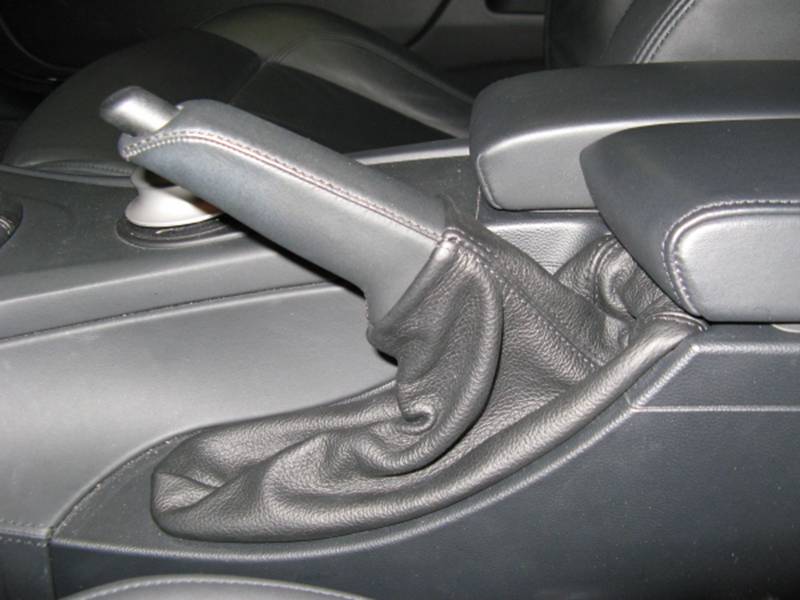
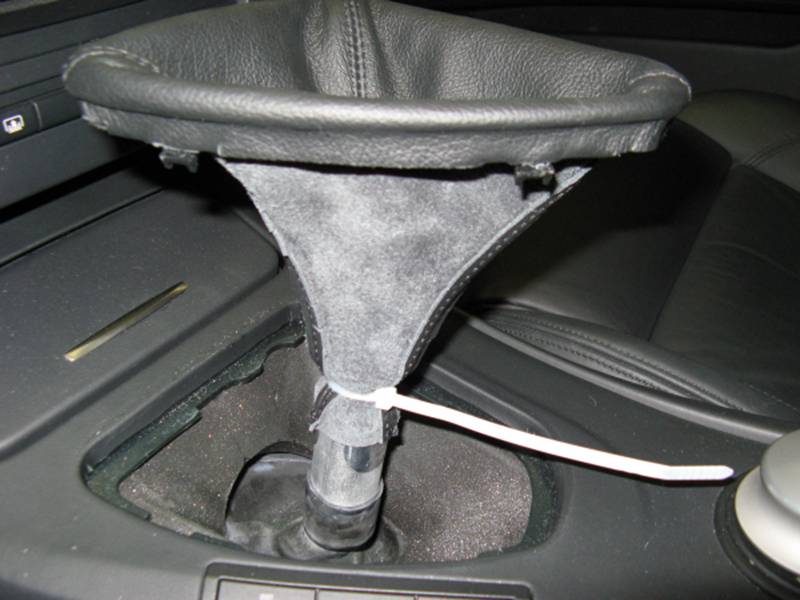
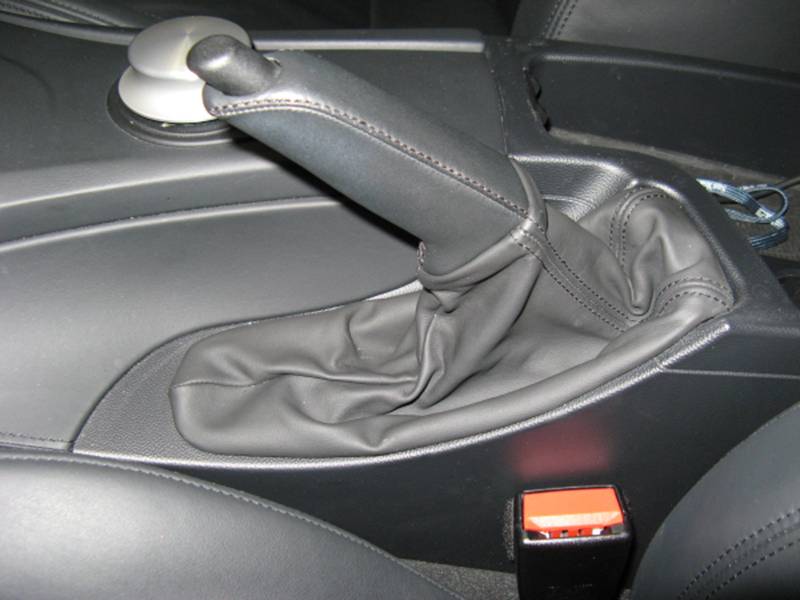
*PARKING BRAKE BOOT
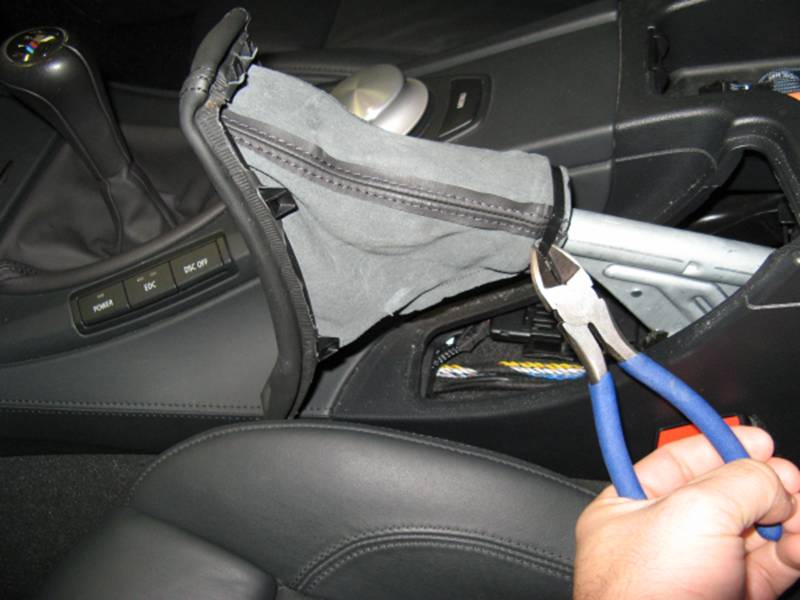
STEP 1: Unsnap the boot by pressing the
base towards the inside and pulling up. I found it easiest to start at the
bottom and press in and pull up to release the single snap, the piece will just
unsnap now easily. Once unsnapped the zip tie holding the boot to the brake
handle will need to be removed using wire cutters, the boot can then be
carefully removed by sliding over the brake handle and off:
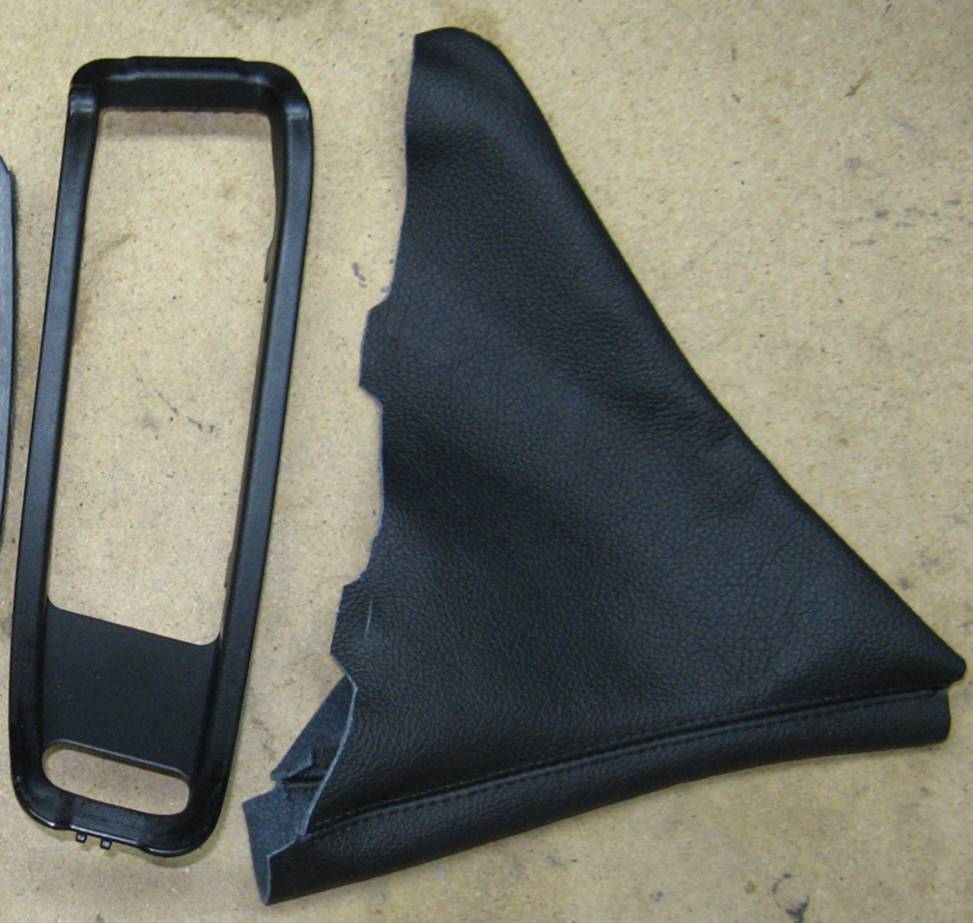
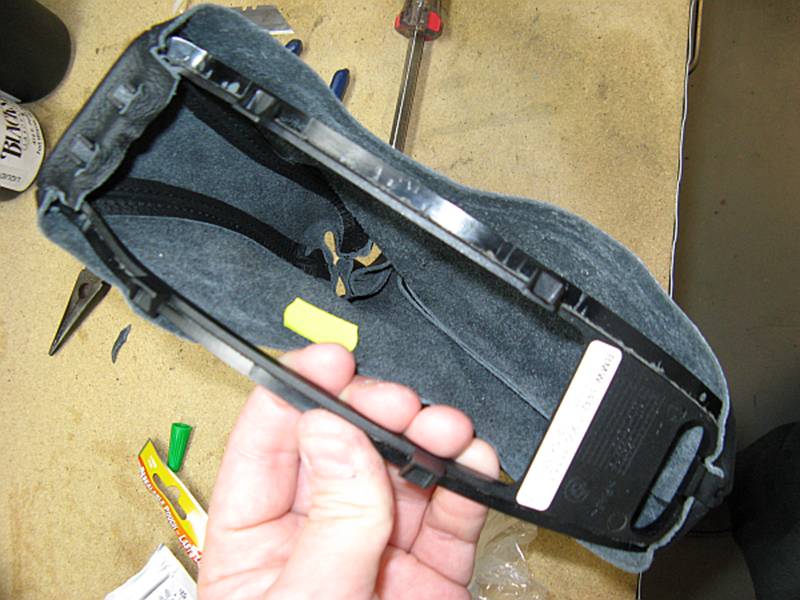
STEP 2: Following Step 3 above for the
boot removal, the parking brake boot is removed from the plastic base. All that
remains is the plastic frame and new leather boot. I started out by cutting
slits in the tabs at the top and super gluing them and the front seam to the
plastic base. I then carefully super glued a section at a time until all was
done- I did find it necessary to cut small angle shaped pieces of leather out
at the corners to allow the leather to wrap around the base:
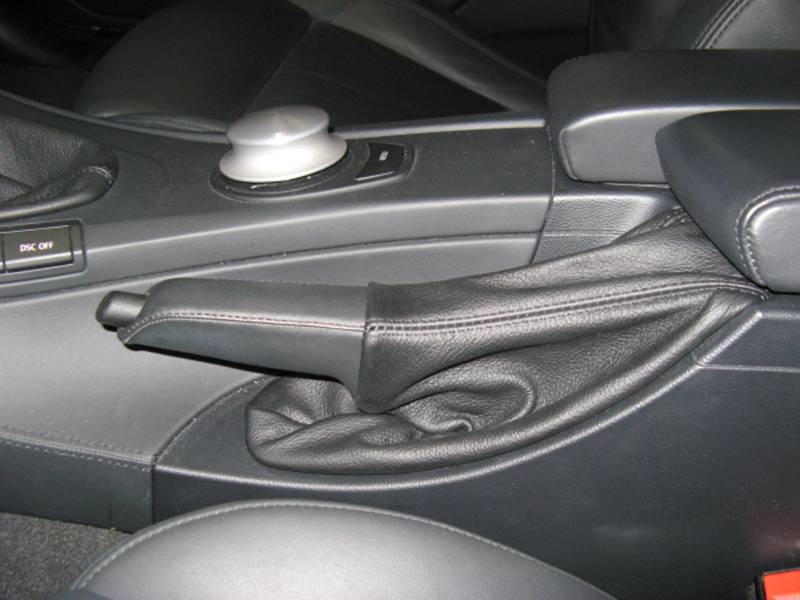
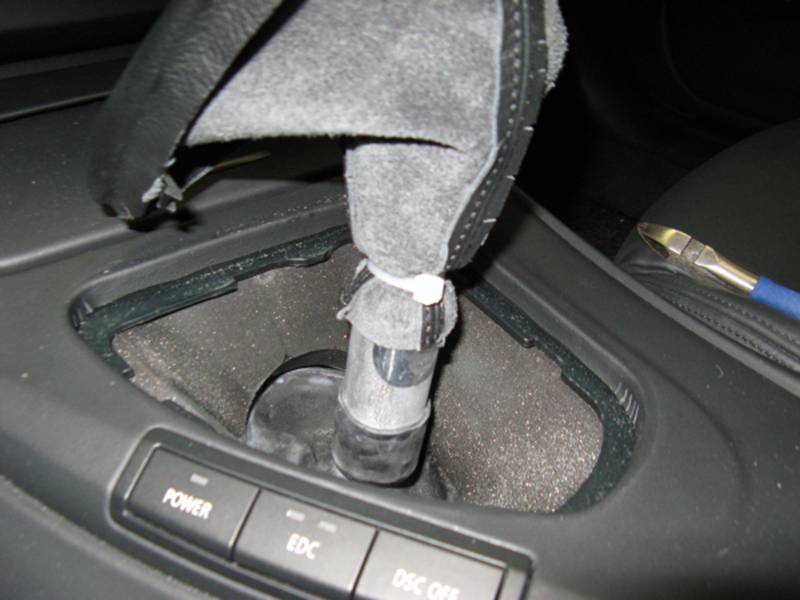
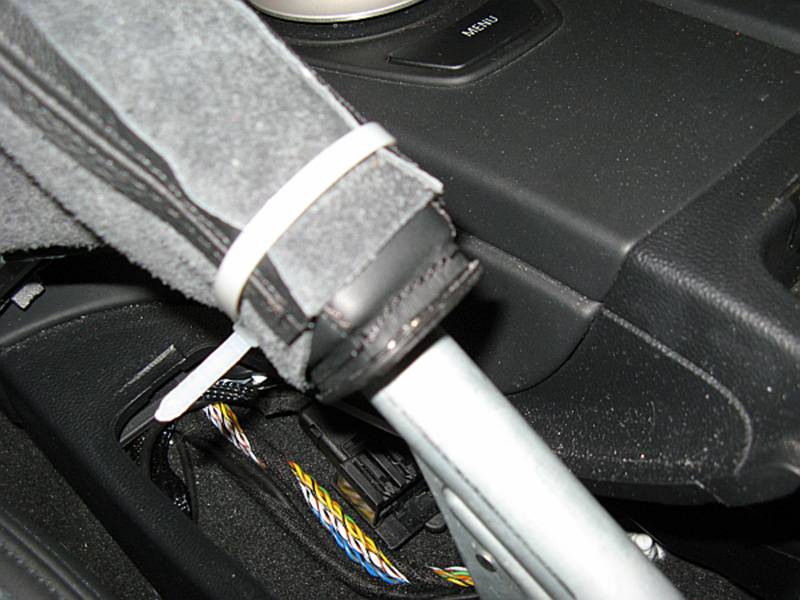
STEP 3: The boot should be slid over the
handle and positioned so that the top seams line up with the threaded seams on
the handle. The boot is zip tied to the handle; you will notice a channel that
the zip tie should be placed in before tightening. The zip tie cinch point
should be located ate the bottom of the brake handle as the OE tie was, this will
allow the boot to fit flush with the handle on the sides and top. The boot is
then snapped back into place, it is tight so be
patient:
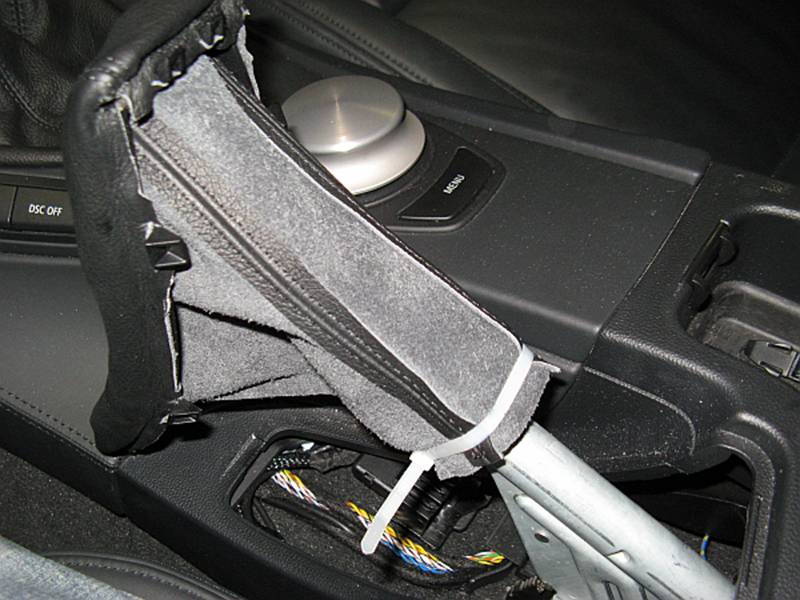
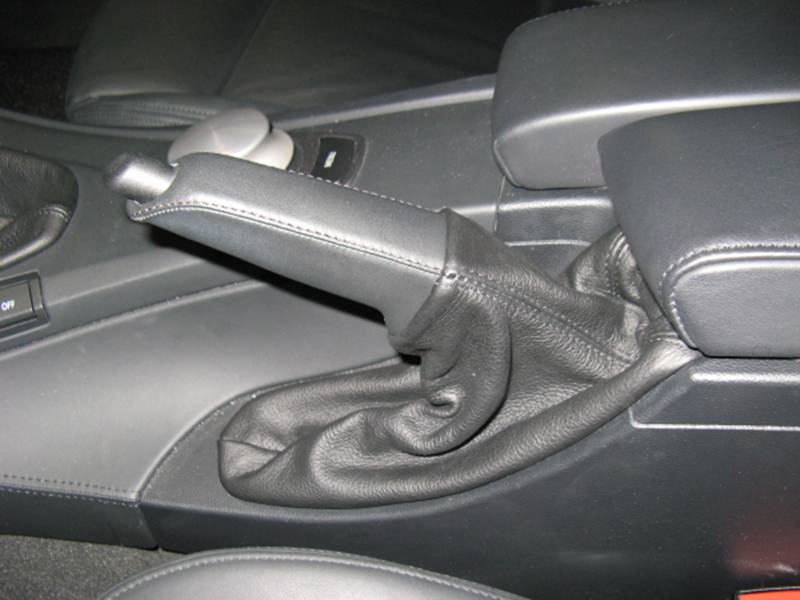
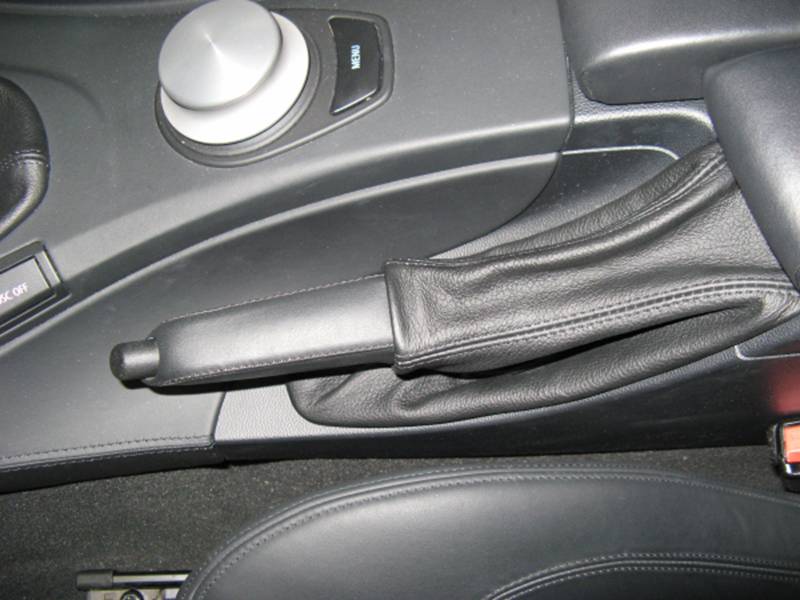
INSTALLED PARKING BRAKE BOOT: