![]()
Lotus
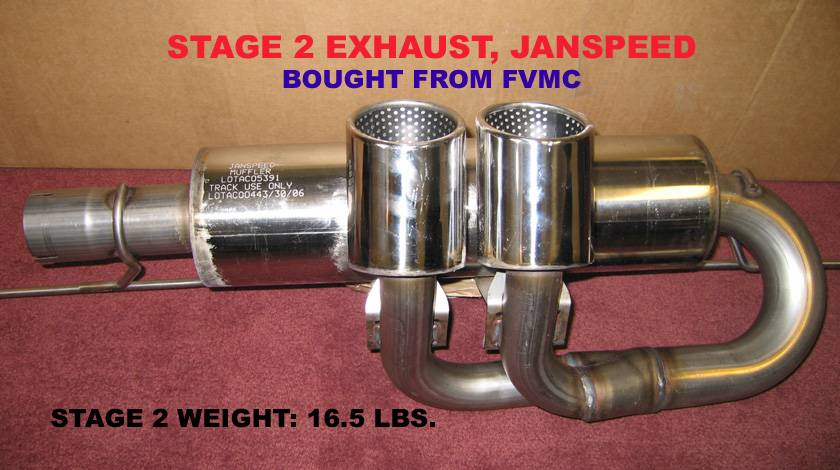
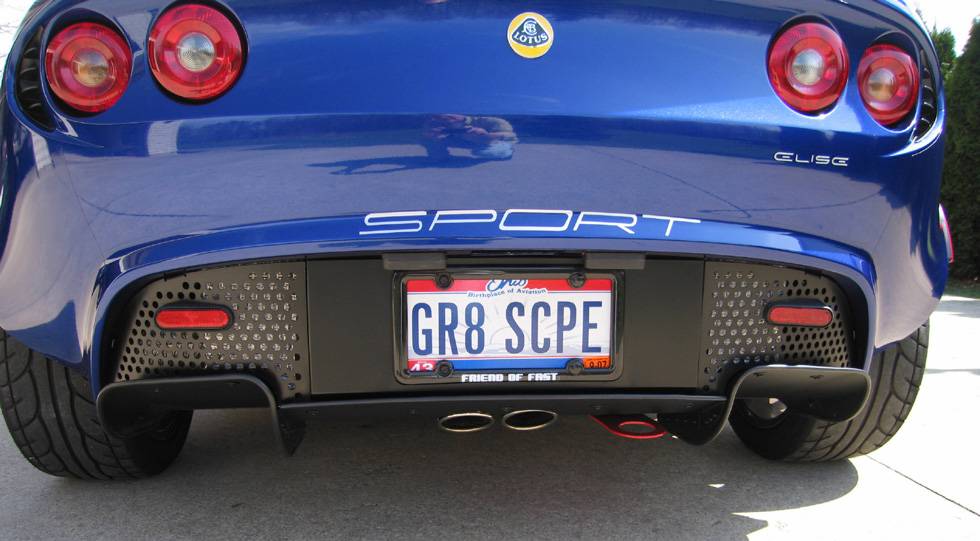
Elise Stage II Exhaust Installation BY
EliseTalk’s waydui
http://www.elisetalk.com/forums/showthread.php?t=35006
I finally finished the installation of the Stage 2 this weekend. Not that hard to do, but had a few issues along the way. Took about 3 hours.
Here’s how I did it:
1. Put car up on Rhino ramps, removed diffuser and engine under tray.
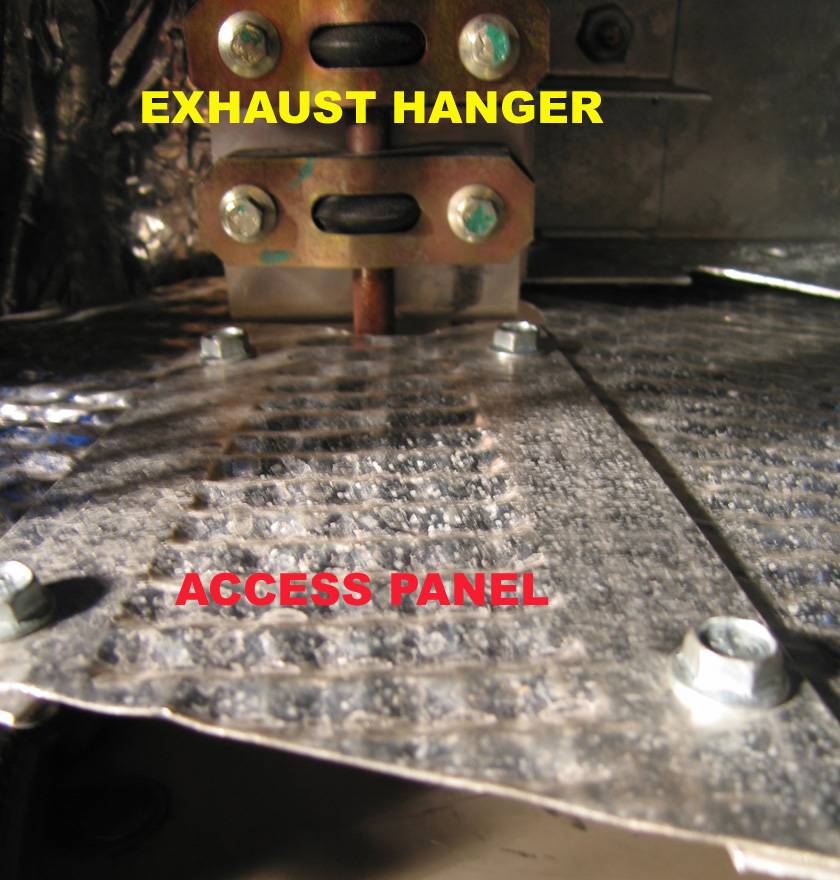
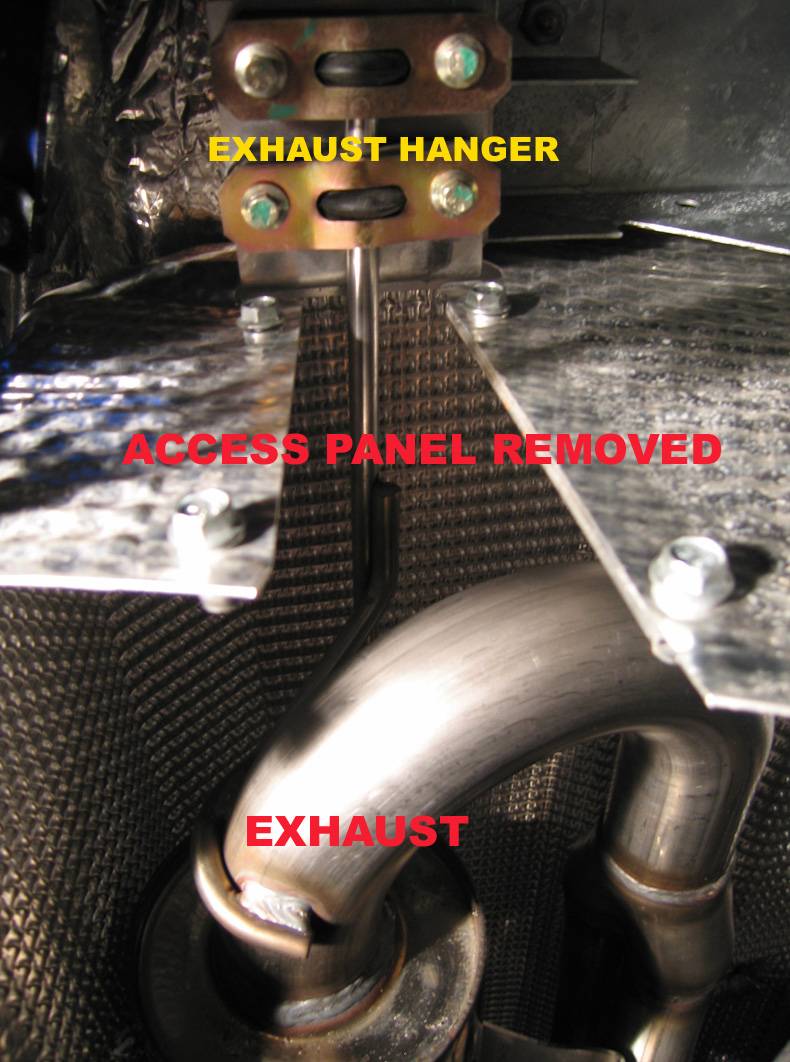
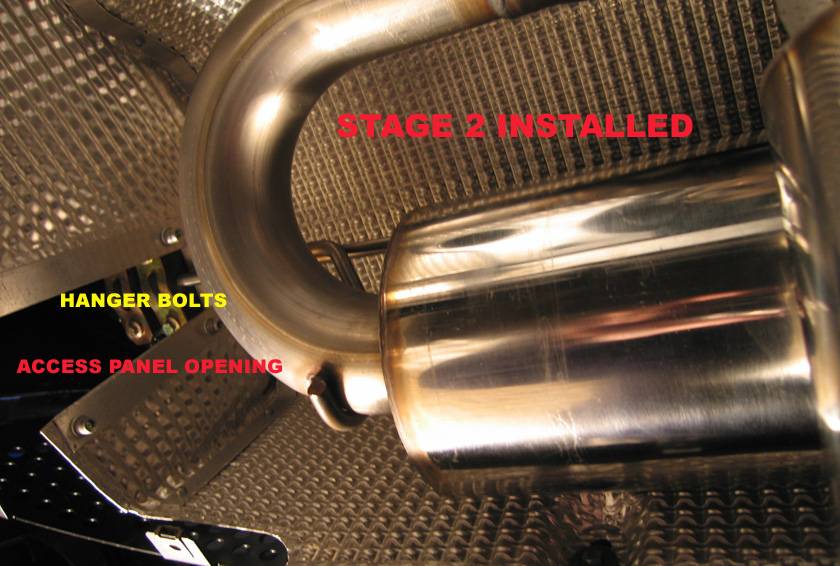
2. Remove aluminum access panel on passenger side. This is a small panel with 4 screws that attach to the heat shield. You must remove this to allow exhaust to slide over. This is where one side of the exhaust drops down and slides left to remove from cat pipe.
3. Removed Hanger Bolts and rubber bushings from Access Panel side. These pieces are on the exhaust hanger long stud. Remove and place on new exhaust.
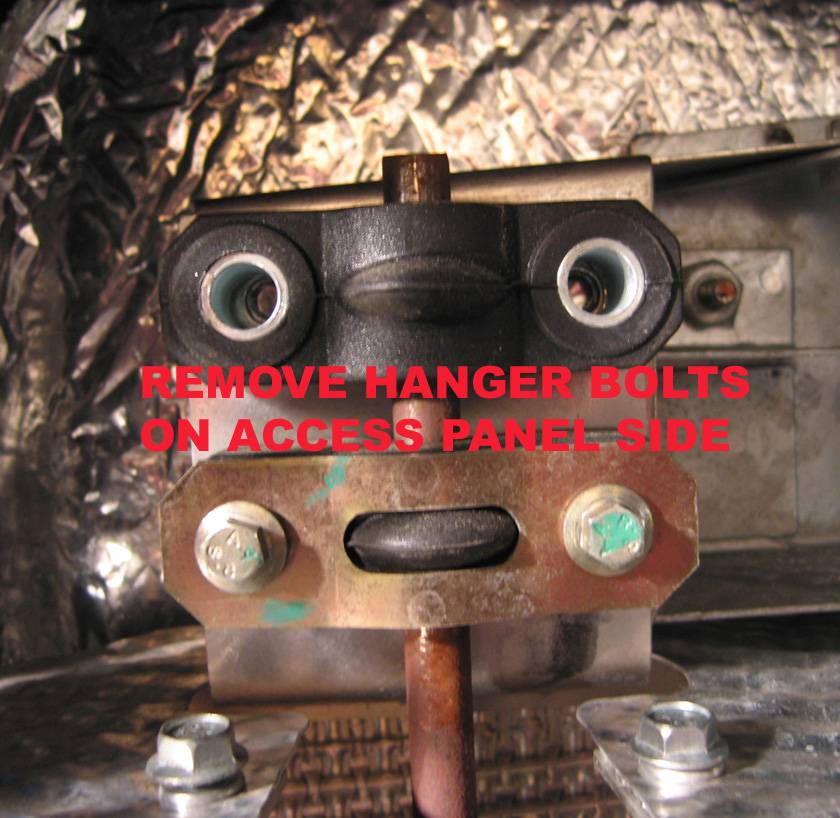
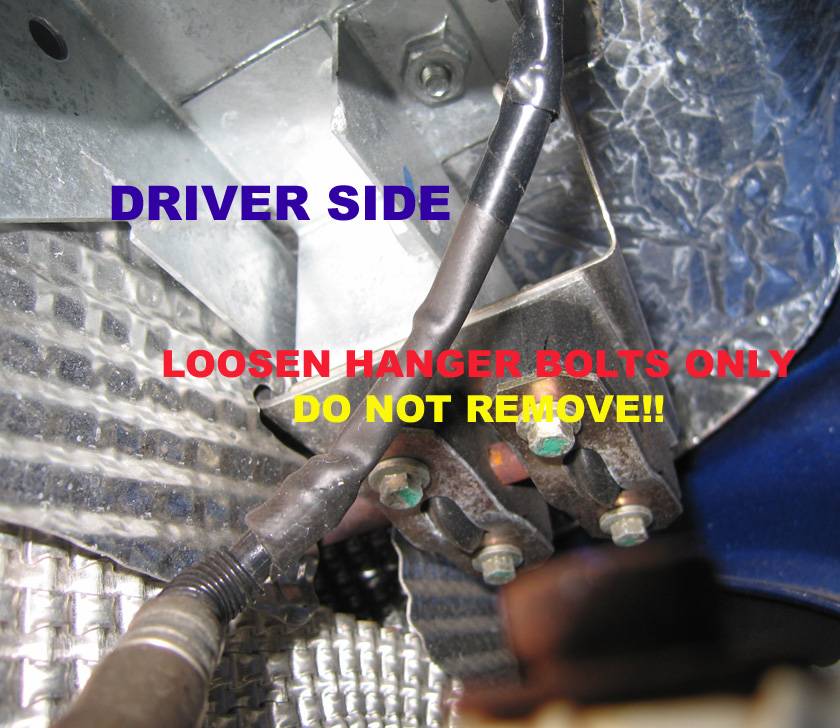
4. LOOSEN Hanger Bolts on driver’s side. DO NOT REMOVE BOLTS AND BUSHINGS ON THIS SIDE.
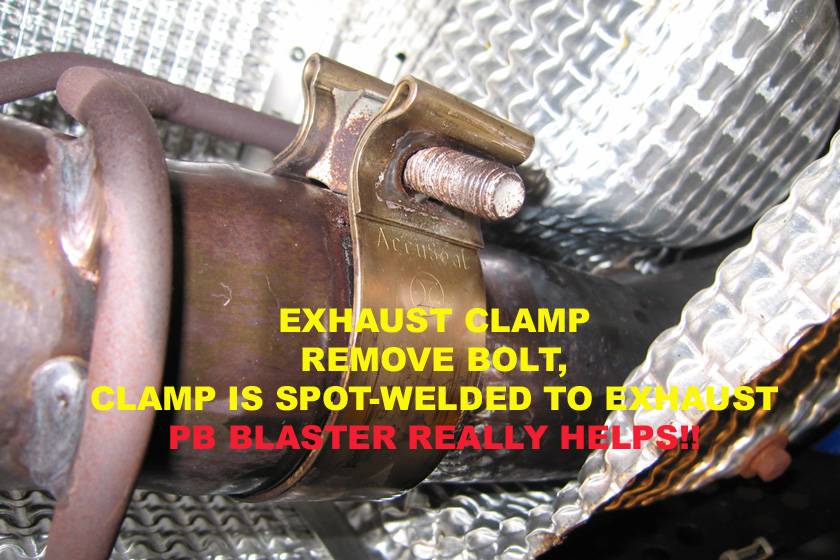
5. Remove exhaust clamp nut and applied PB blaster to joint. Let sit for 15 minutes and then separated pipes. Slide exhaust to the left, disengage exhaust from hanger bolts on driver’s side, drop exhaust down and remove from car. CAREFUL: The exhaust is heavy; it dropped on my chest, as I wasn’t ready for the weight. Ouch!!
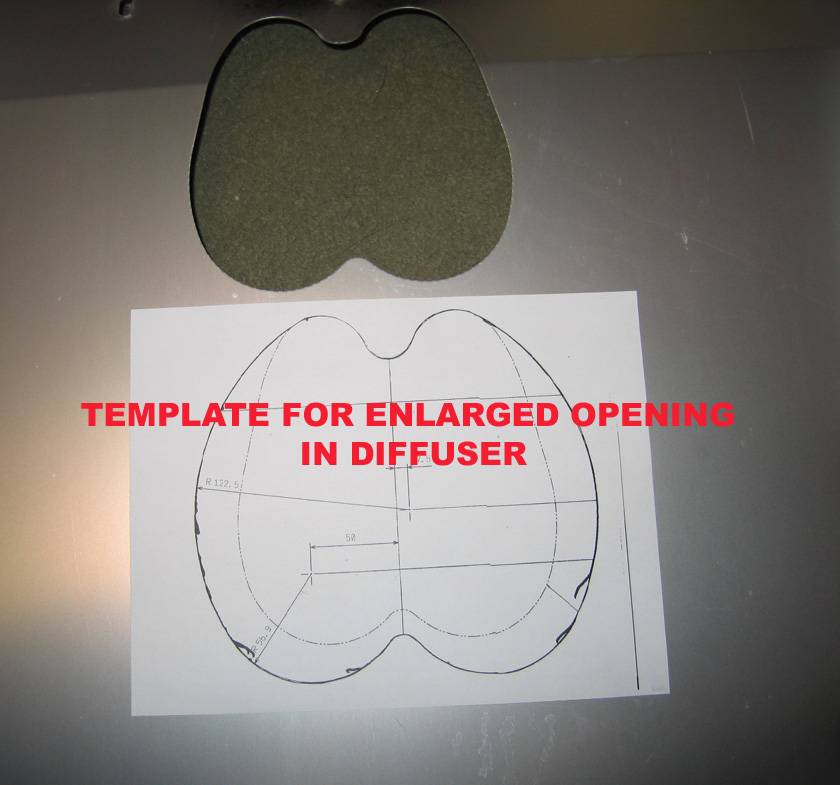
6. Now I prepped the Diffuser Panel to enlarge the opening for the new exhaust, using template that comes with the exhaust.
Click
HERE for LOTUS STAGE 2 DIFFUSER TEMPLATE in Adobe .pdf format –
NOTE: Be sure to resize to 115% to account for digitization shrinkage.
7. Taped template over existing opening, traced cutout line with Sharpie.

8. I used a combination of Dremel and Jigsaw tools to cut/enlarge opening. Aluminum cuts fairly easily, but making some of the turns was tough. Initial cut was rough. So I used a Dremel with sanding stone attachment to smooth and feather edges. No sharp edges, OK to handle.
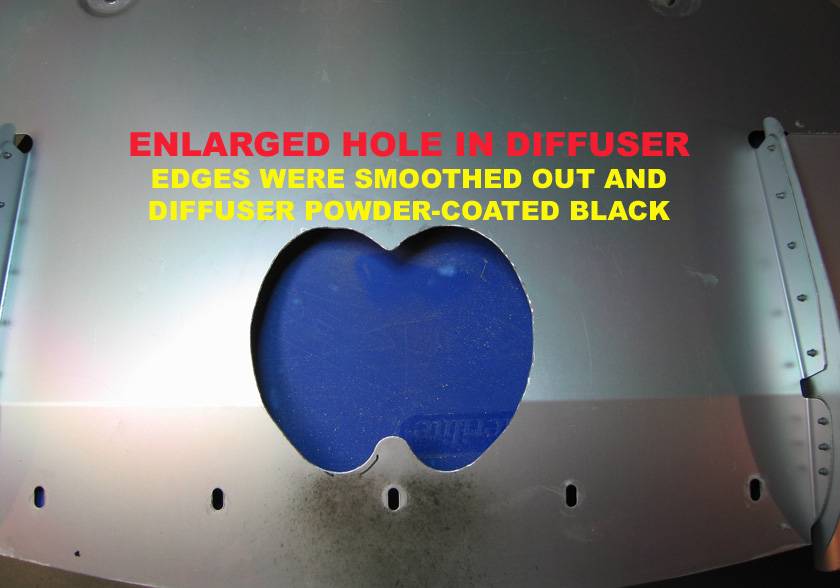
9. I took the Diffuser panel to a powder coater and had it done in a textured black. (pics at a later date.)
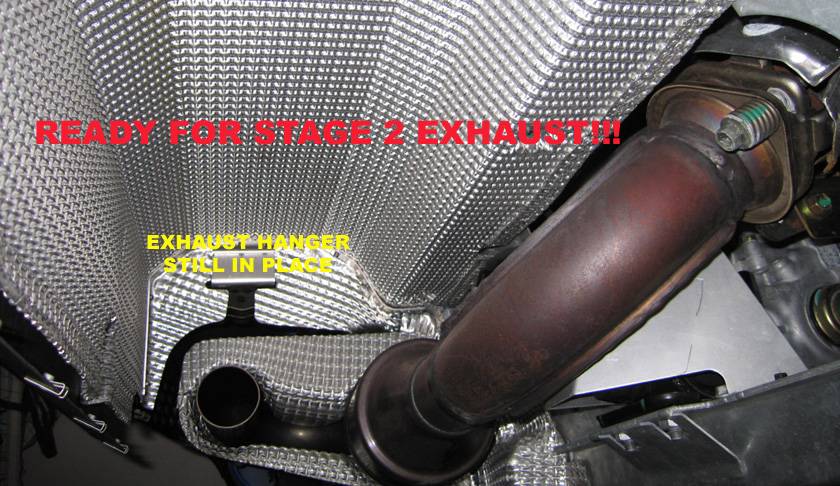
10. Now to install Stage 2. Start by re-inserting hanger stud on exhaust into the hanger bushings on driver’s side first.
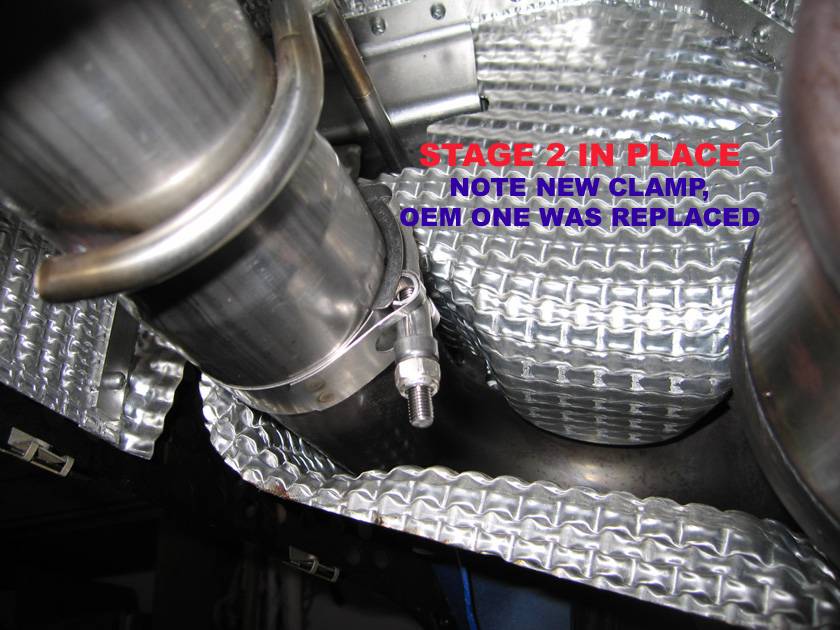
11. Lift exhaust up and slide exhaust pipe onto cat pipe. MAKE SURE EXHAUST CLAMP IS ON EXHAUST PIPE BEFORE YOU CONNECT PIPES. Otherwise you will have to take them apart again. DO NOT tighten exhaust clamp until you complete Steps 13 & 14 below.
12. NOTE: OEM exhaust clamp wasn’t used, as it didn’t tighten down enough on Stage 2 exhaust. I bought a Stainless Steel T-clamp (Summit Racing, $5.50) instead.
13. Raise other side of exhaust and reattach passenger side hanger bolts and bushings to rear sub-assembly.
14. BEFORE tightening hanger bolts, position new exhaust at center point of car. I test fitted the Diffuser panel to make sure it is lined up properly.
15. Tighten Exhaust Clamp and all other bolts. Refit Access Panel.
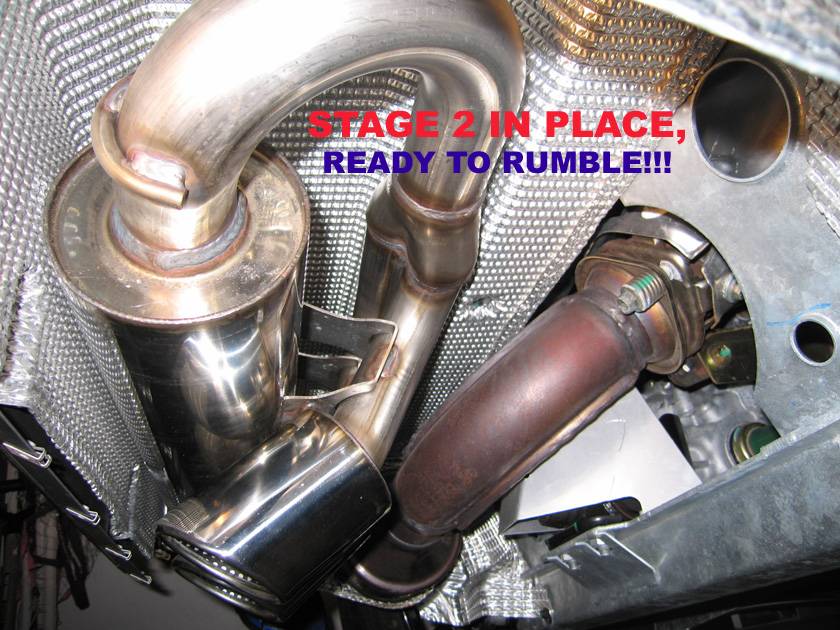
16. I started and ran the car for several minutes before re-fitting all the under trays.
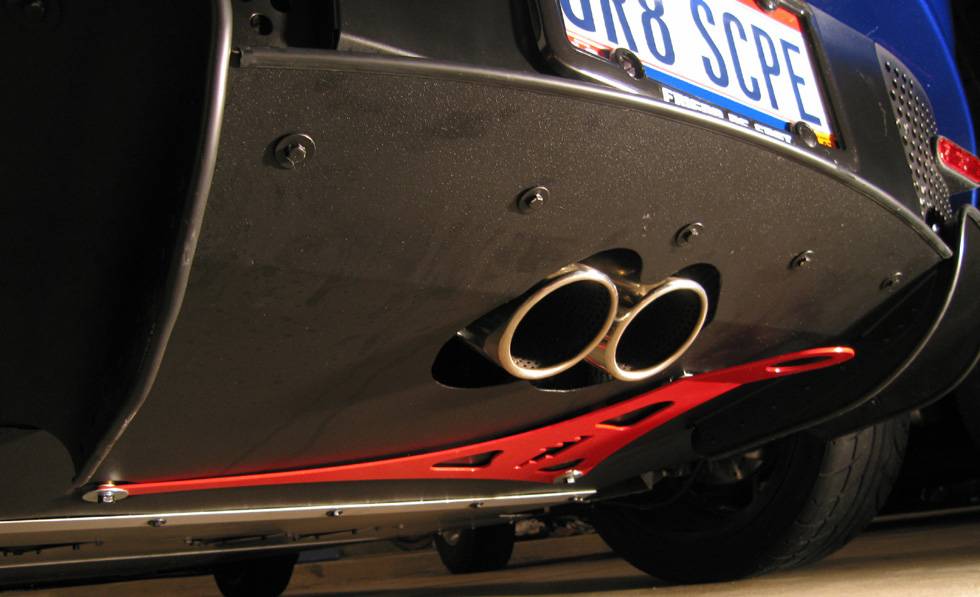
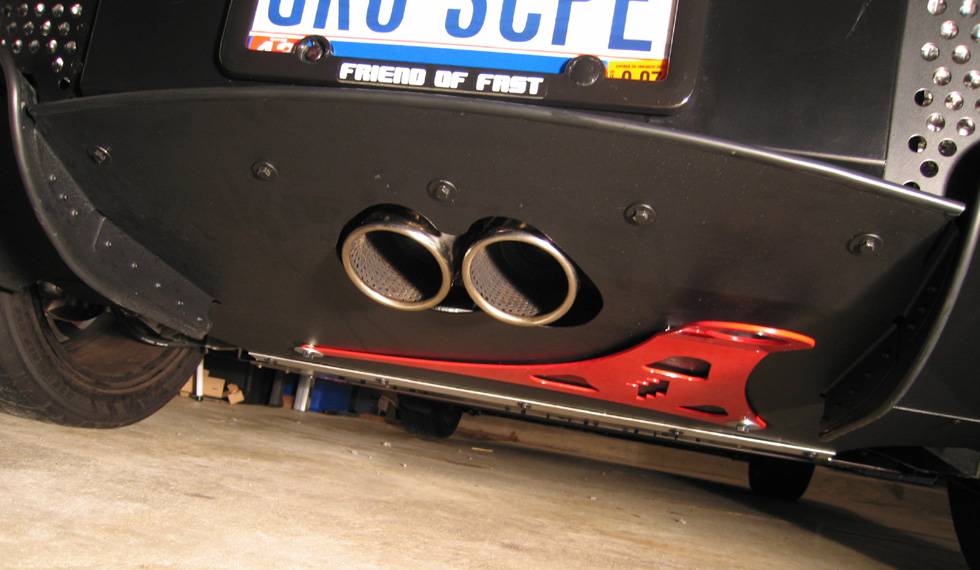
17. SOUNDS GREAT!! – Enjoy J