![]()
My Lotus Elise Amplifier Install
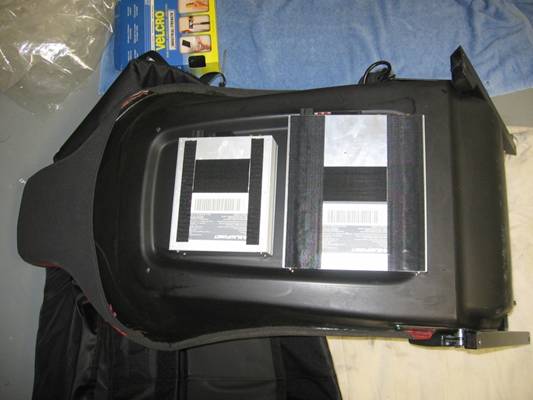
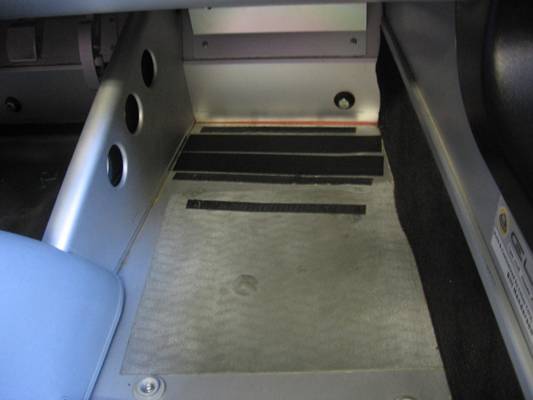
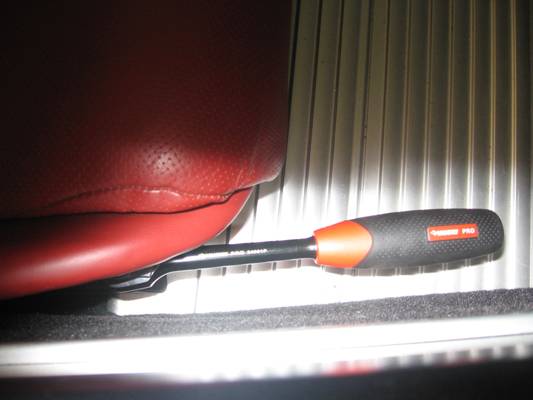
To get
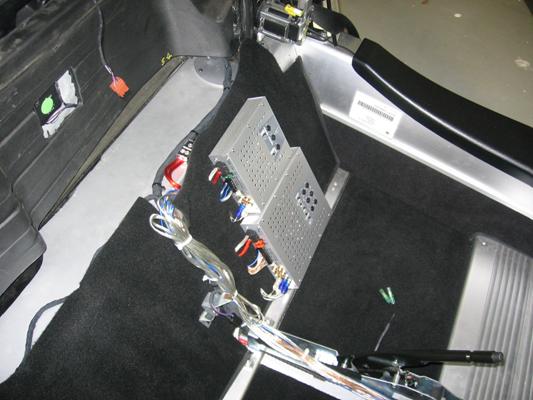
motivated I started the job by applying industrial Velcro to the amps and the
floor where the Stealthbox would mount. The Velcro works well due to the tight
fit of both. The amps’ small size allows for a fit within the seat back recess.
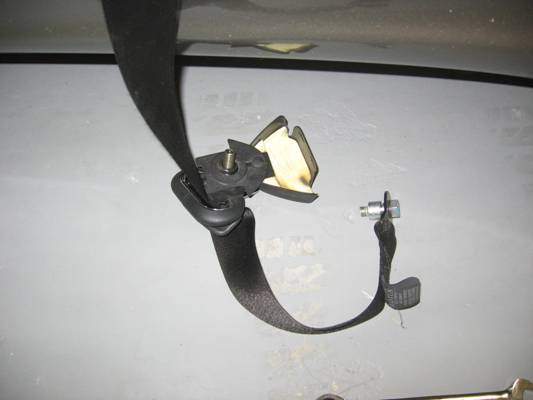
The first
step in disassembling the interior was to remove the seatbelts, 17mm for both.
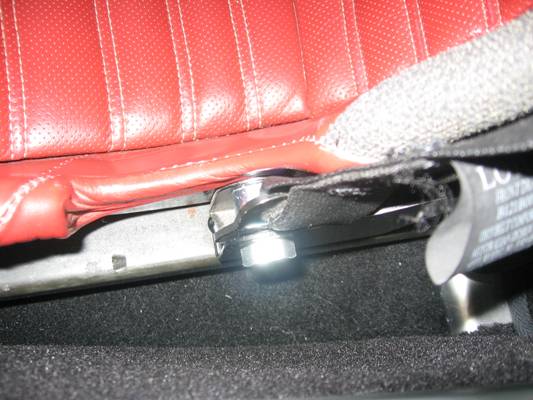
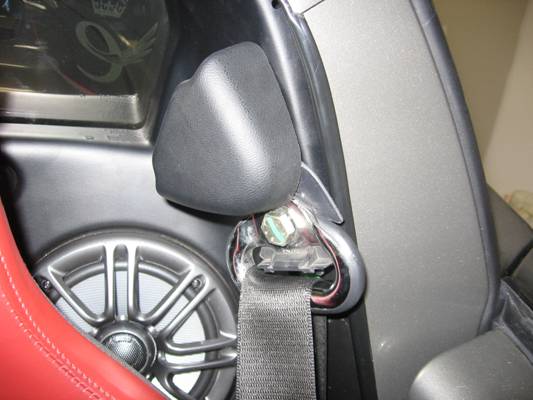
Once they
have been removed they can be left hanging/placed on the ground, be careful not
to scuff the cover or your paint.
By removing
the lumber adjustment bulb (5 mm Hex), the rear bolt can be accessed.
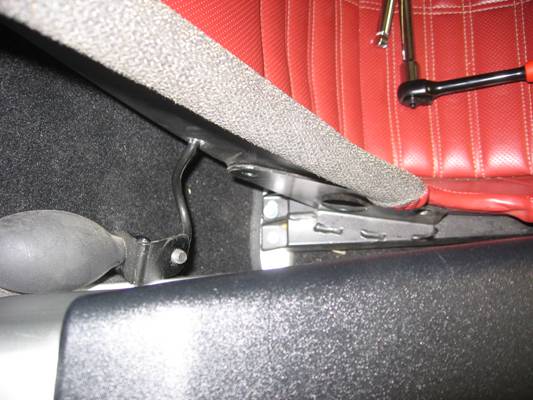
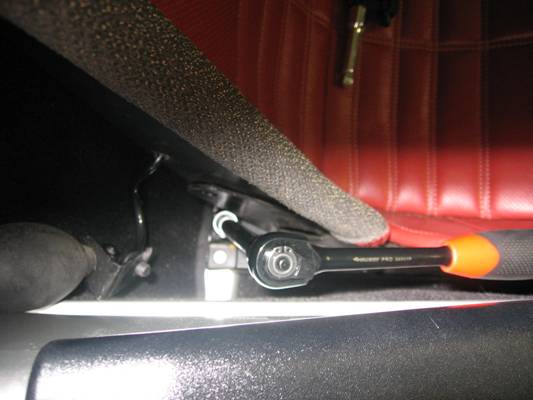
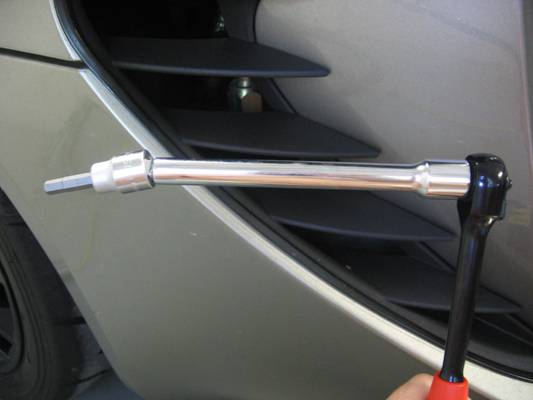
A swivel
head extension works fine for the seat bolts (6mm HEX and 13mm).
The front
bolts require a small head ratchet or wrench.
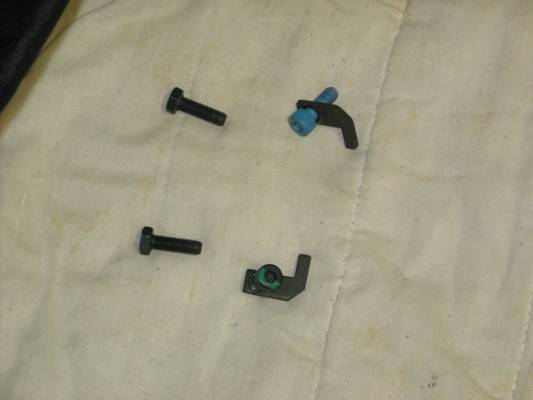
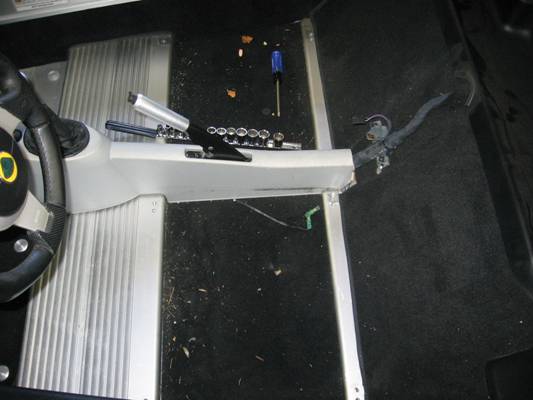
By placing
the screws/bolts on the ground beside the object removed and in the pattern
they were removed, assembly is not subject to memory- driver’s side bolts shown
below.
After the
seats are out, the next step is center console removal starting at the rear. A
single screw holds the black piece in.
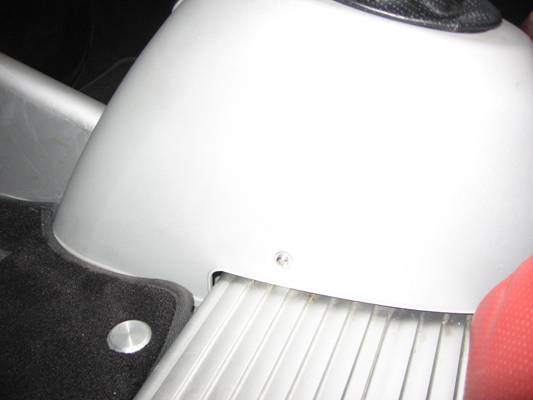
Two more
screws hold the lower piece in place.
To remove
the console the shift knob has to be unscrewed, and the parking brake handle
removed (2 hex screws).
There is
one Torx screw on either side that will have to be removed to get the console
out.
To remove
the rear panel I used the instructions for the 4Tress Bar install from Sector
111:
http://www.sector111.com/images/products/performance/track_parts/4tress/4tressbar.pdf
You start
out by removing the 4 plastic screws on top.
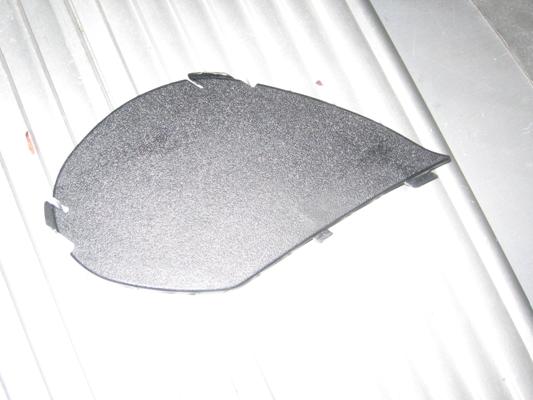
It is
easier to unplug the interior light when it is snapped out. The plastic trim can
be removed by carefully working top to bottom, side to side per the 4Tress
instructions.
Once the
plastic piece has been removed, there is a thick foam pad that will need to be
removed by carefully pulling it out, one side at a time.
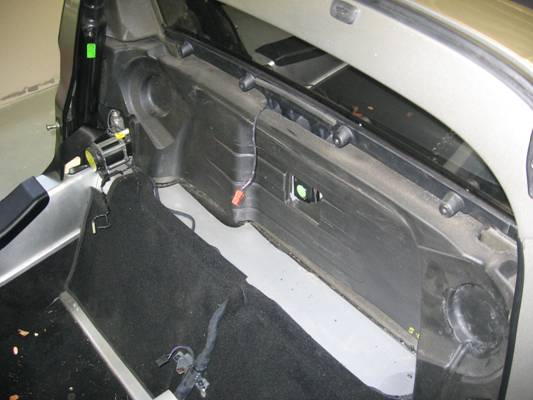
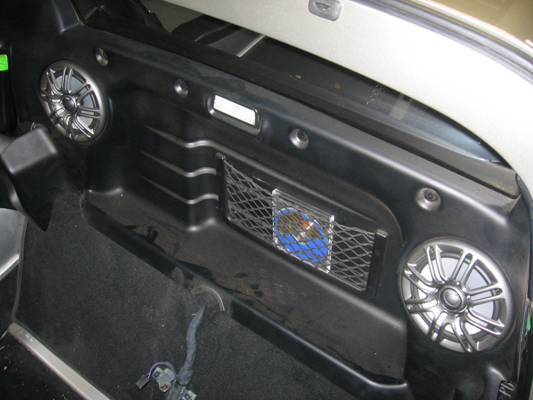
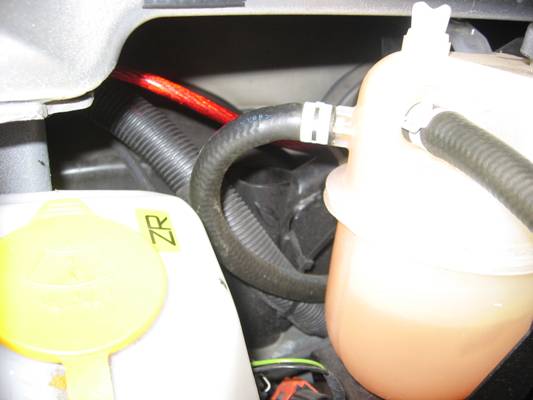
With the foam
pad out, you will see the radar sensor for the alarm and more importantly the
grommet at the right lower corner that the power wire will be routed through.
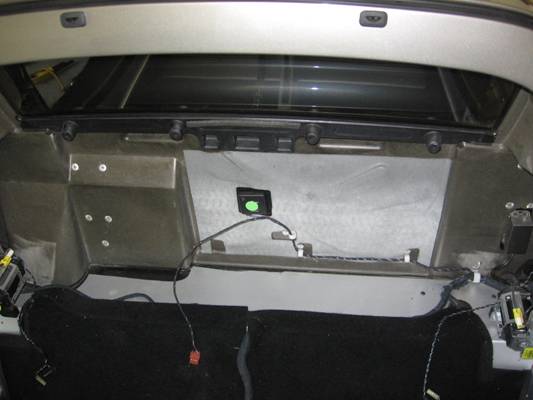
Grommet is
at lower right corner looking towards the firewall (Rear).
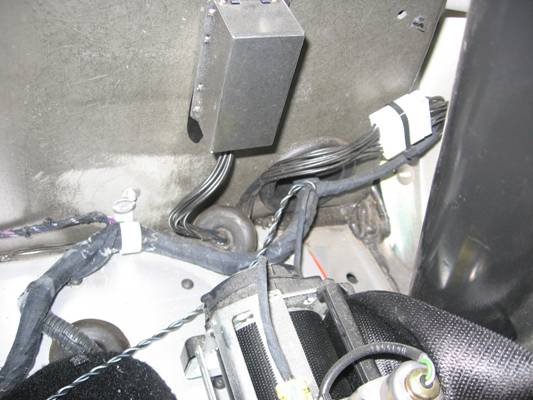
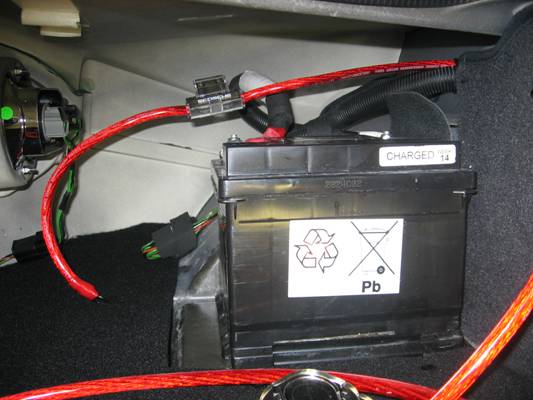
The power
wire is routed from the battery by carefully running it through the existing
conduit for the battery in the trunk.
The power
wire can then be routed alongside the existing conduit and under the airbox to
the grommet area.
Baling wire
can be used to put a hole in the grommet and have something to attach the power
wire to (electrical tape works) on the other side so that the power wire can be
pulled through.
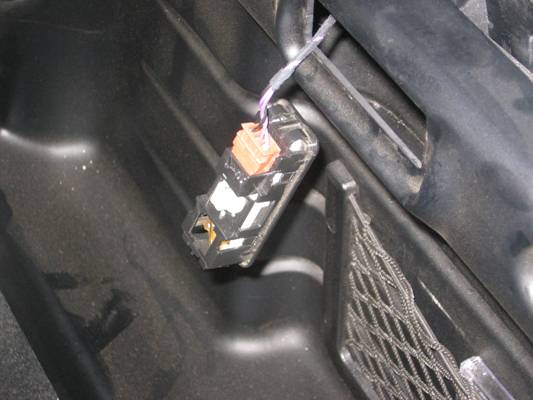
Blaupunkt
provides a preamp plug but it replaces the existing double plug.
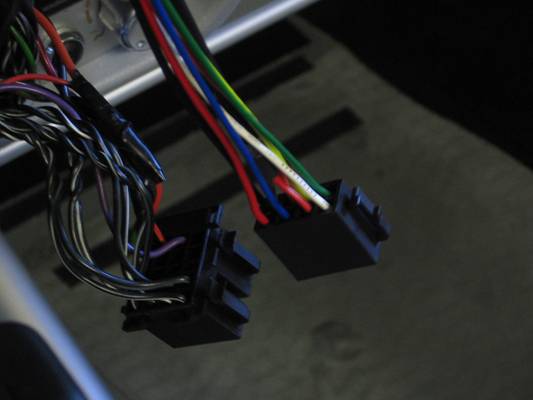
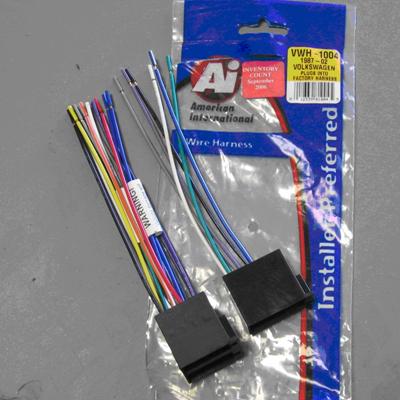
To avoid
cutting the wiring harness, I purchased the Passat harness adapter which
plugged into the existing harness for me to wire the new plug to and allows me
to reverse the preamp plug easily.

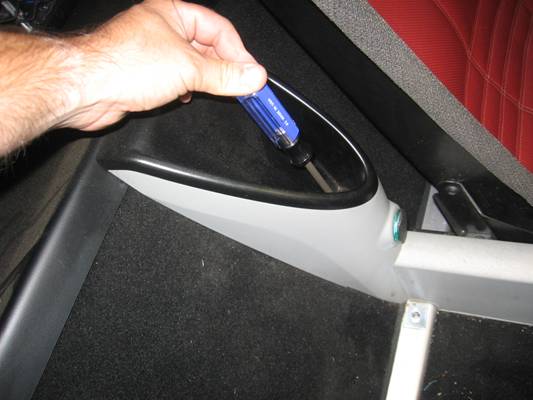
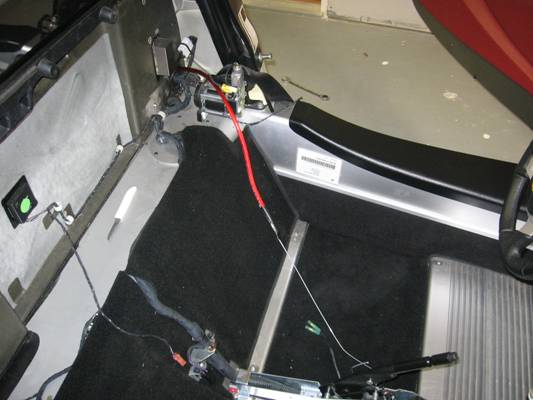
To run the wires to the stereo, the
below plastic piece can be removed from the tray.
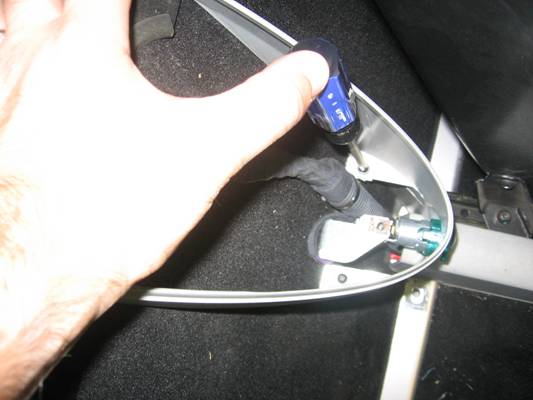
Wires can
then be run from the radio, in the cable channel under
the airbag, and down through the small hole.
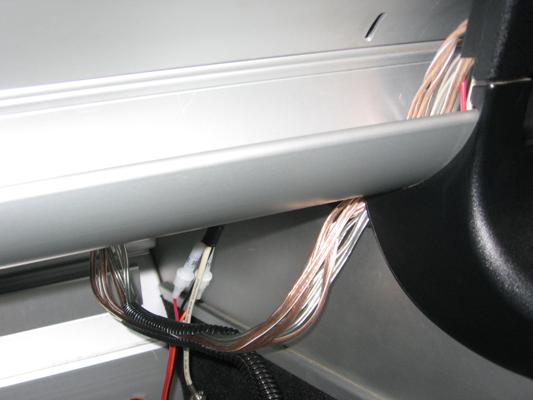
Plastic
conduit can be used for an OEM appearance.
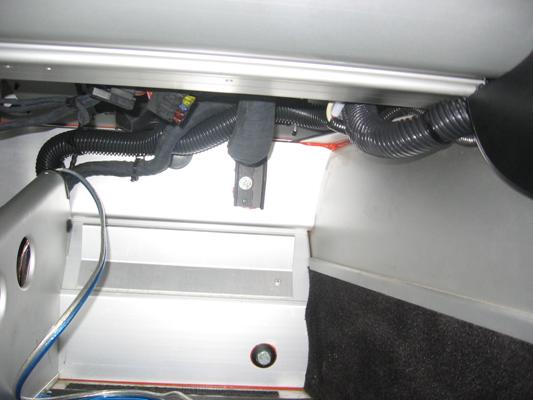
Wires can be
run through the center tunnel……
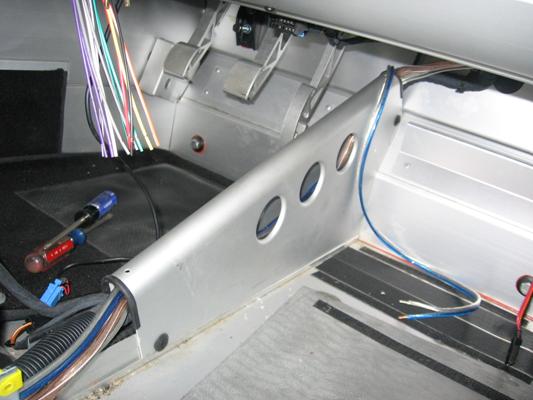
……..and
along the center console area……
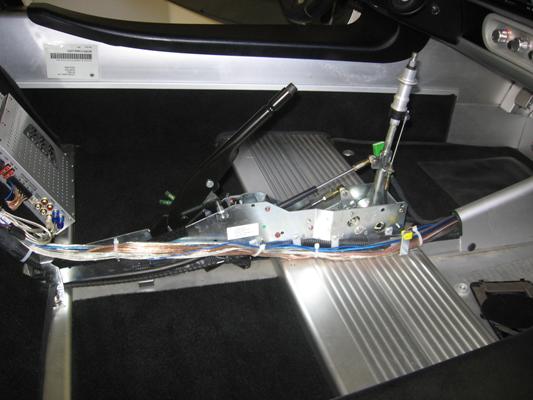
……..and
finally to the amplifier(s).
Installation
of interior is reverse of removal, standard disclaimer applies: this is
provided for informational purposes only and any use of information contained
is at user’s own risk with no liability to the author of this document J