![]()
Installing the Elise Shift
Boot and Parking Brake Boot
From 
The
original boot on my shifter had started to wear and I also wanted a matching
boot for the parking brake. I contacted Redline Goods whom I have used in the
past, the quality of the leather they use has always surpassed the OEM boots in
my other cars. The following steps were used to remove the old boot and then
install the new boots.
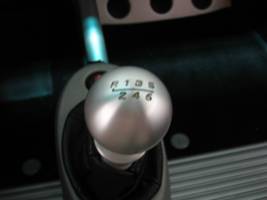
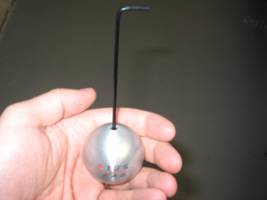
I started
by removing the shift knob, this may require a little force due to the LockTite
that is used. The OEM knob has a set screw in the front that has to be loosened
first with a 2.5mm Hex wrench, then the knob can be screwed counter clockwise
to remove:
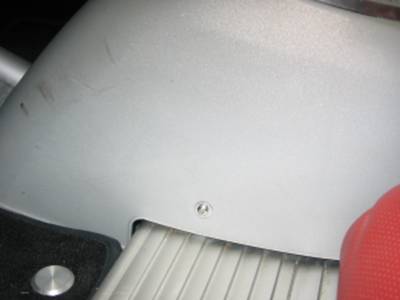
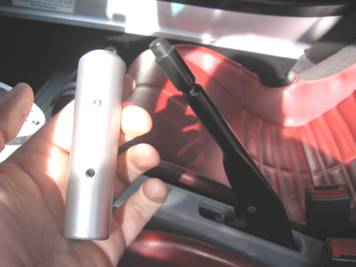
Once the
knob was removed I used a Torx T20 driver to remove the front console screws,
one on each side:
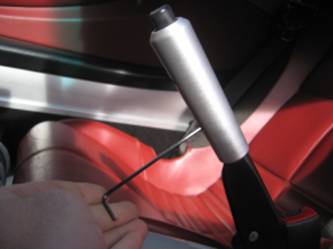
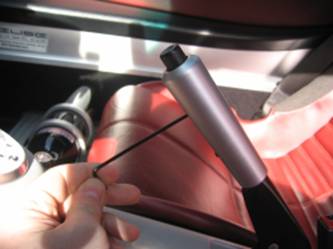
The next
step was to remove the parking brake handle, there are two 2.5mm Hex screws on
the bottom of the handle that need to be loosened:
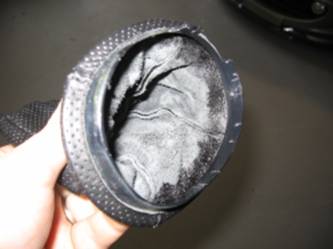
Console removal
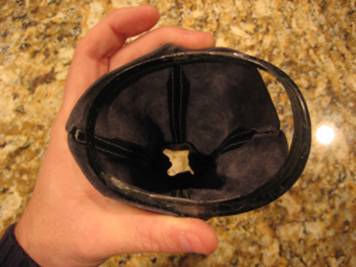
is not required to remove the shift boot. I was able to reach under the shifter
and remove the clamps that held the old boot to the console by lifting it up
just enough to reach under. Once it is out the leather boot can be peeled off
of the plastic ring, it will be reused and is glued to the boot with contact
cement:

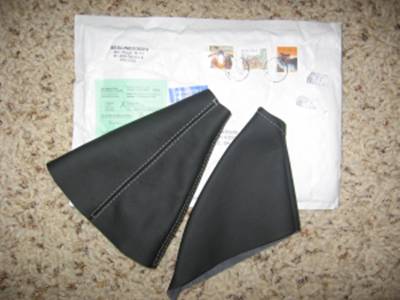
The new
boots from www.RedlineGoods.com are
removed from the package:
Starting
with the shifter boot, the plastic mounting ring must be attached with the
larger part facing up. It appears that it will not fit but the leather will
stretch perfectly and wrap around the ring snugly. Once the ring has been
fitted to the boot, rubber contact cement can be used to secure it- let it dry before
proceeding to the next step:

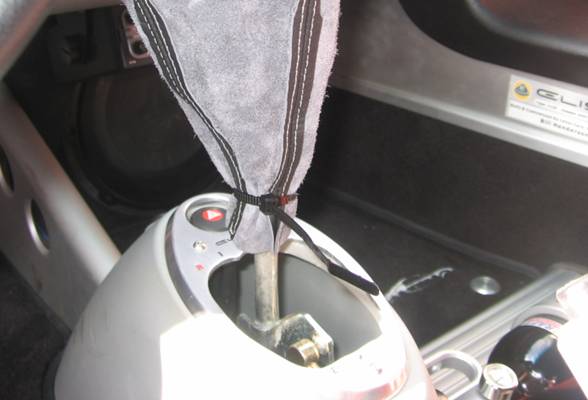
After the
glue is dry, the boot can be reinstalled. I started by turning the boot inside
out and placing it over the shifter rod. I then zip tied the boot to the
shifter rod, be careful to position it so that the reverse cable remains free
and functional:
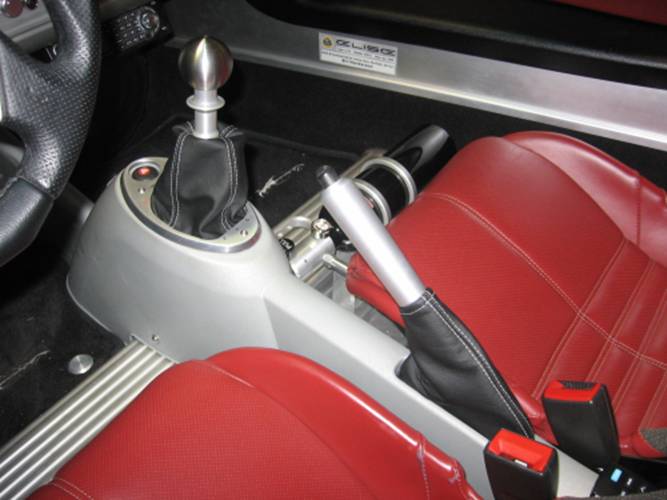
After the
zip tie excess is cut, the boot can be flipped down over the zip tie and the
plastic mounting ring reinstalled to the console using the metal clips removed
earlier. I chose to install the Lotus trim plate and glued the boot directly to
that in place of the plastic trim ring. The brake boot can be slid over the
brake handle and with the console still pulled up, the boot can be tucked down
into the console around the brake handle. You may want to check this before
tightening down the console mounting screws as it does not like to stay tucked.
The last step is reinstalling the console screws and admiring the finished
product:
Click HERE for a
downloadable .pdf version of this DIY guide