Lift Bolt Replacement BY TeamCelica.com
Tronix, Uansari
and Lamar Vannoy
http://www.teamcelica.com/tech/installs/liftbolts There is a
TSB (#EG010-03) issued regarding intake and exhaust lift bolts for 2000-2002
GT-S models. The bolts are experiencing some heavy wear under lift usage, and have
been known to break off, causing a bit of work to remove the broken pieces. To
prevent this, it is a good idea to replace the old bolts with the new style
bolts (part# 90105-06293). You can get the bolts from your local **Caution,
Team Celica nor the authors of this install are liable for any problems
resulting in the use of the following information. Use this information at your
own risk** Tools
Required: 3/8"
drive ratchet socket extention 3/8"
socket swivel joint 10mm
Socket 5mm allen Wrench (2) New
Lift bolts (part# 90105-06293) Allow
engine to cool for a few hours before attempting this install. 1)
Disconnect negative battery terminal and wrap with a rag so it doesnt ground out on the chassis. 2) Remove
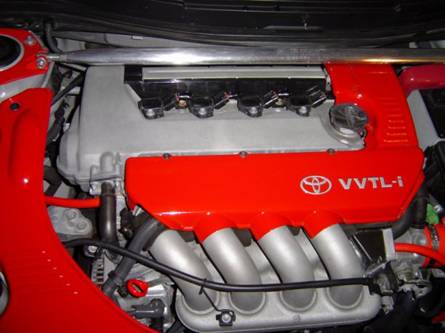
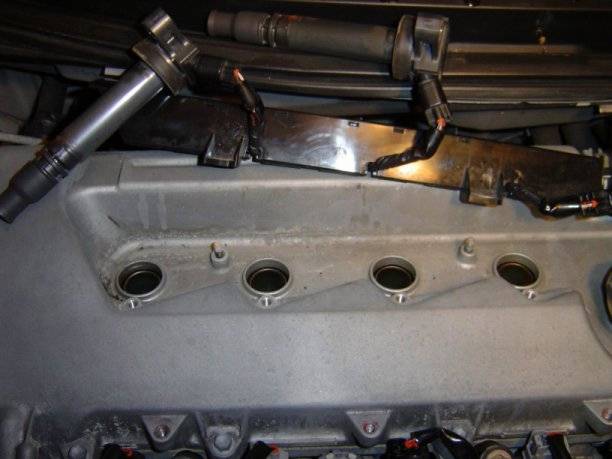
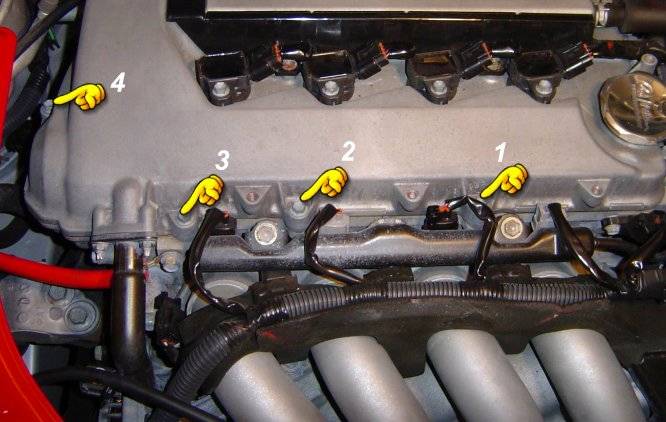
Plastic Valve cover protector (4 bolts 5mm allen). 3) Remove
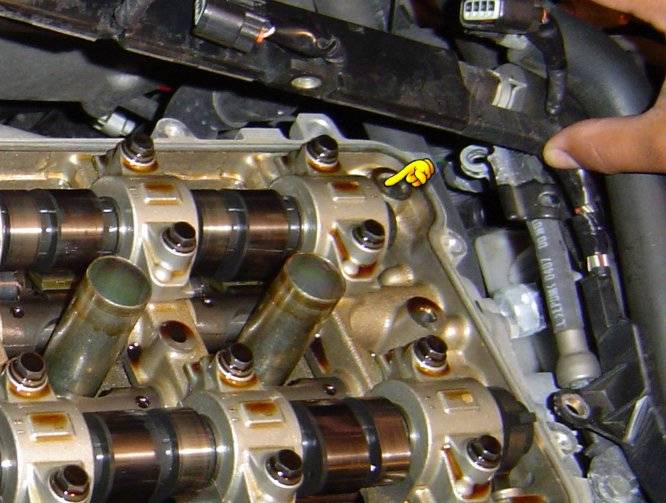
the 4 ignition coil bolts on top of the valve cover (4 bolts). 4) Remove
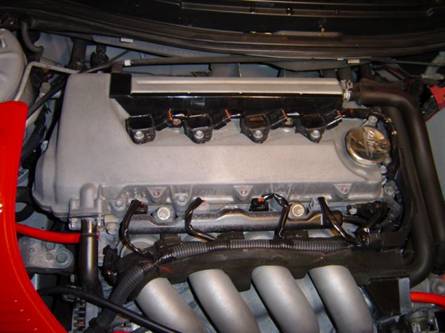
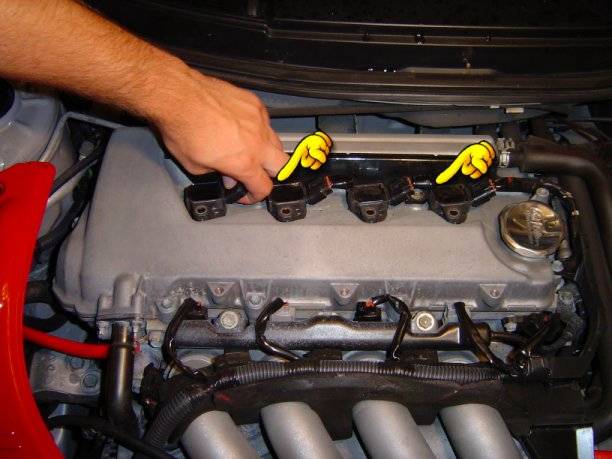
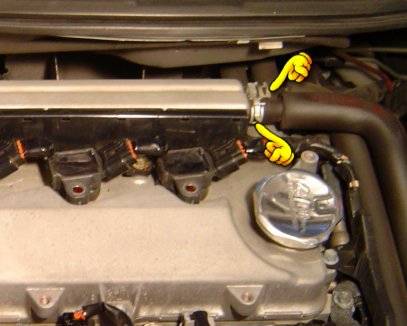
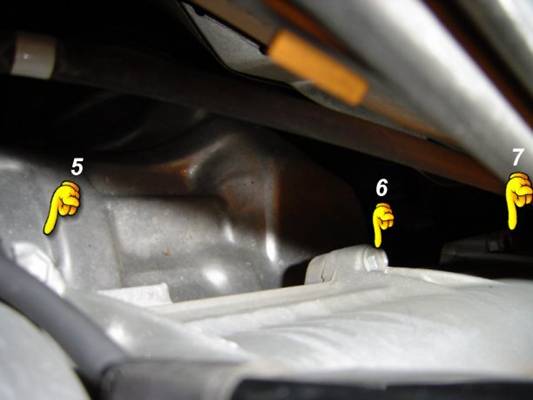
the 2 bolts shown on the wire harness protection rail. 5) Remove
the 2 PCV hoses in the right upper corner (pressure clamps). 6) Pull
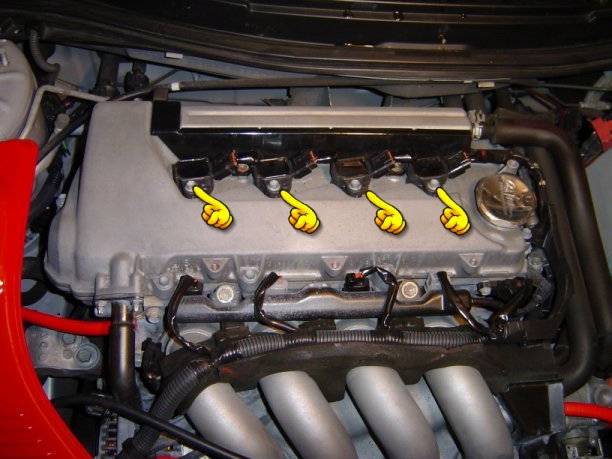
the igniters/coils out of the valve cover. 7) Unbolt (2
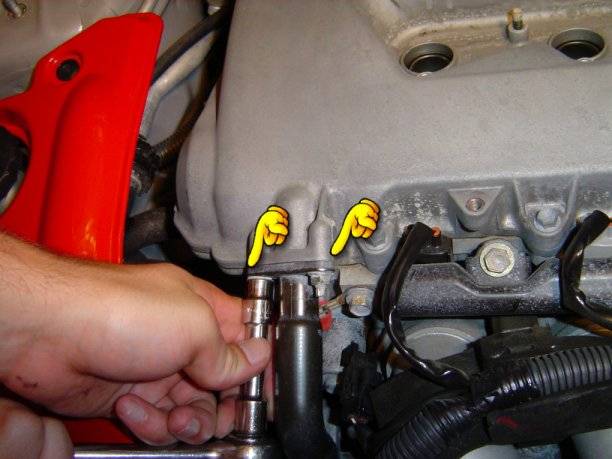
bolts) the ventilation pipe and be careful not to harm gasket. 8) Remove
the 2 bolts holding the Wire harness and hose to the right of the valve cover. 9) Remove
the 9 bolts that hold the Valve Cover on. Bolt #7
will require the socket swivel head due to limited work area. 10) Remove
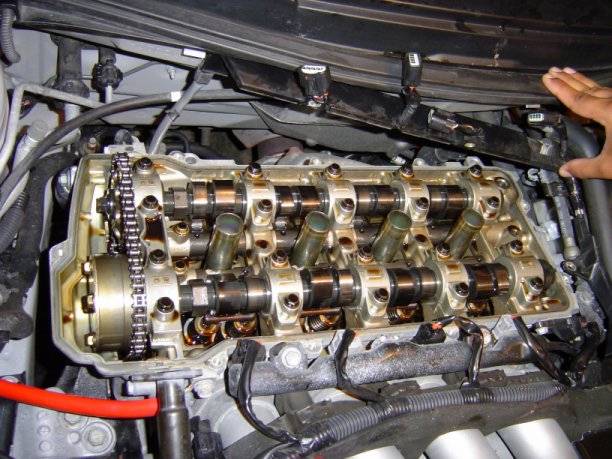
The Valve Cover. 11) Remove
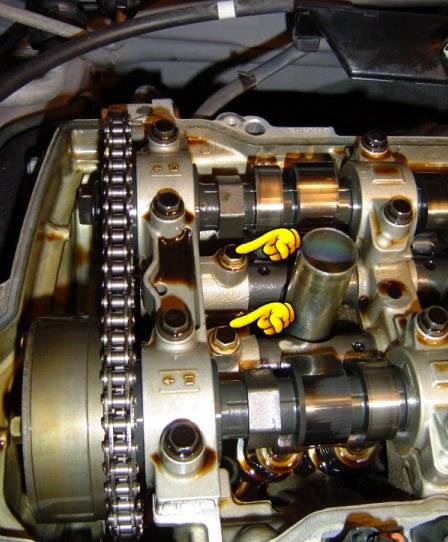
the 2 Lift Bolts and replace with new bolts. (front is
intake, rear is exhaust) Lift Bolt Torque Spec: 5.5
FT/lbs 12) Reverse
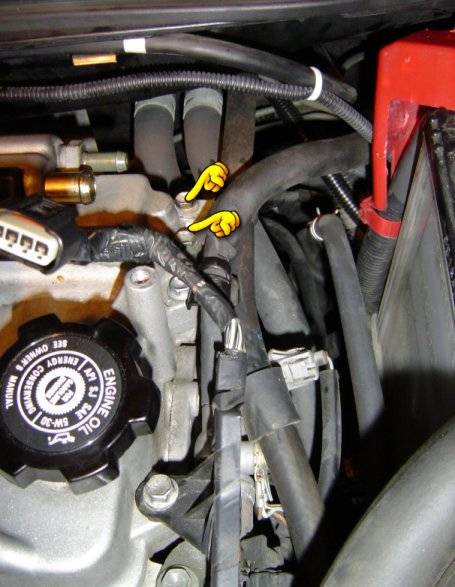
steps to re-assemble. Make sure when you are putting the valve cover back on,
make sure the Oil supply Pipe in the upper right corner lines up and pops into
place. Valve Cover Bolts Torque Spec: 7 FT/lbs The new
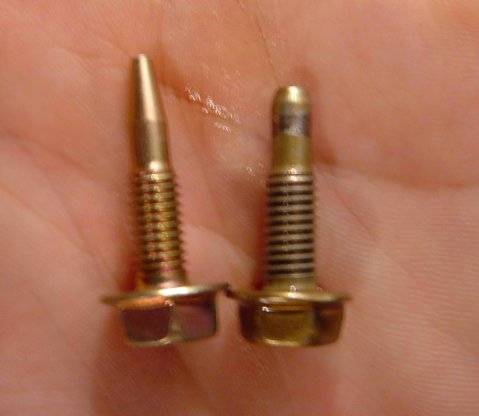
bolt is on the Left, and the old is on the right. Note the wear on the old
bolt. The new
bolt has a taper where the lift bolts are wearing out, which redirects the load
and extends the life of these bolts. ![]()
![]()